EVH #621, 4-0

You got 'em, we know how to clean 'em
Post Reply
User avatar
Paul M
Ultra Board Poster
Posts: 2201
Joined: Fri Feb 03, 2006 9:10 pm
Location: Toronto, Canada
Contact:

EVH #621, 4-0

Post by Paul M »

A friend with a tackle shop intercepted this EVH #621, 4-0 and we struck a deal. I just finished cleaning and polishing. It is a really nice reel.

Before it arrived in my friend's shop:


After my friend did a light cleaning:


Now:
User avatar
john elder
Star Board Poster
Posts: 8553
Joined: Mon Sep 22, 2003 2:44 pm

Re: EVH #621, 4-0

Post by john elder »

Nice, Paul!
User avatar
Midway Tommy D
Star Board Poster
Posts: 3141
Joined: Sun Jan 20, 2013 11:23 pm
Location: Eastern NE

Re: EVH #621, 4-0

Post by Midway Tommy D »

Amazing what a knowledgeable individual can achieve! Nicely done, Paul! :cool
User avatar
Paul M
Ultra Board Poster
Posts: 2201
Joined: Fri Feb 03, 2006 9:10 pm
Location: Toronto, Canada
Contact:

Re: EVH #621, 4-0

Post by Paul M »

Thanks!
User avatar
Brian F.
Star Board Poster
Posts: 3537
Joined: Sun Sep 14, 2003 1:23 am
Location: Hilo, Hawaii

Re: EVH #621, 4-0

Post by Brian F. »

Kick A$$ job, Paul!
User avatar
Paul M
Ultra Board Poster
Posts: 2201
Joined: Fri Feb 03, 2006 9:10 pm
Location: Toronto, Canada
Contact:

Re: EVH #621, 4-0

Post by Paul M »

Thanks, Brian!

To add a bit of value to this post, I wanted to share info about a tool I recently found in a local hobby shop that helped me eliminate the little brown halos around metal obstacles when removing the light brown layer of UV damage on the old rubber sideplates. I have been using wet abrasive papers for the process. Sometimes there are permanent metal pin heads or screws that can't be removed or fixed hub caps as seen on the example above. Getting in close to them is difficult without a hard edged tool. You can make a tool or roll up some abrasive paper but there is a neat little Sanding Stick sold by Flex-i-Tool that I have been using with consistent results. It looks like a clay modelling tool with a sloped head. The top and bottom ends are pushed apart by a spring. A narrow loop of abrasive paper is strung around the length of the tool and the spring loaded ends of the tool hold this loop of abrasive in place. You can buy strips with different grits. The tool has a sloped surface, a flat surface, a rounded surface and the tip provides a thin edge to get into very tight spots. As the abrasive is worn off, you just compress the spring loaded ends and slide the loop a few millimetres until you get a fresh area of grit. It is an aggressive technique for cleaning the rubber on these old reels but the results have been very good.

Paul Manuel
Mike Franzen
Advanced Board Poster
Posts: 115
Joined: Tue Oct 13, 2015 12:59 pm

Re: EVH #621, 4-0

Post by Mike Franzen »

Paul, I always appreciate it when you and others share your "secrets". It gives much added value to being a member of ORCA and this forum. Thank you.
User avatar
Brian F.
Star Board Poster
Posts: 3537
Joined: Sun Sep 14, 2003 1:23 am
Location: Hilo, Hawaii

Re: EVH #621, 4-0

Post by Brian F. »

Paul M wrote:..... there is a neat little Sanding Stick sold by Flex-i-Tool that I have been using with consistent results. It looks like a clay modelling tool with a sloped head. The top and bottom ends are pushed apart by a spring. A narrow loop of abrasive paper is strung around the length of the tool and the spring loaded ends of the tool hold this loop of abrasive in place. You can buy strips with different grits. The tool has a sloped surface, a flat surface, a rounded surface and the tip provides a thin edge to get into very tight spots. As the abrasive is worn off, you just compress the spring loaded ends and slide the loop a few millimetres until you get a fresh area of grit. It is an aggressive technique for cleaning the rubber on these old reels but the results have been very good.

Paul Manuel
Thanks again, Paul! What grit paper strips to you use on the hard rubber?

Here's another version sold by WoodCraft, a popular woodworking/tool retailer:

https://www.woodcraft.com/Product/123284 ... fgod98IGSg
User avatar
Paul M
Ultra Board Poster
Posts: 2201
Joined: Fri Feb 03, 2006 9:10 pm
Location: Toronto, Canada
Contact:

Re: EVH #621, 4-0

Post by Paul M »

Brian:
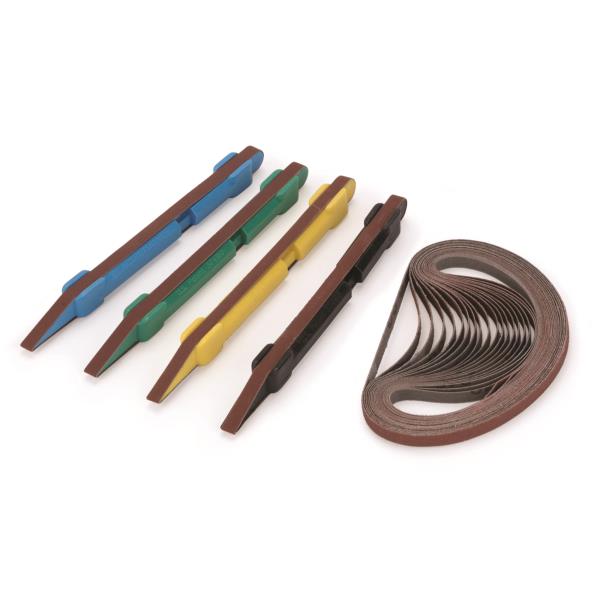
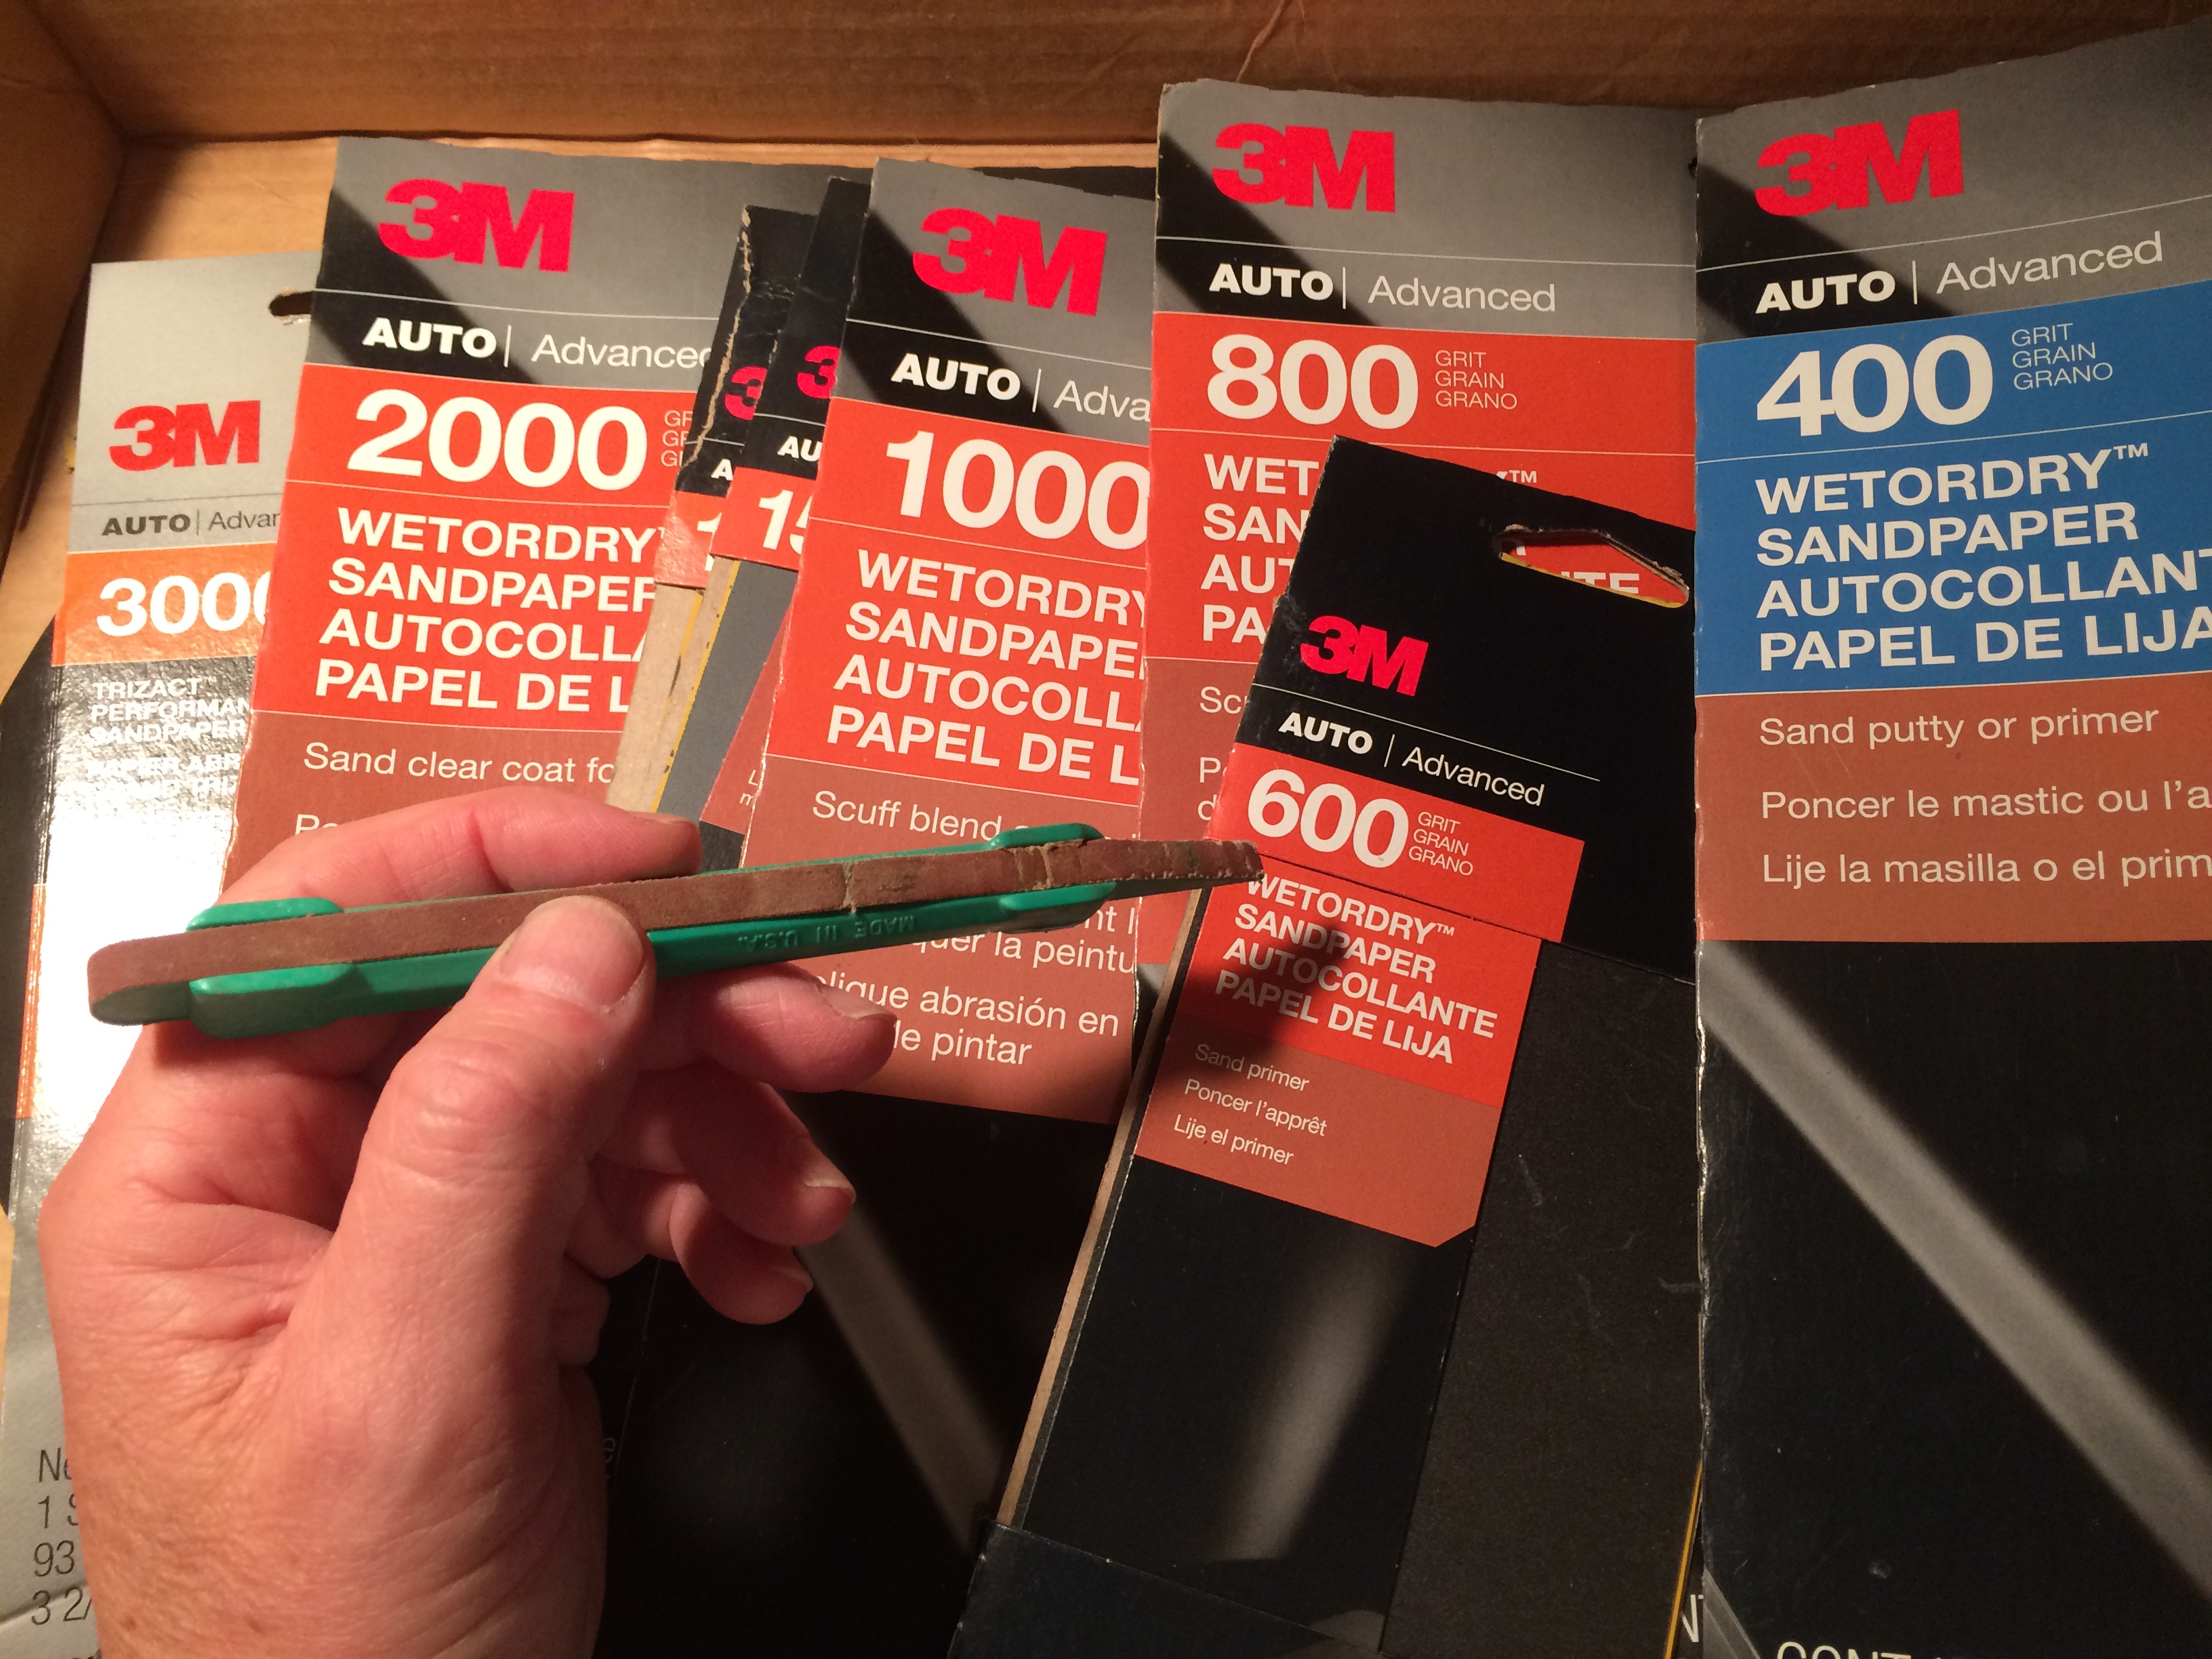
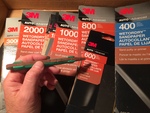
For the stylus I have only used #600 but that leaves a very rough finish on the rubber so it needs to be one step within a multi-step process. I have papers with grits from #400- #3000 but I only have a loop of #600 on the stylus.


When the rubber has been damaged and the surface needs to be smoothed, my approach has been to use automotive papers (wet) by hand. The way I do it, I remove the lighter colored UV damaged rubber down to the black color using the coarsest grit I plan to use, usually #600 (wet), going over the entire rubber surface again and again by hand (in straight strokes that over a clockwise arc), as necessary until it is all black. This is the point where the light brown halos become visible around the immovable metal. I remove the halos with the stylus. As stated above, my stylus is rigged with #600 grit. After the halos are removed and thus the entire rubber surface is black, I then go over all the rubber by hand with successively higher grits (in a clockwise arc using straight strokes) until I get it to the polish desired at around #2000. I don't use the stylus after the initial #600 grit stripping. The rest of the work after the halos are removed just uses the successively higher grits of abrasive paper (wet) under normal finger pressure- no stylus.

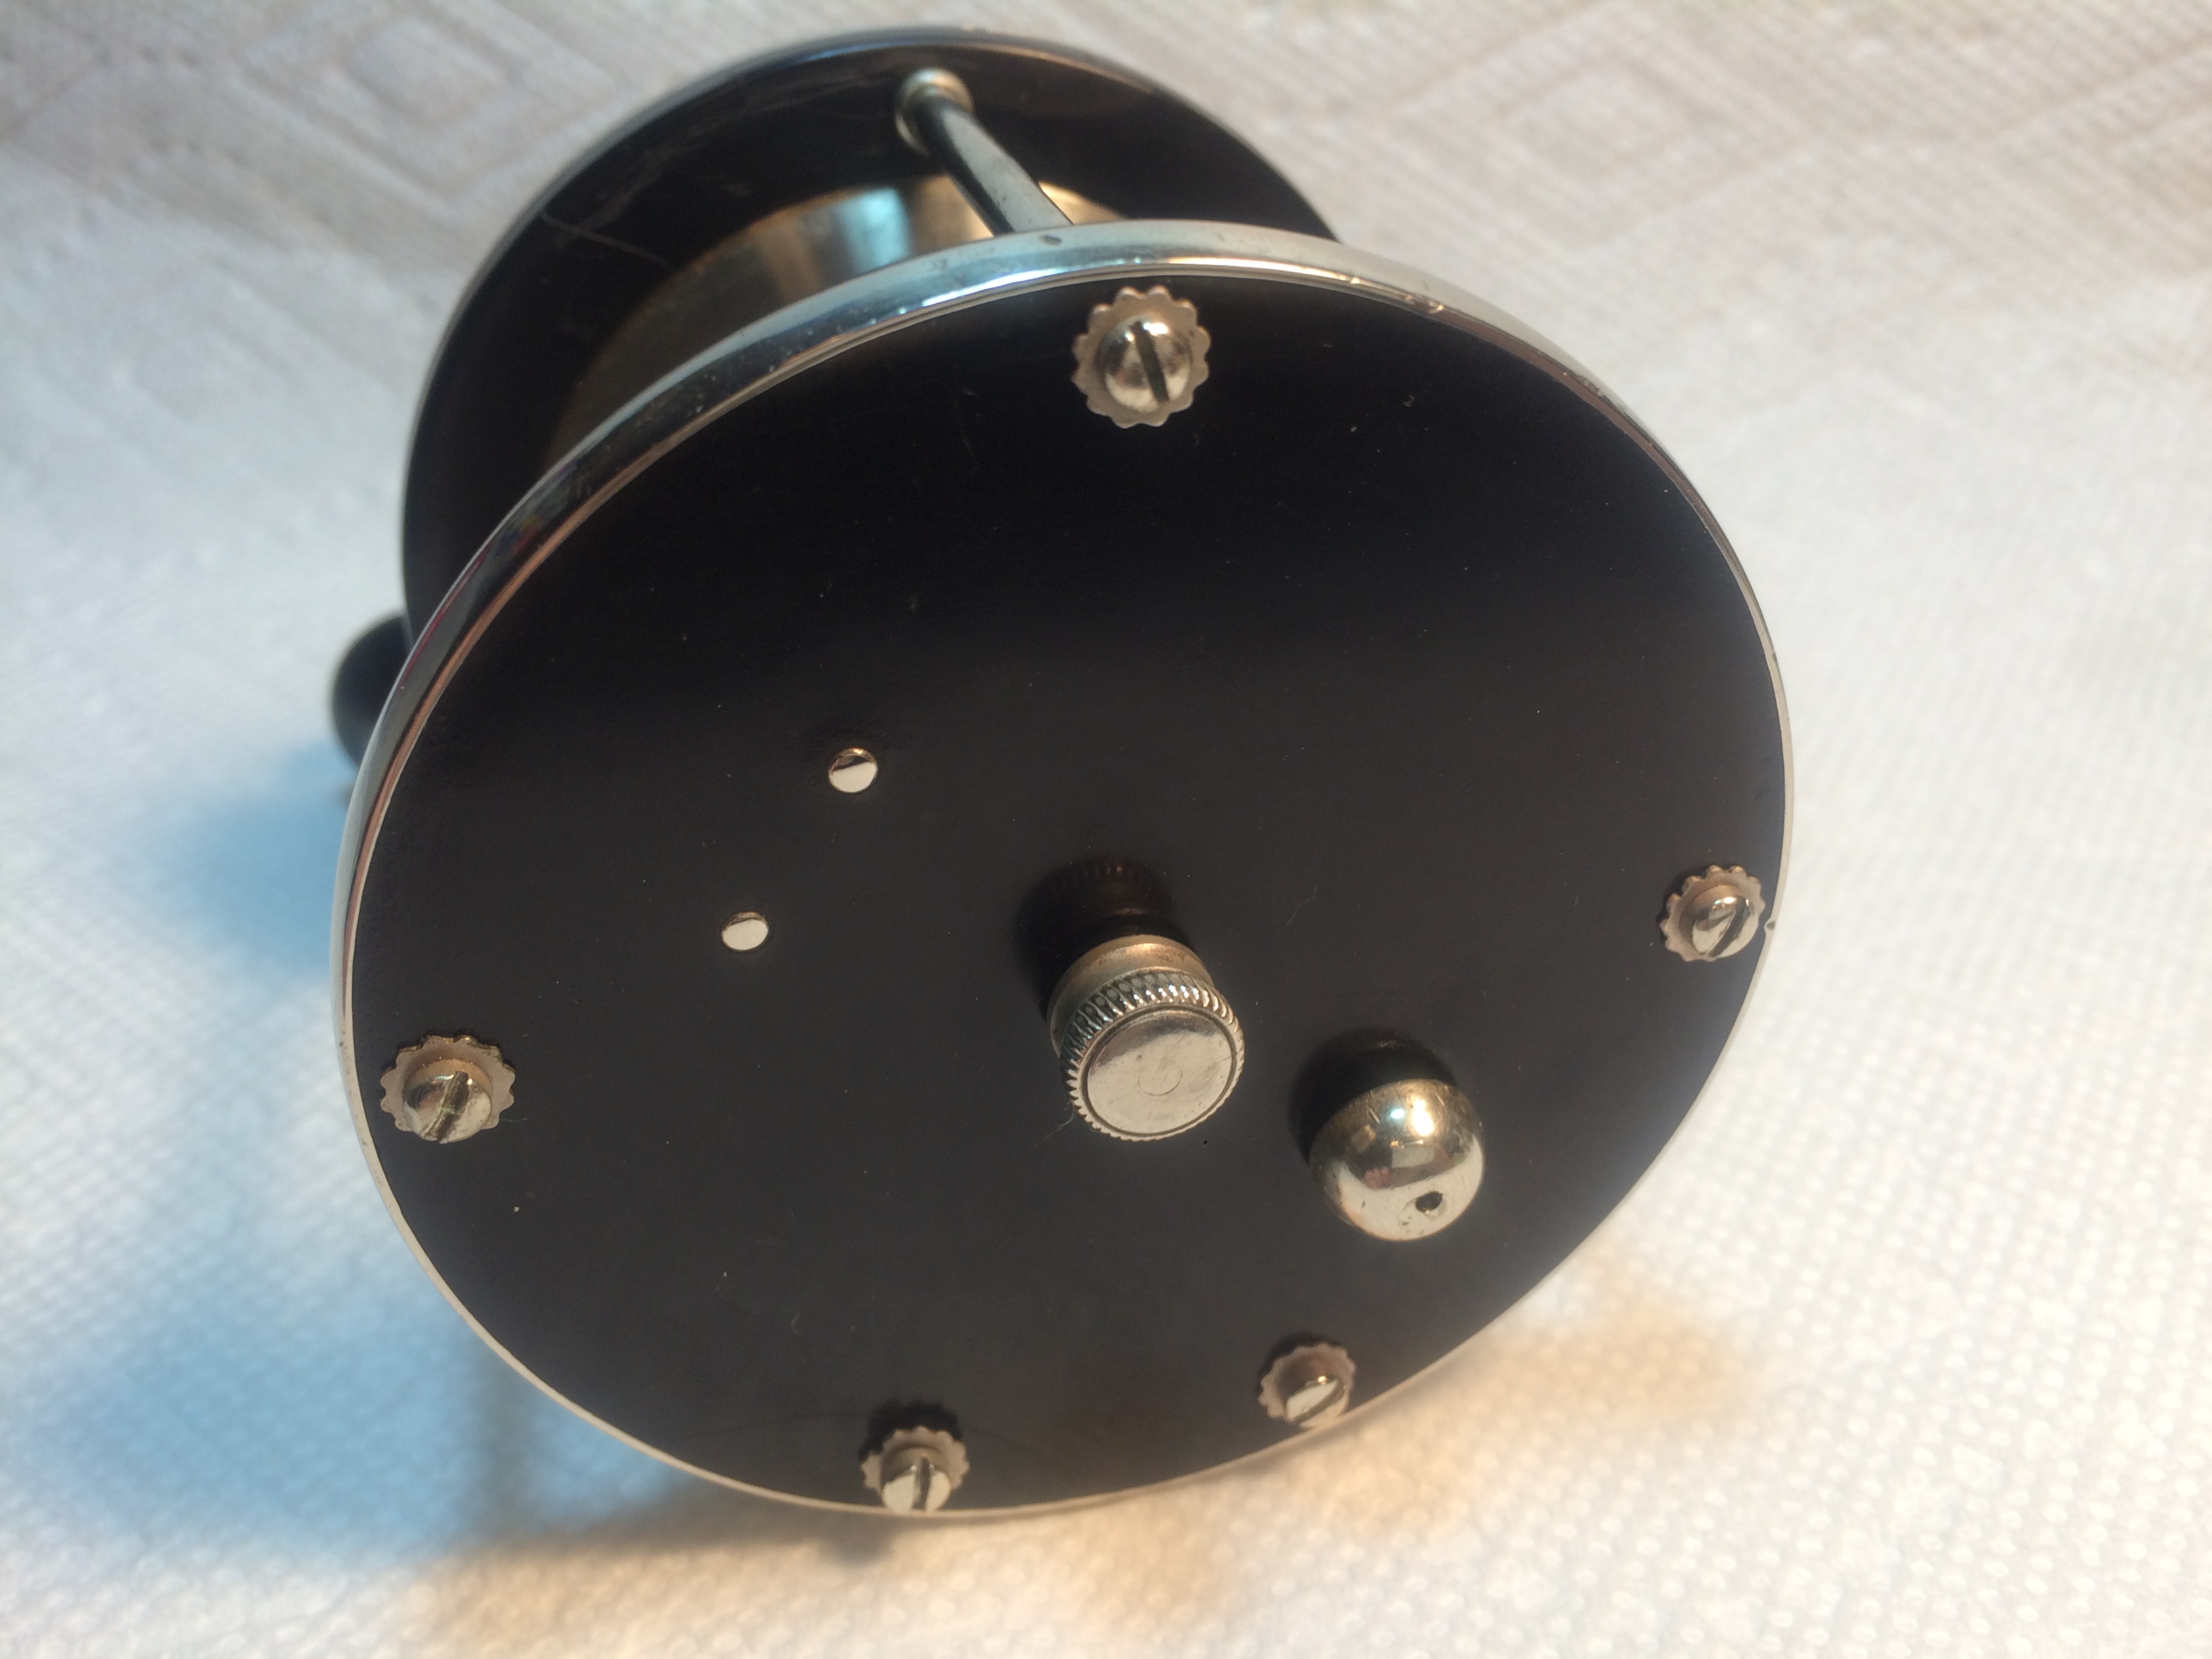
Here is an example using another rubber reel:

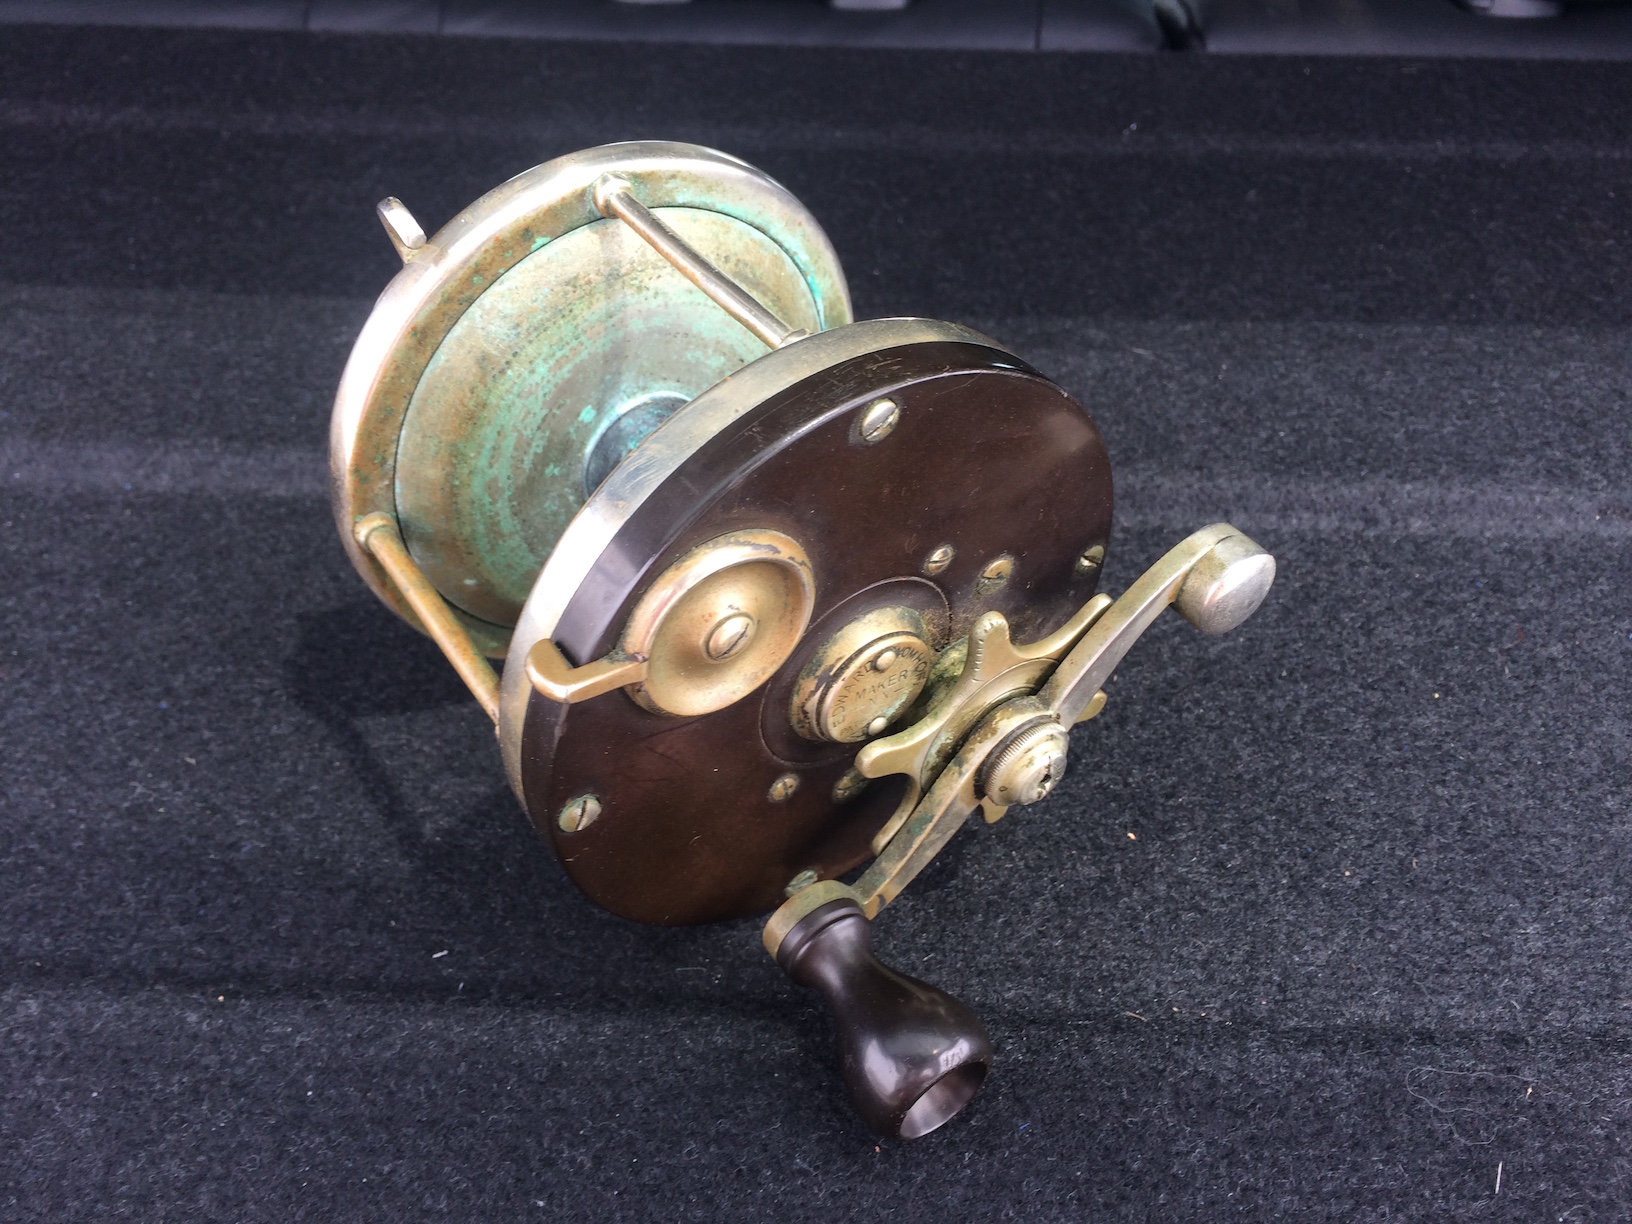
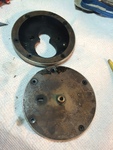
The rubber was pitted, bumpy, chipped and cracked. I cleaned and repaired it using the process in the ORCA Cleaning Restoration Guide but it still looks like a mess.


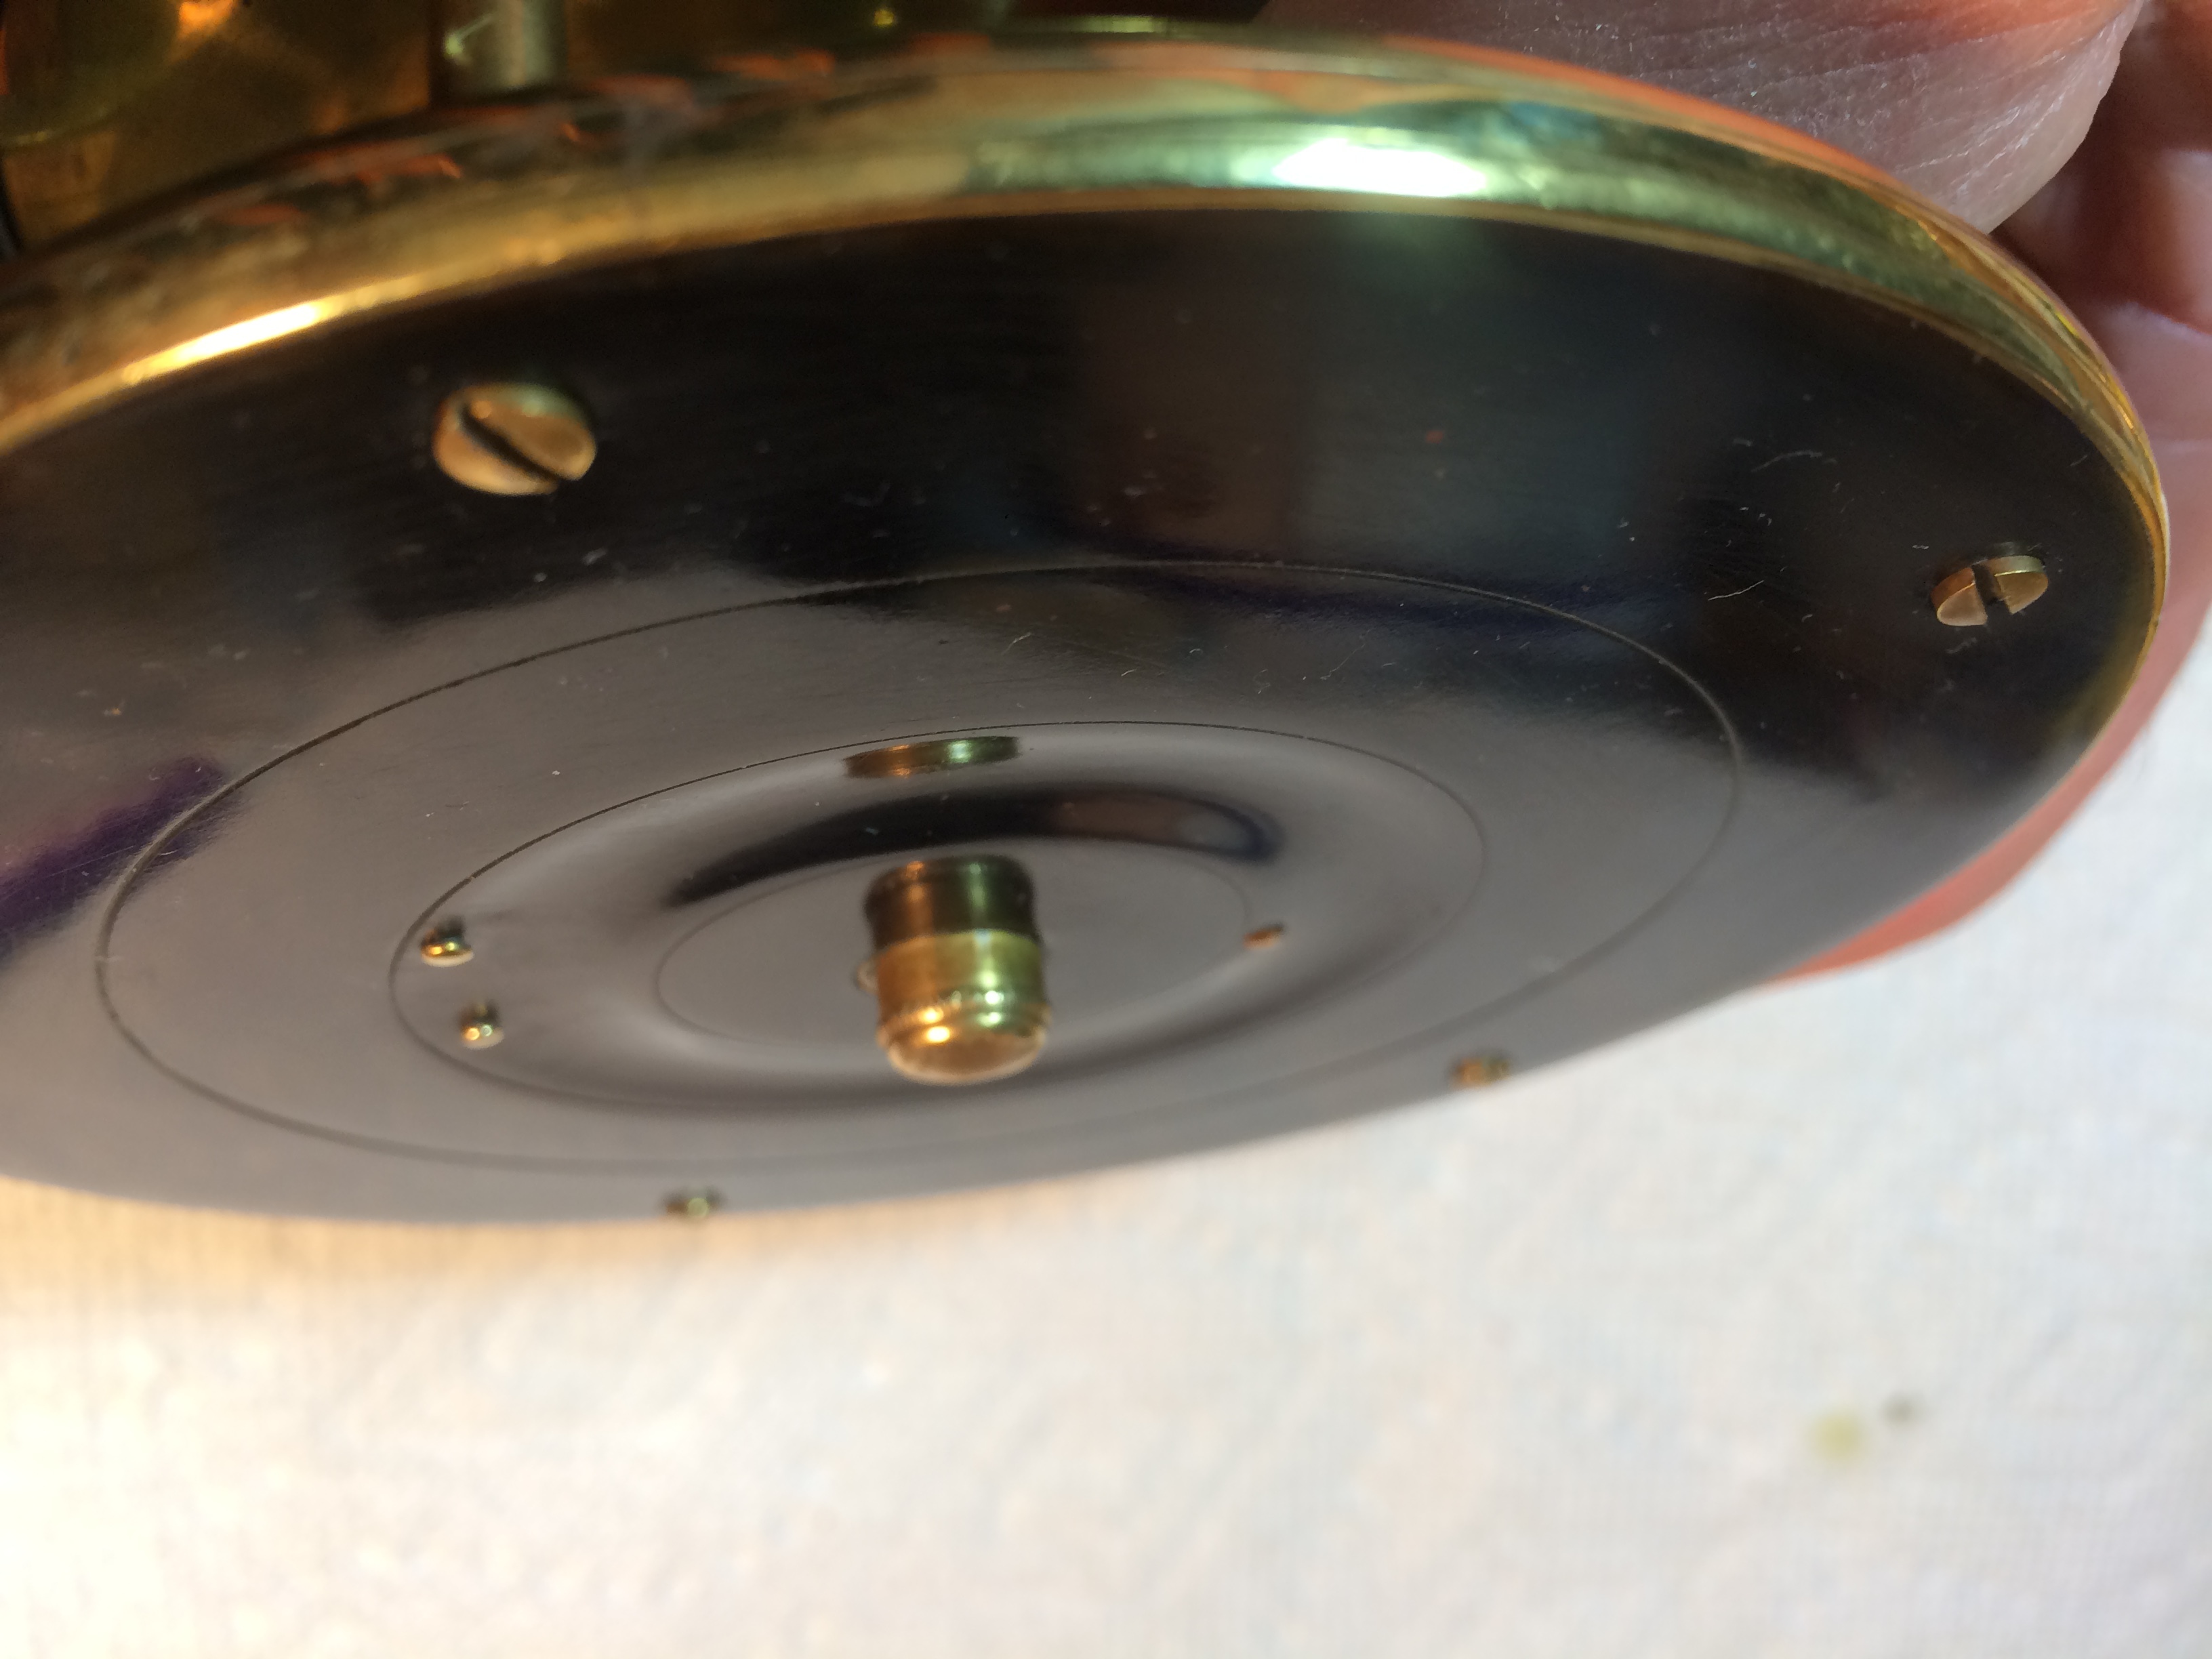
I then polished followed the process described above. In the picture below, do you see the light brown halos around the spring pins? That is what I use the stylus to remove.
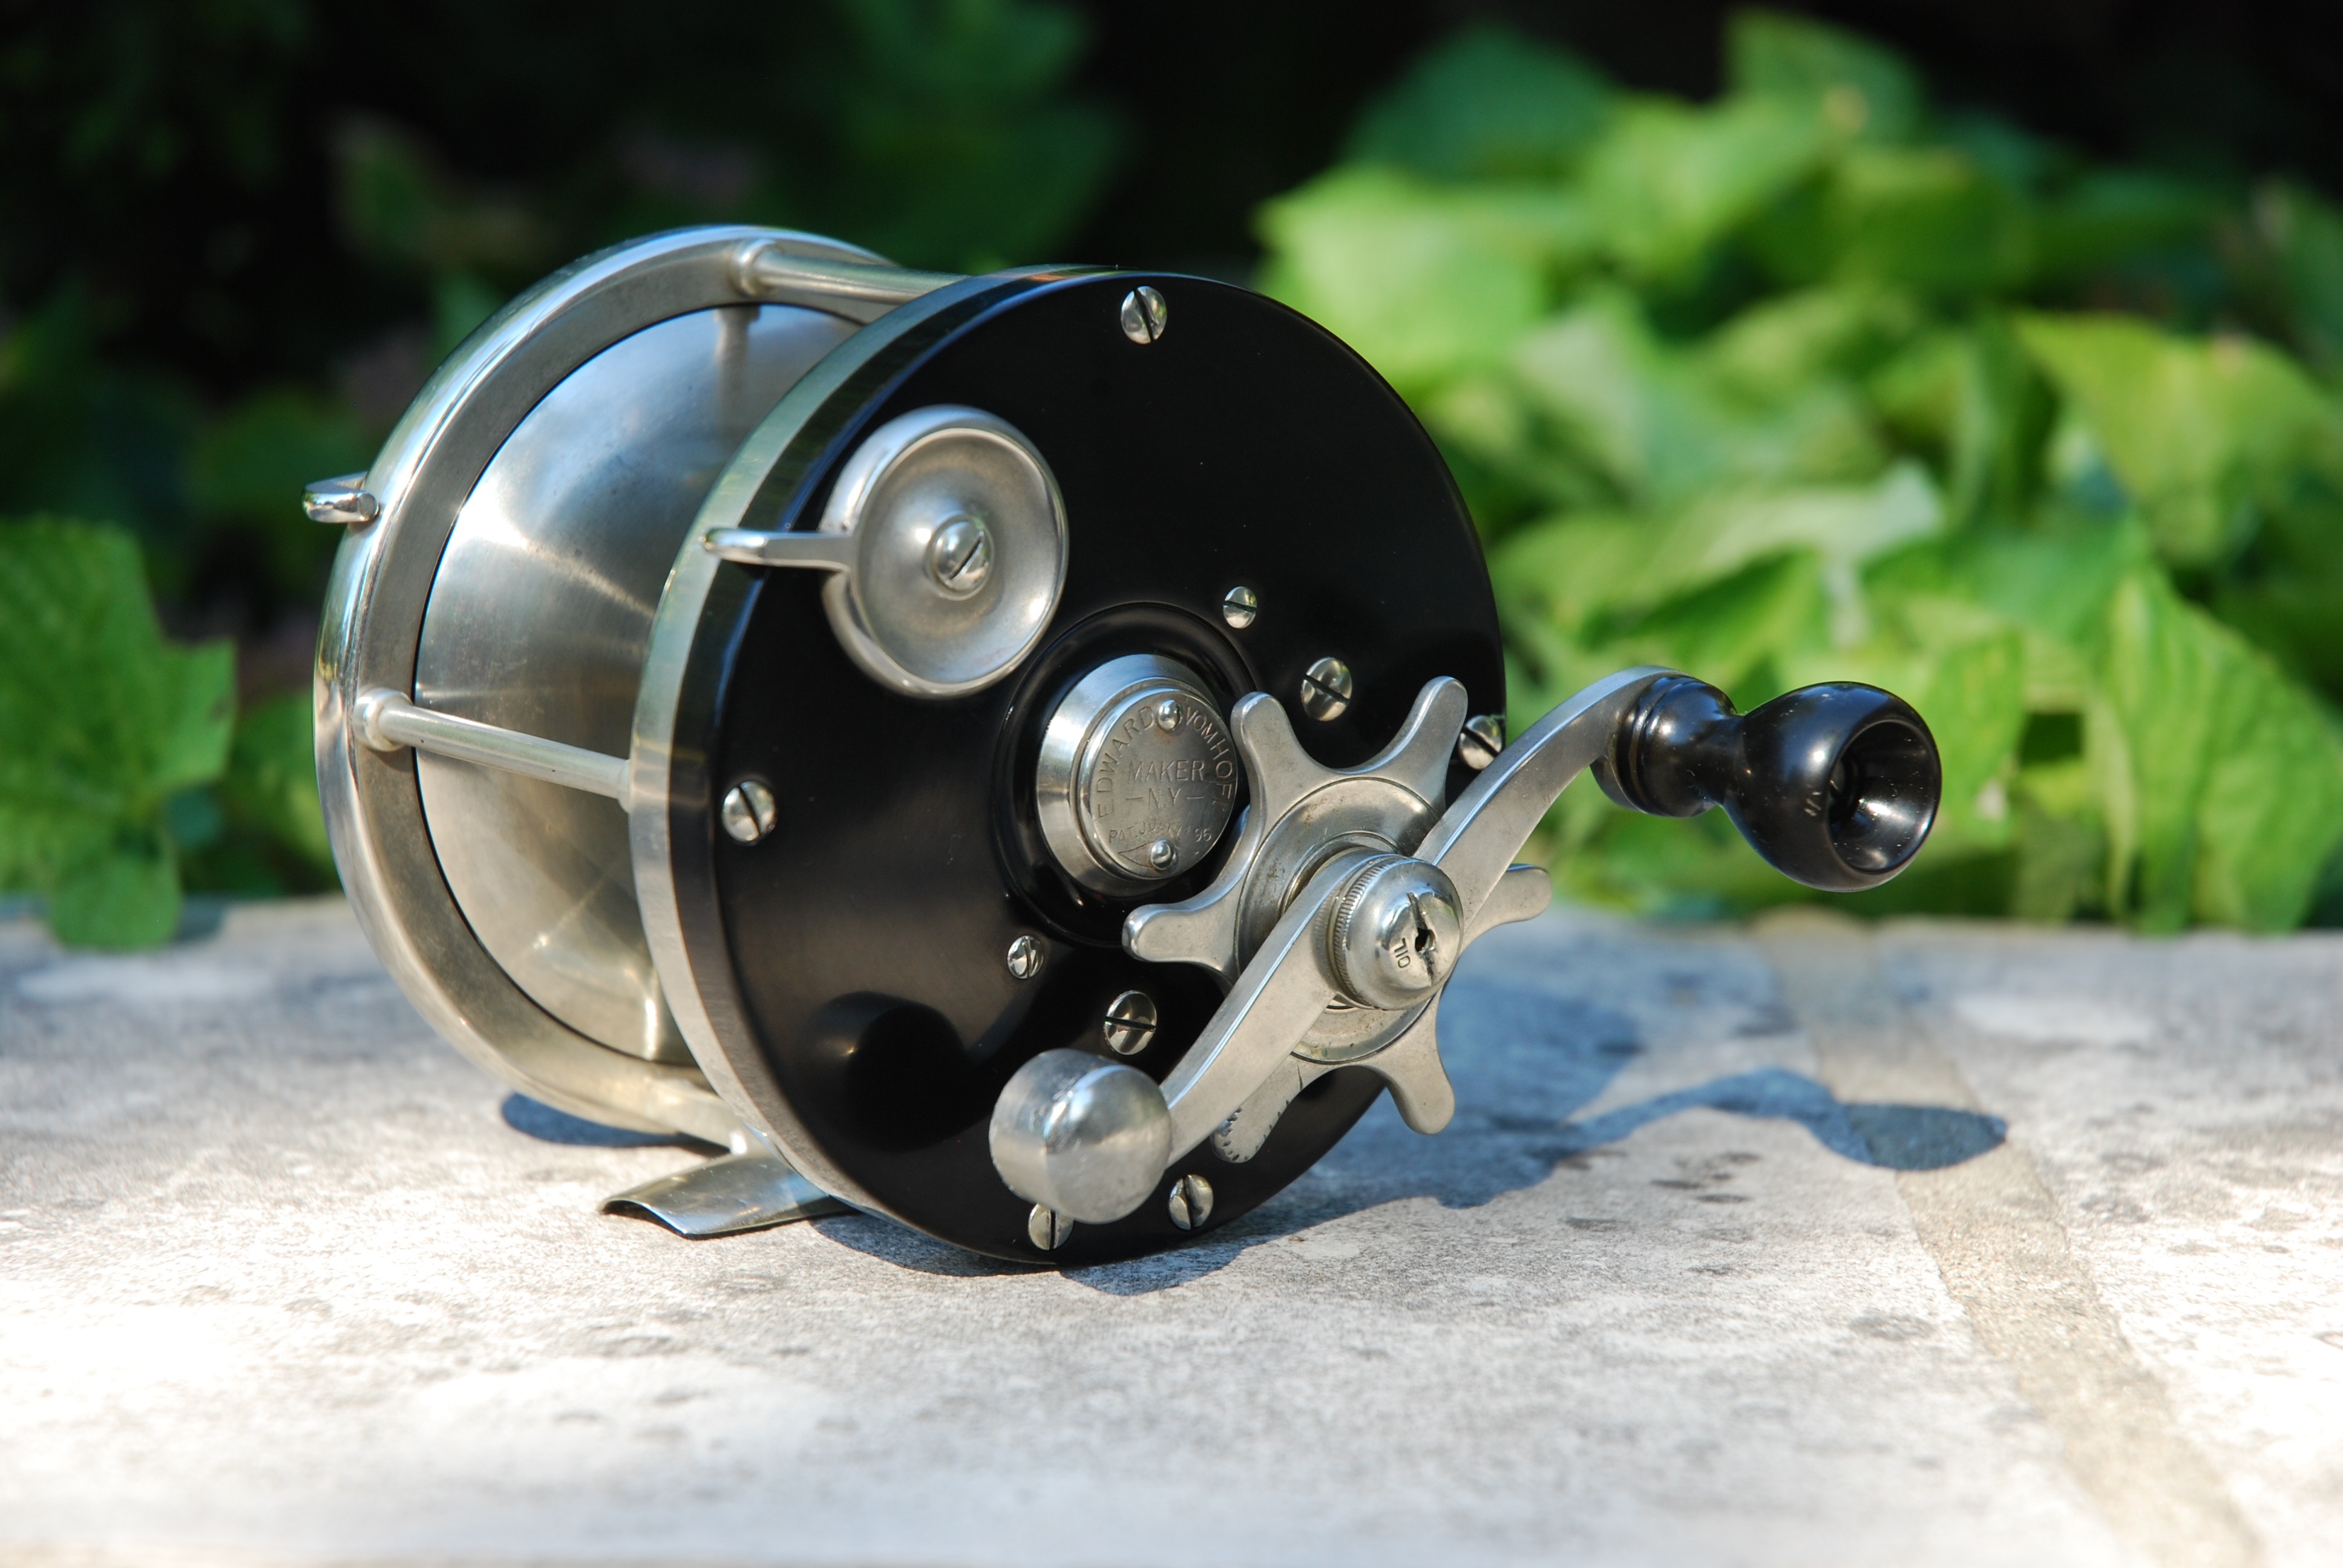
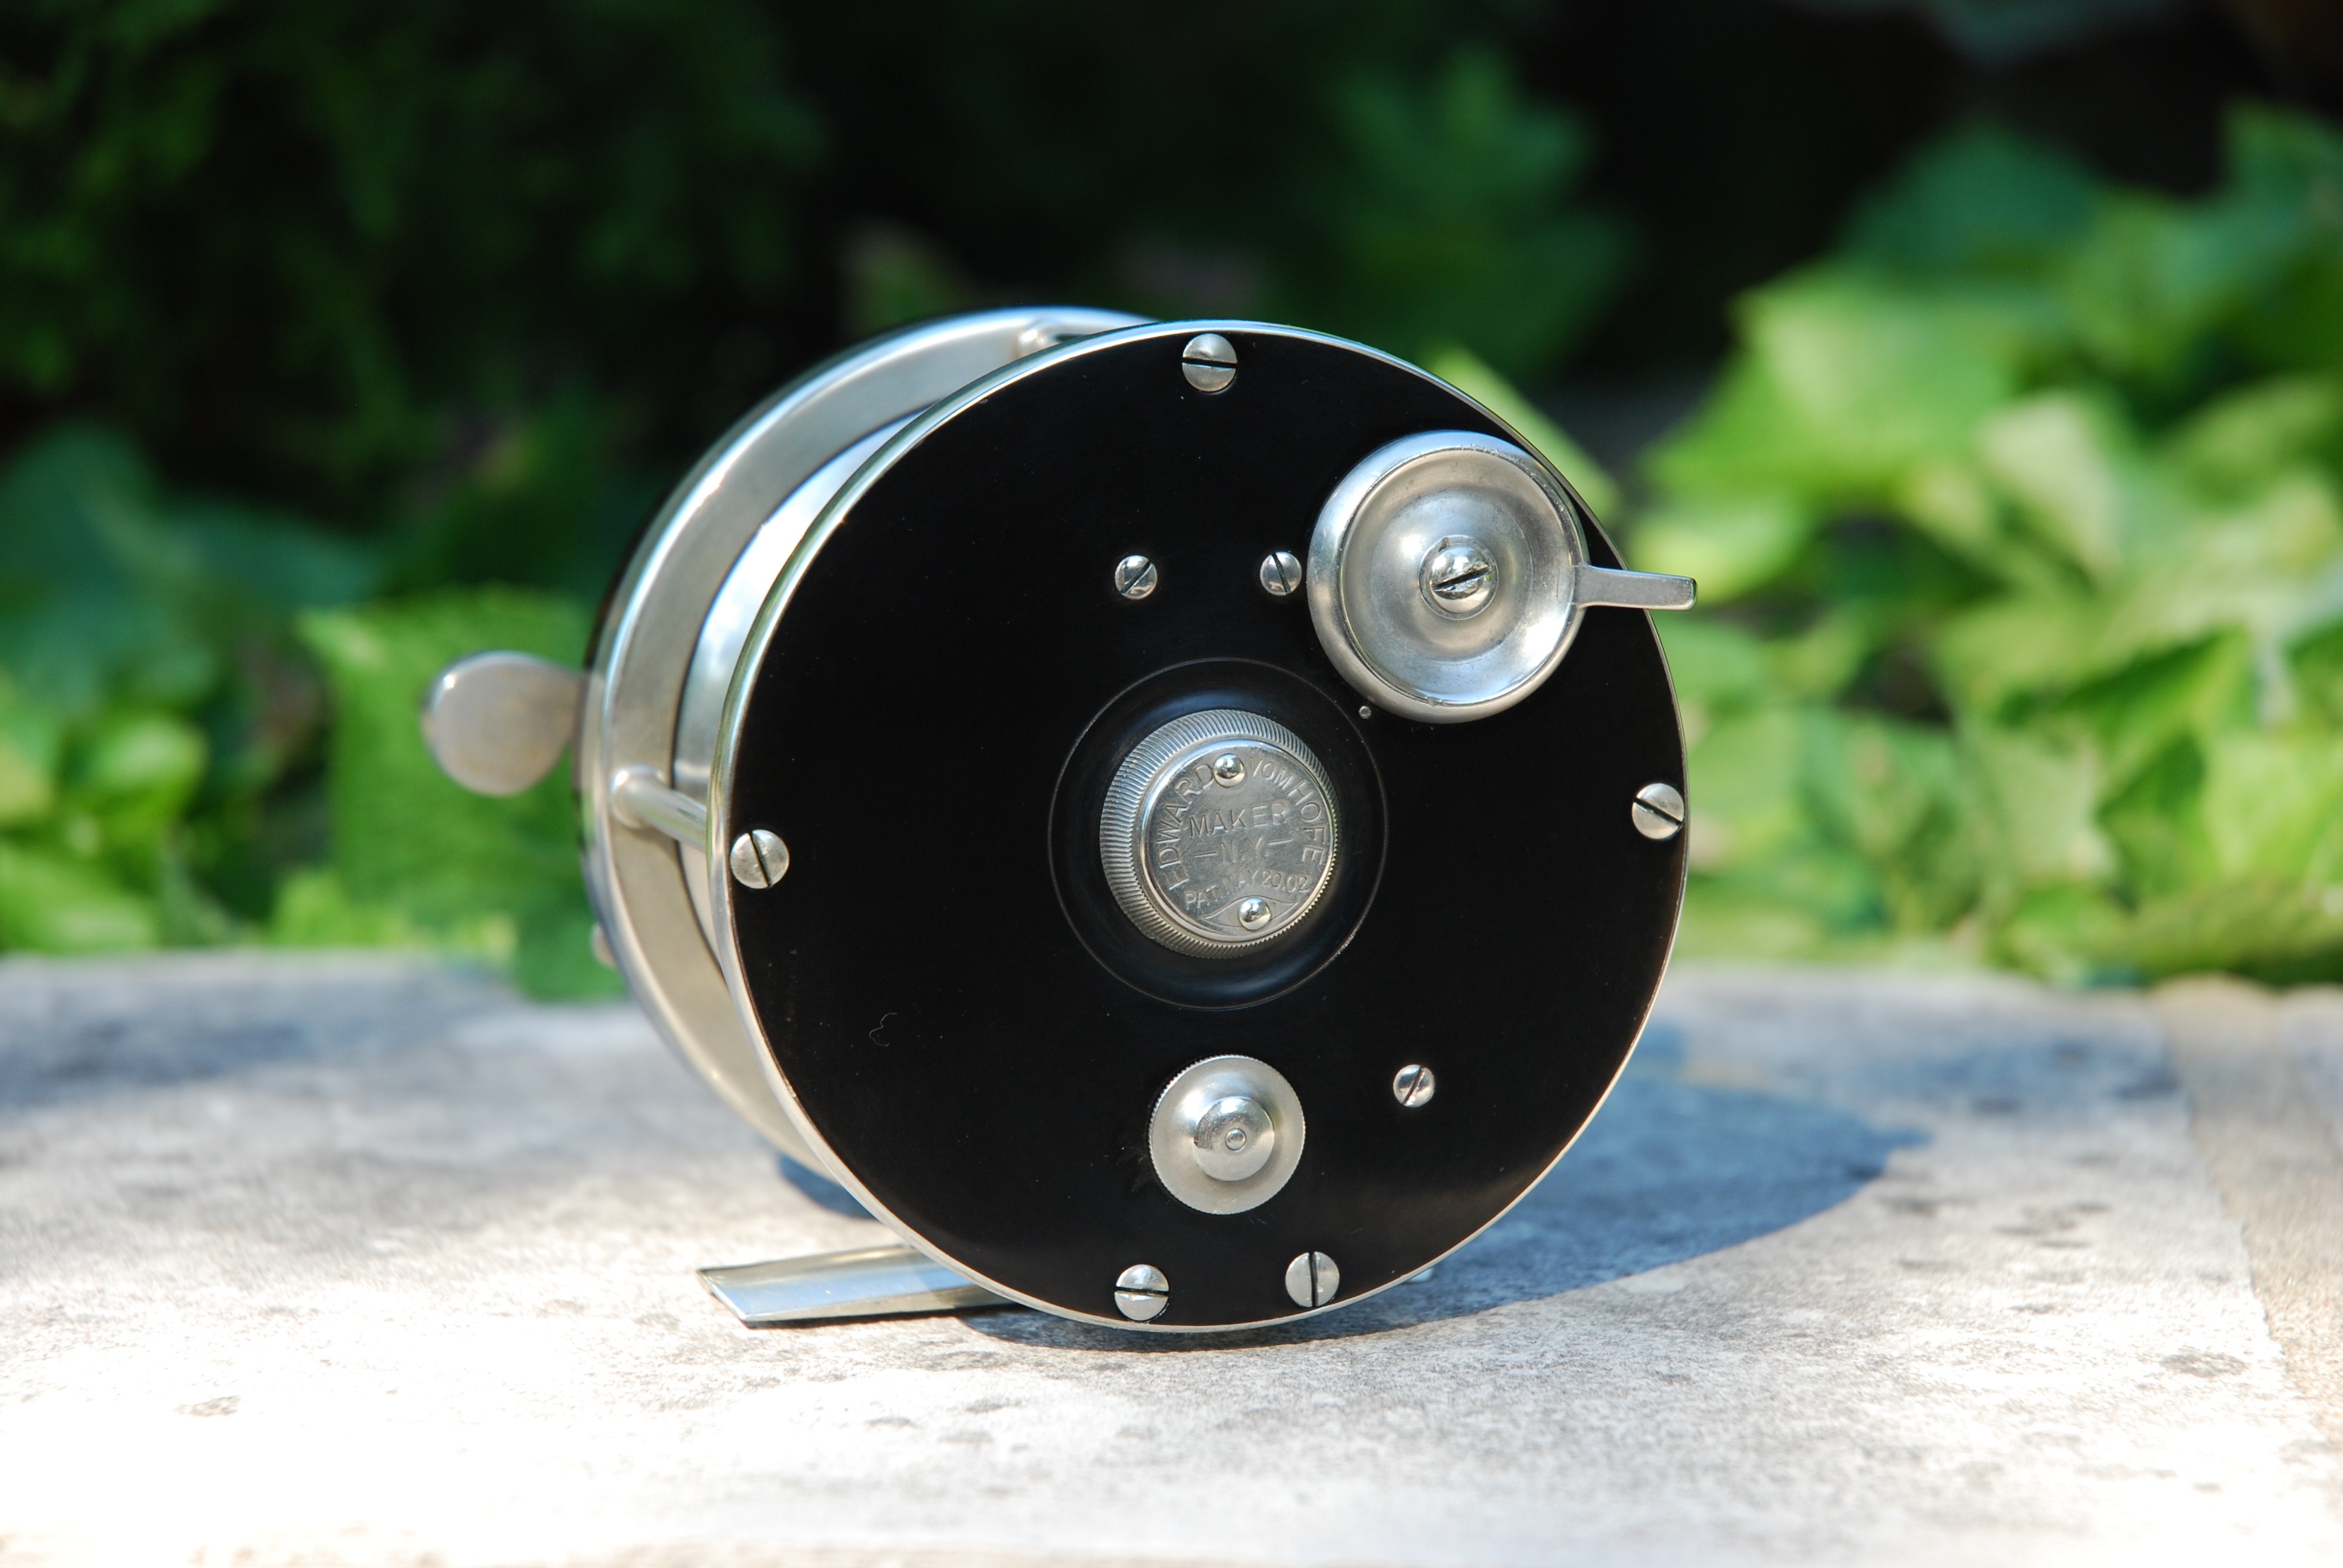
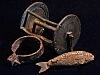


After:


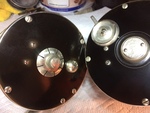
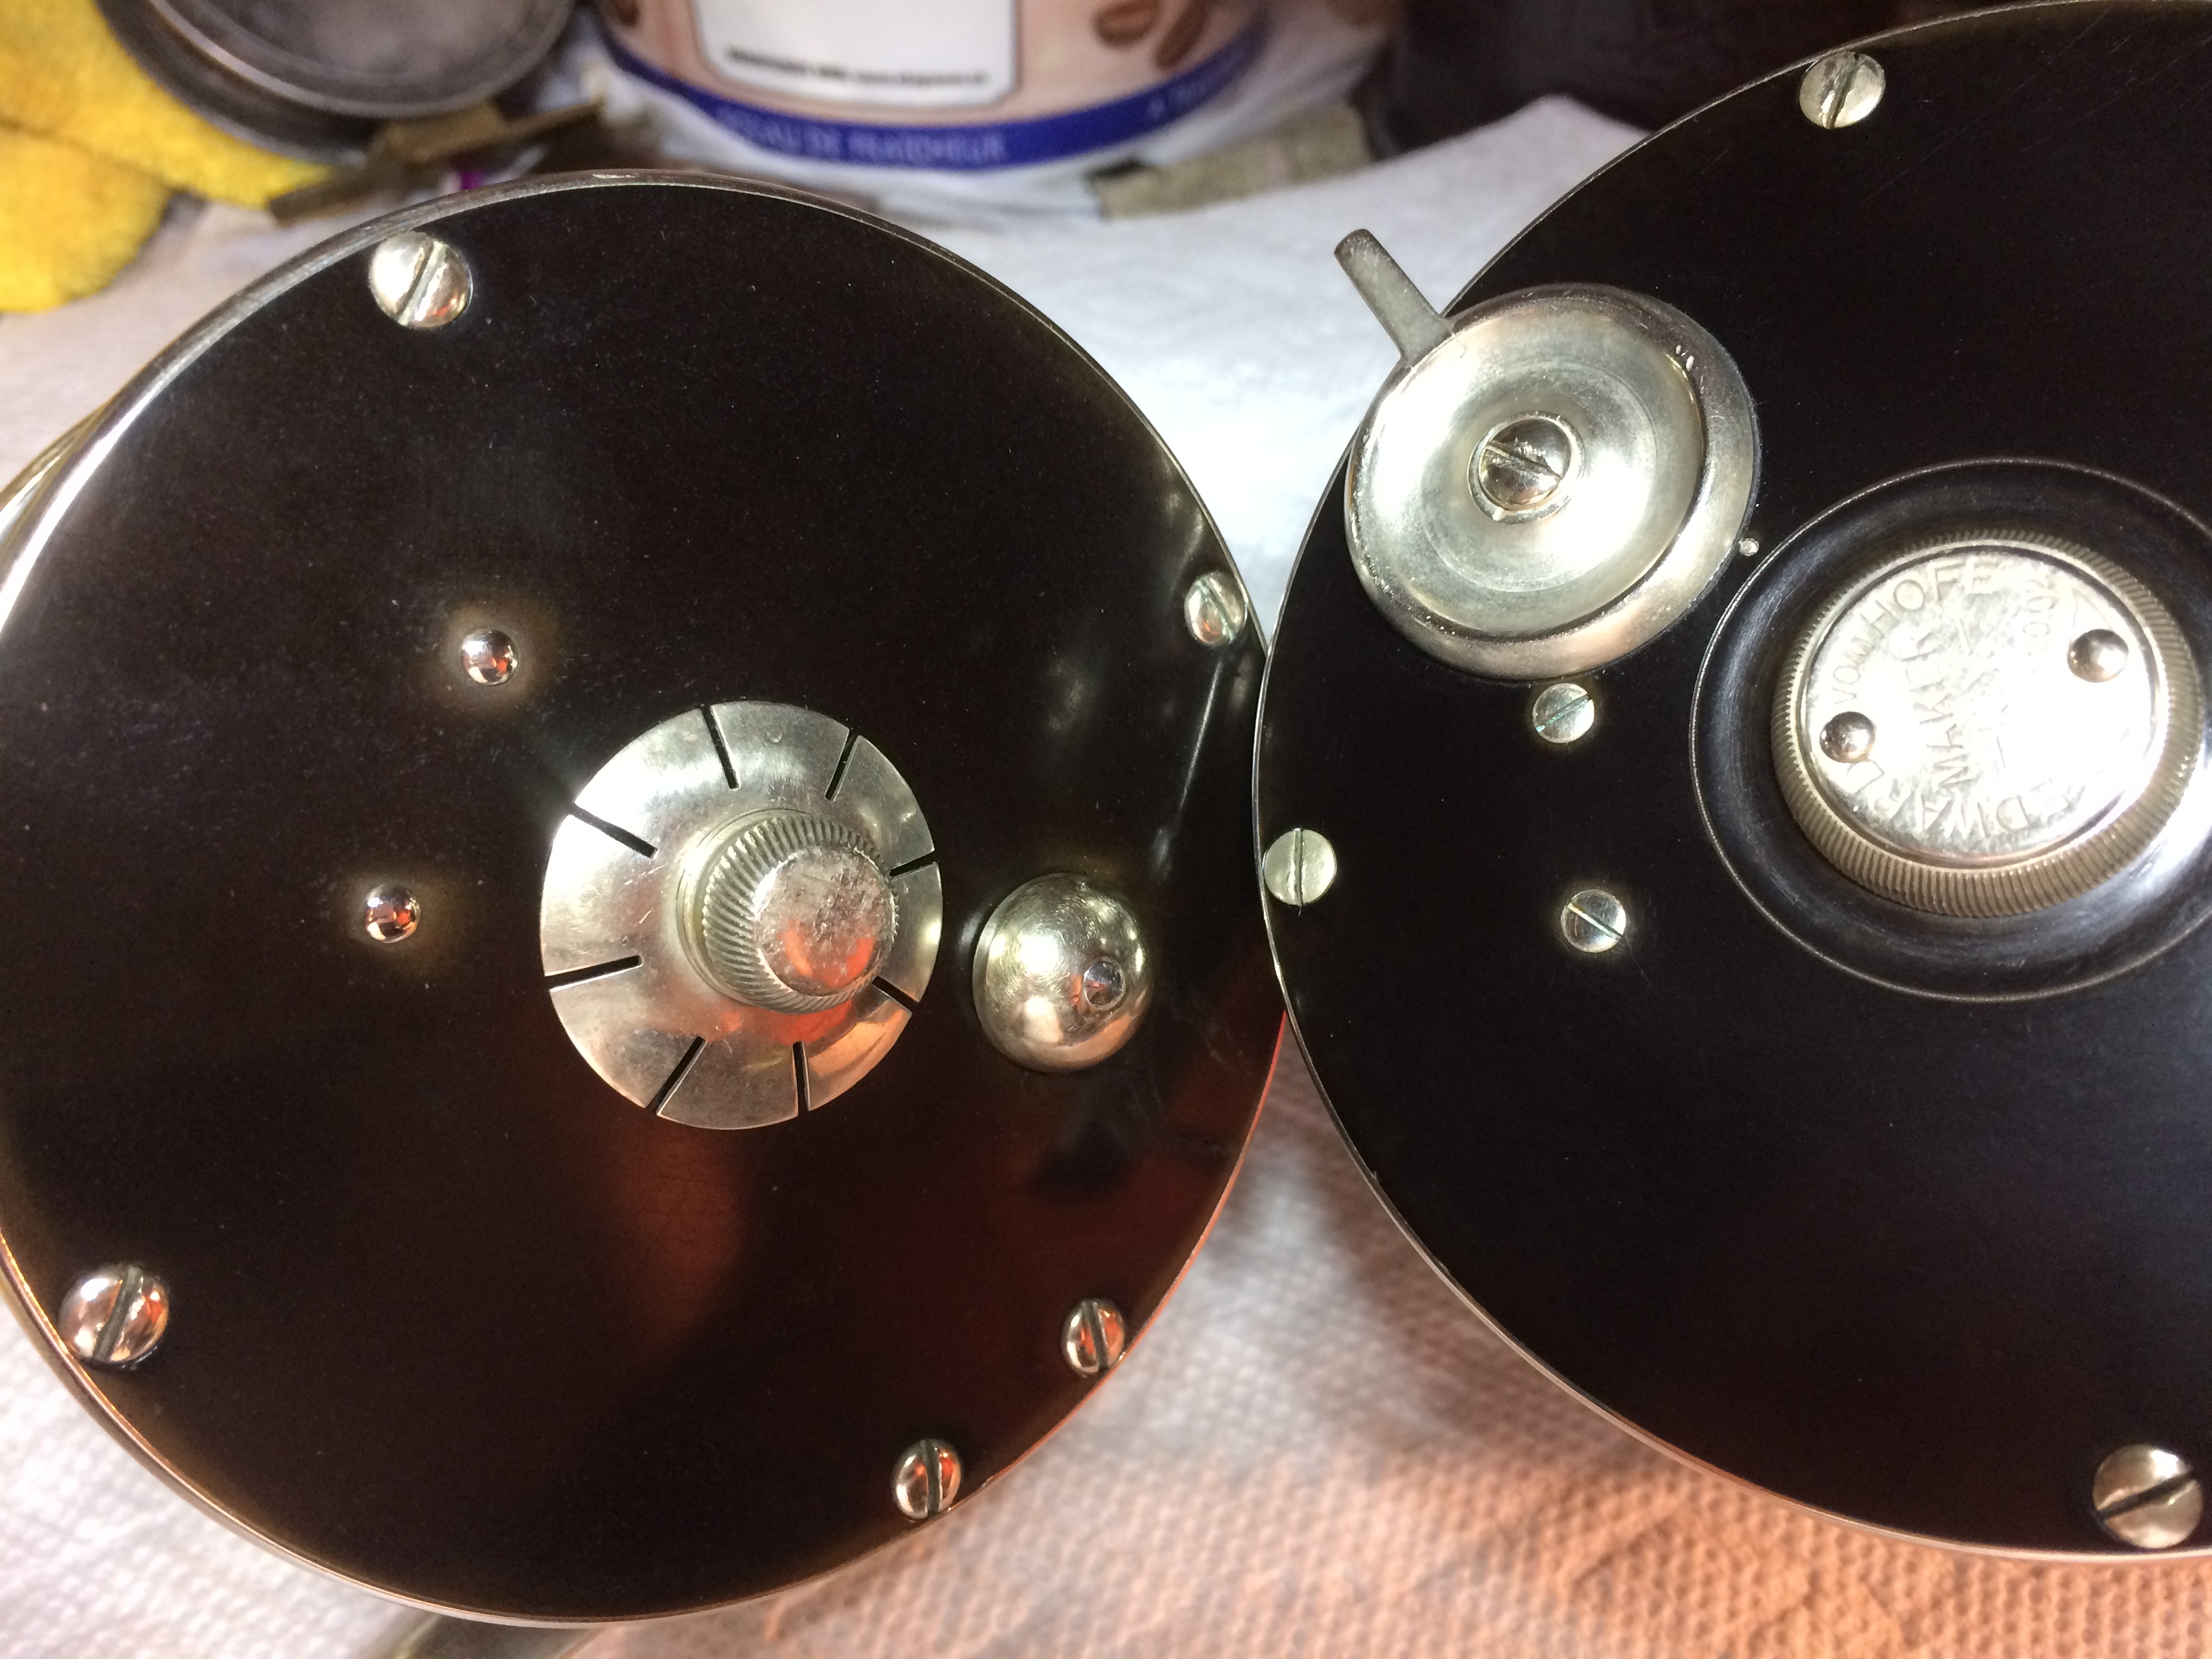
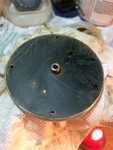
Below-left is a rubber sided reel I cleaned prior to using the stylus technique. Do you see the remaining halos? On the right is the subject EVH #621 where I used the stylus to remove halos around the oil cap assembly, since I could not remove it from the rubber. The rubber looks dark black right to the edge of the metal because I was able to use the precise edge of the stylus to get very close to the metal. Finger pressure on paper cannot get that close.

User avatar
Paul M
Ultra Board Poster
Posts: 2201
Joined: Fri Feb 03, 2006 9:10 pm
Location: Toronto, Canada
Contact:

Re: EVH #621, 4-0

Post by Paul M »

Here is an example of a 4" diameter Trowbridge salmon fly reel backplate that I restored. Notice the contours, subtle scribe groove and relatively tall spring pins. Using the tool and techniques described above, I was able to get this result.

User avatar
Brian F.
Star Board Poster
Posts: 3537
Joined: Sun Sep 14, 2003 1:23 am
Location: Hilo, Hawaii

Re: EVH #621, 4-0

Post by Brian F. »

Amazing Job, Paul. Thanks for the rundown.
Post Reply