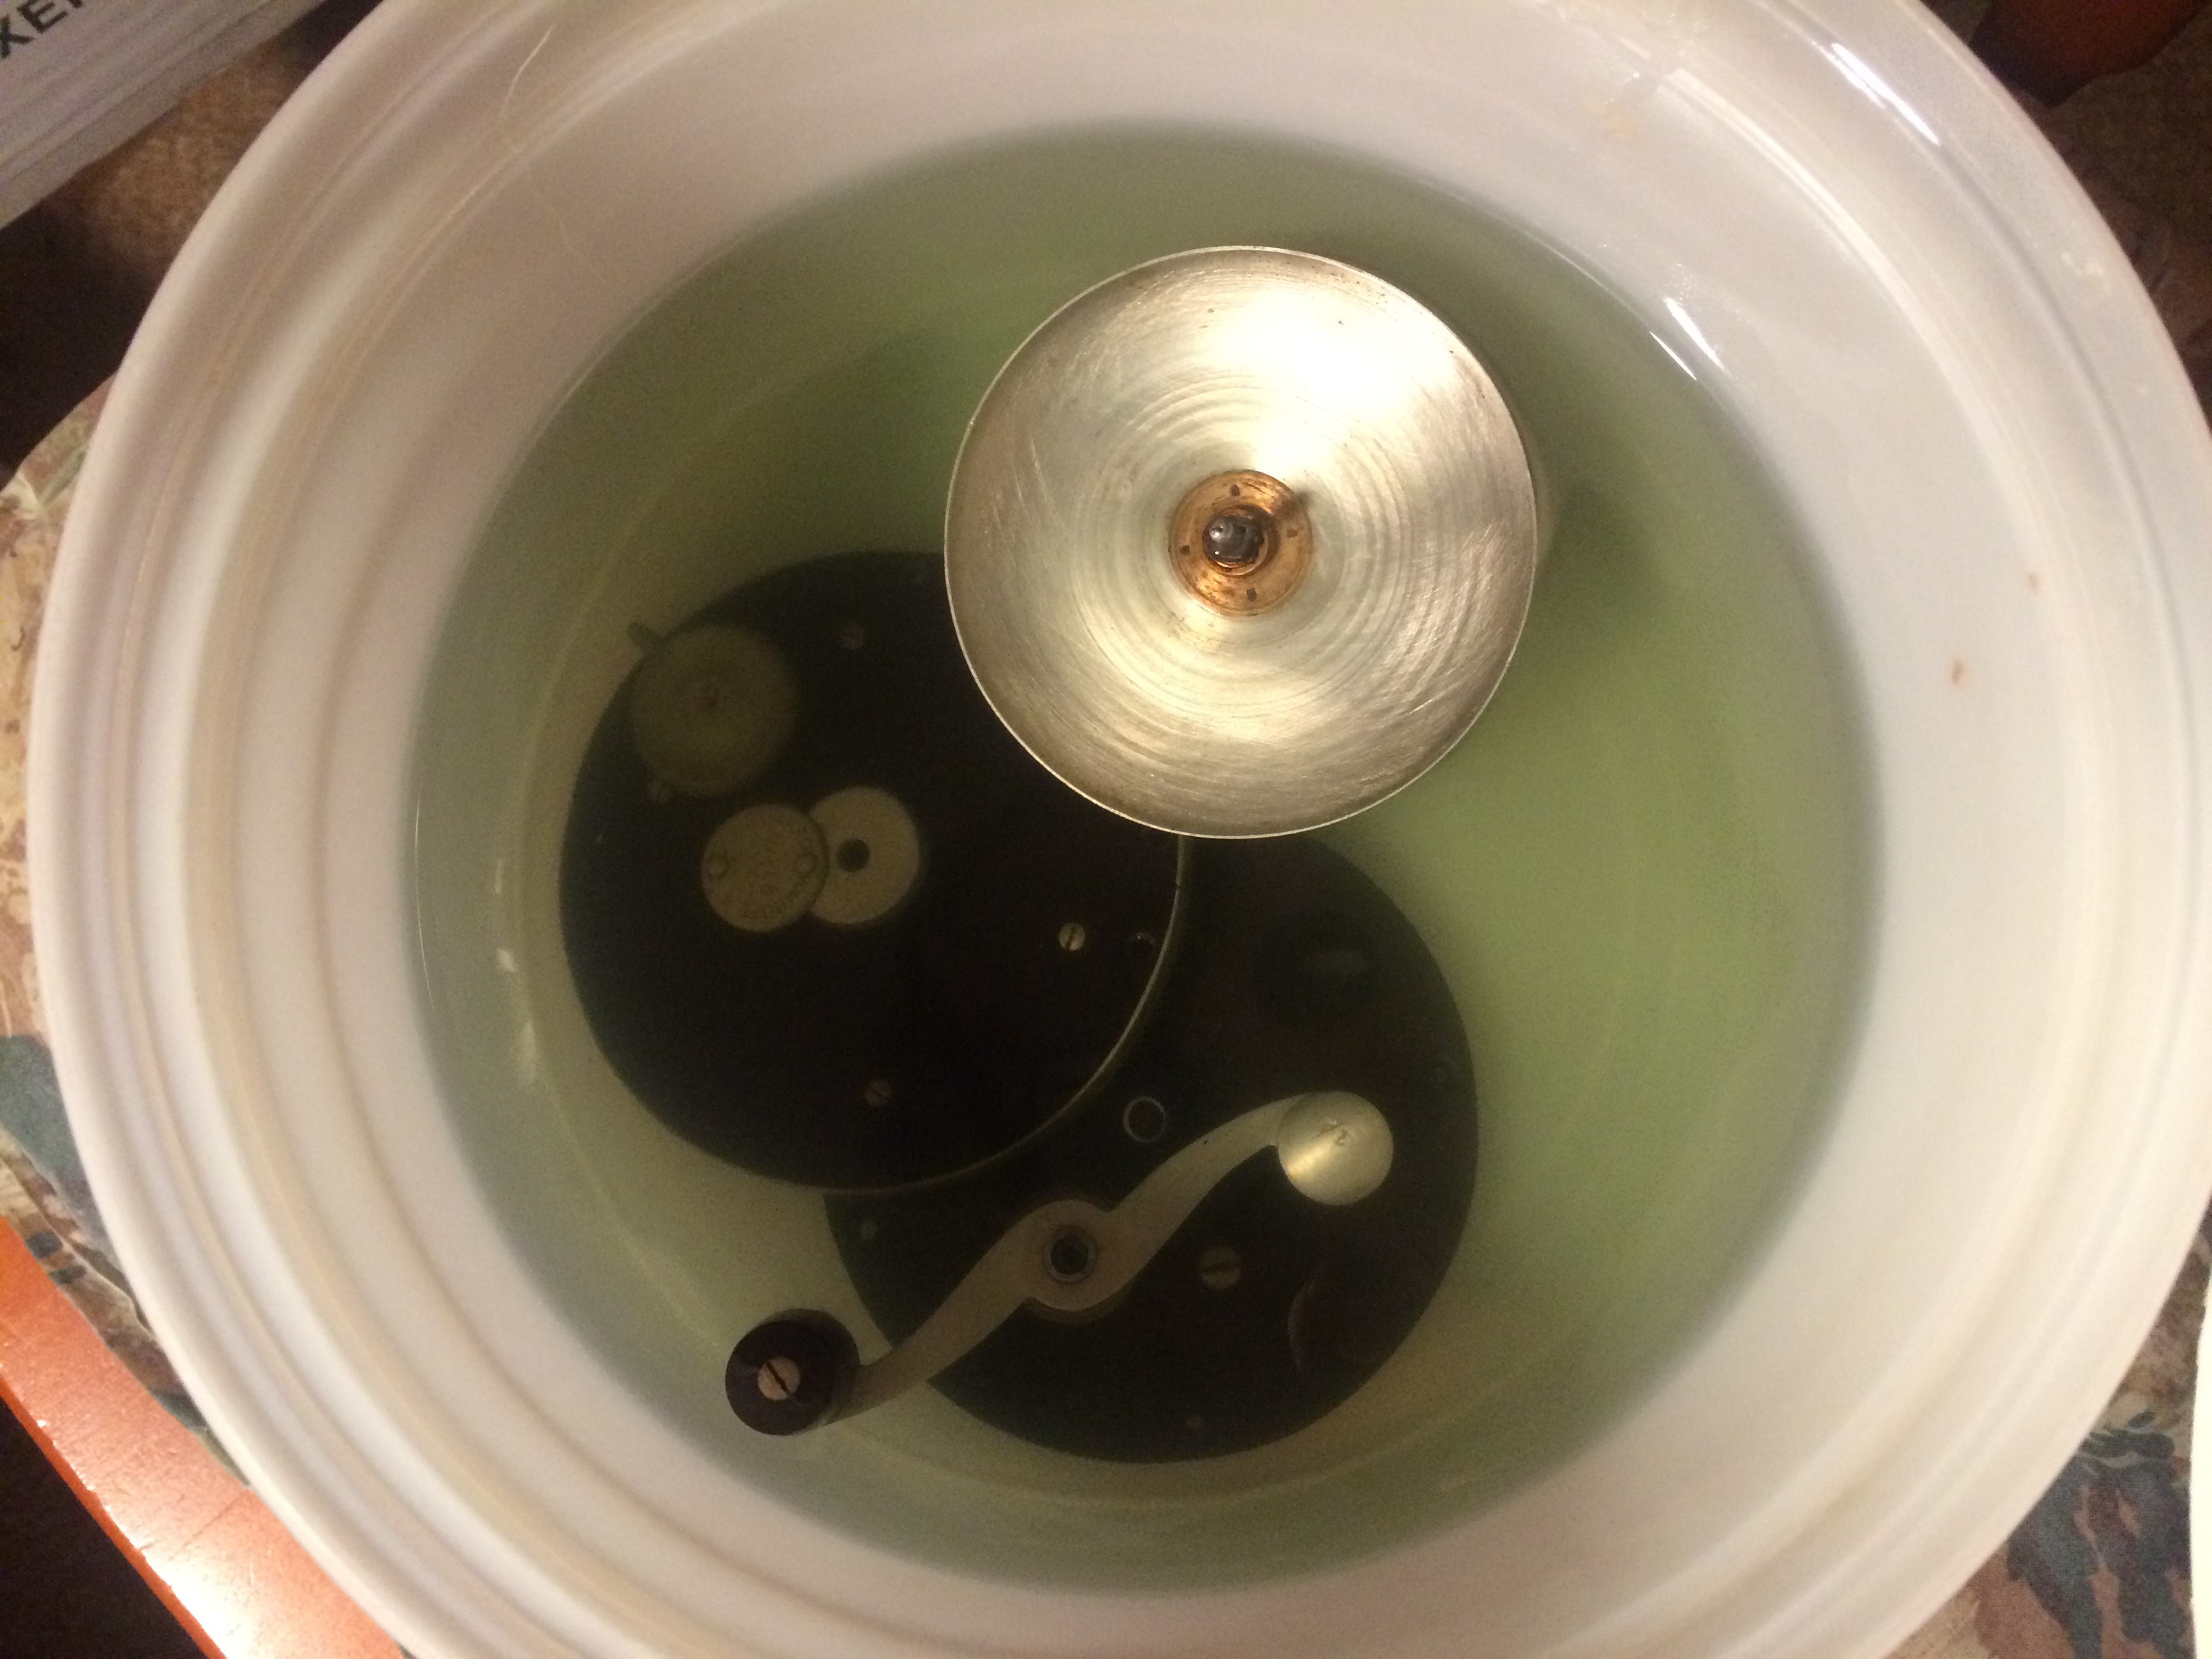
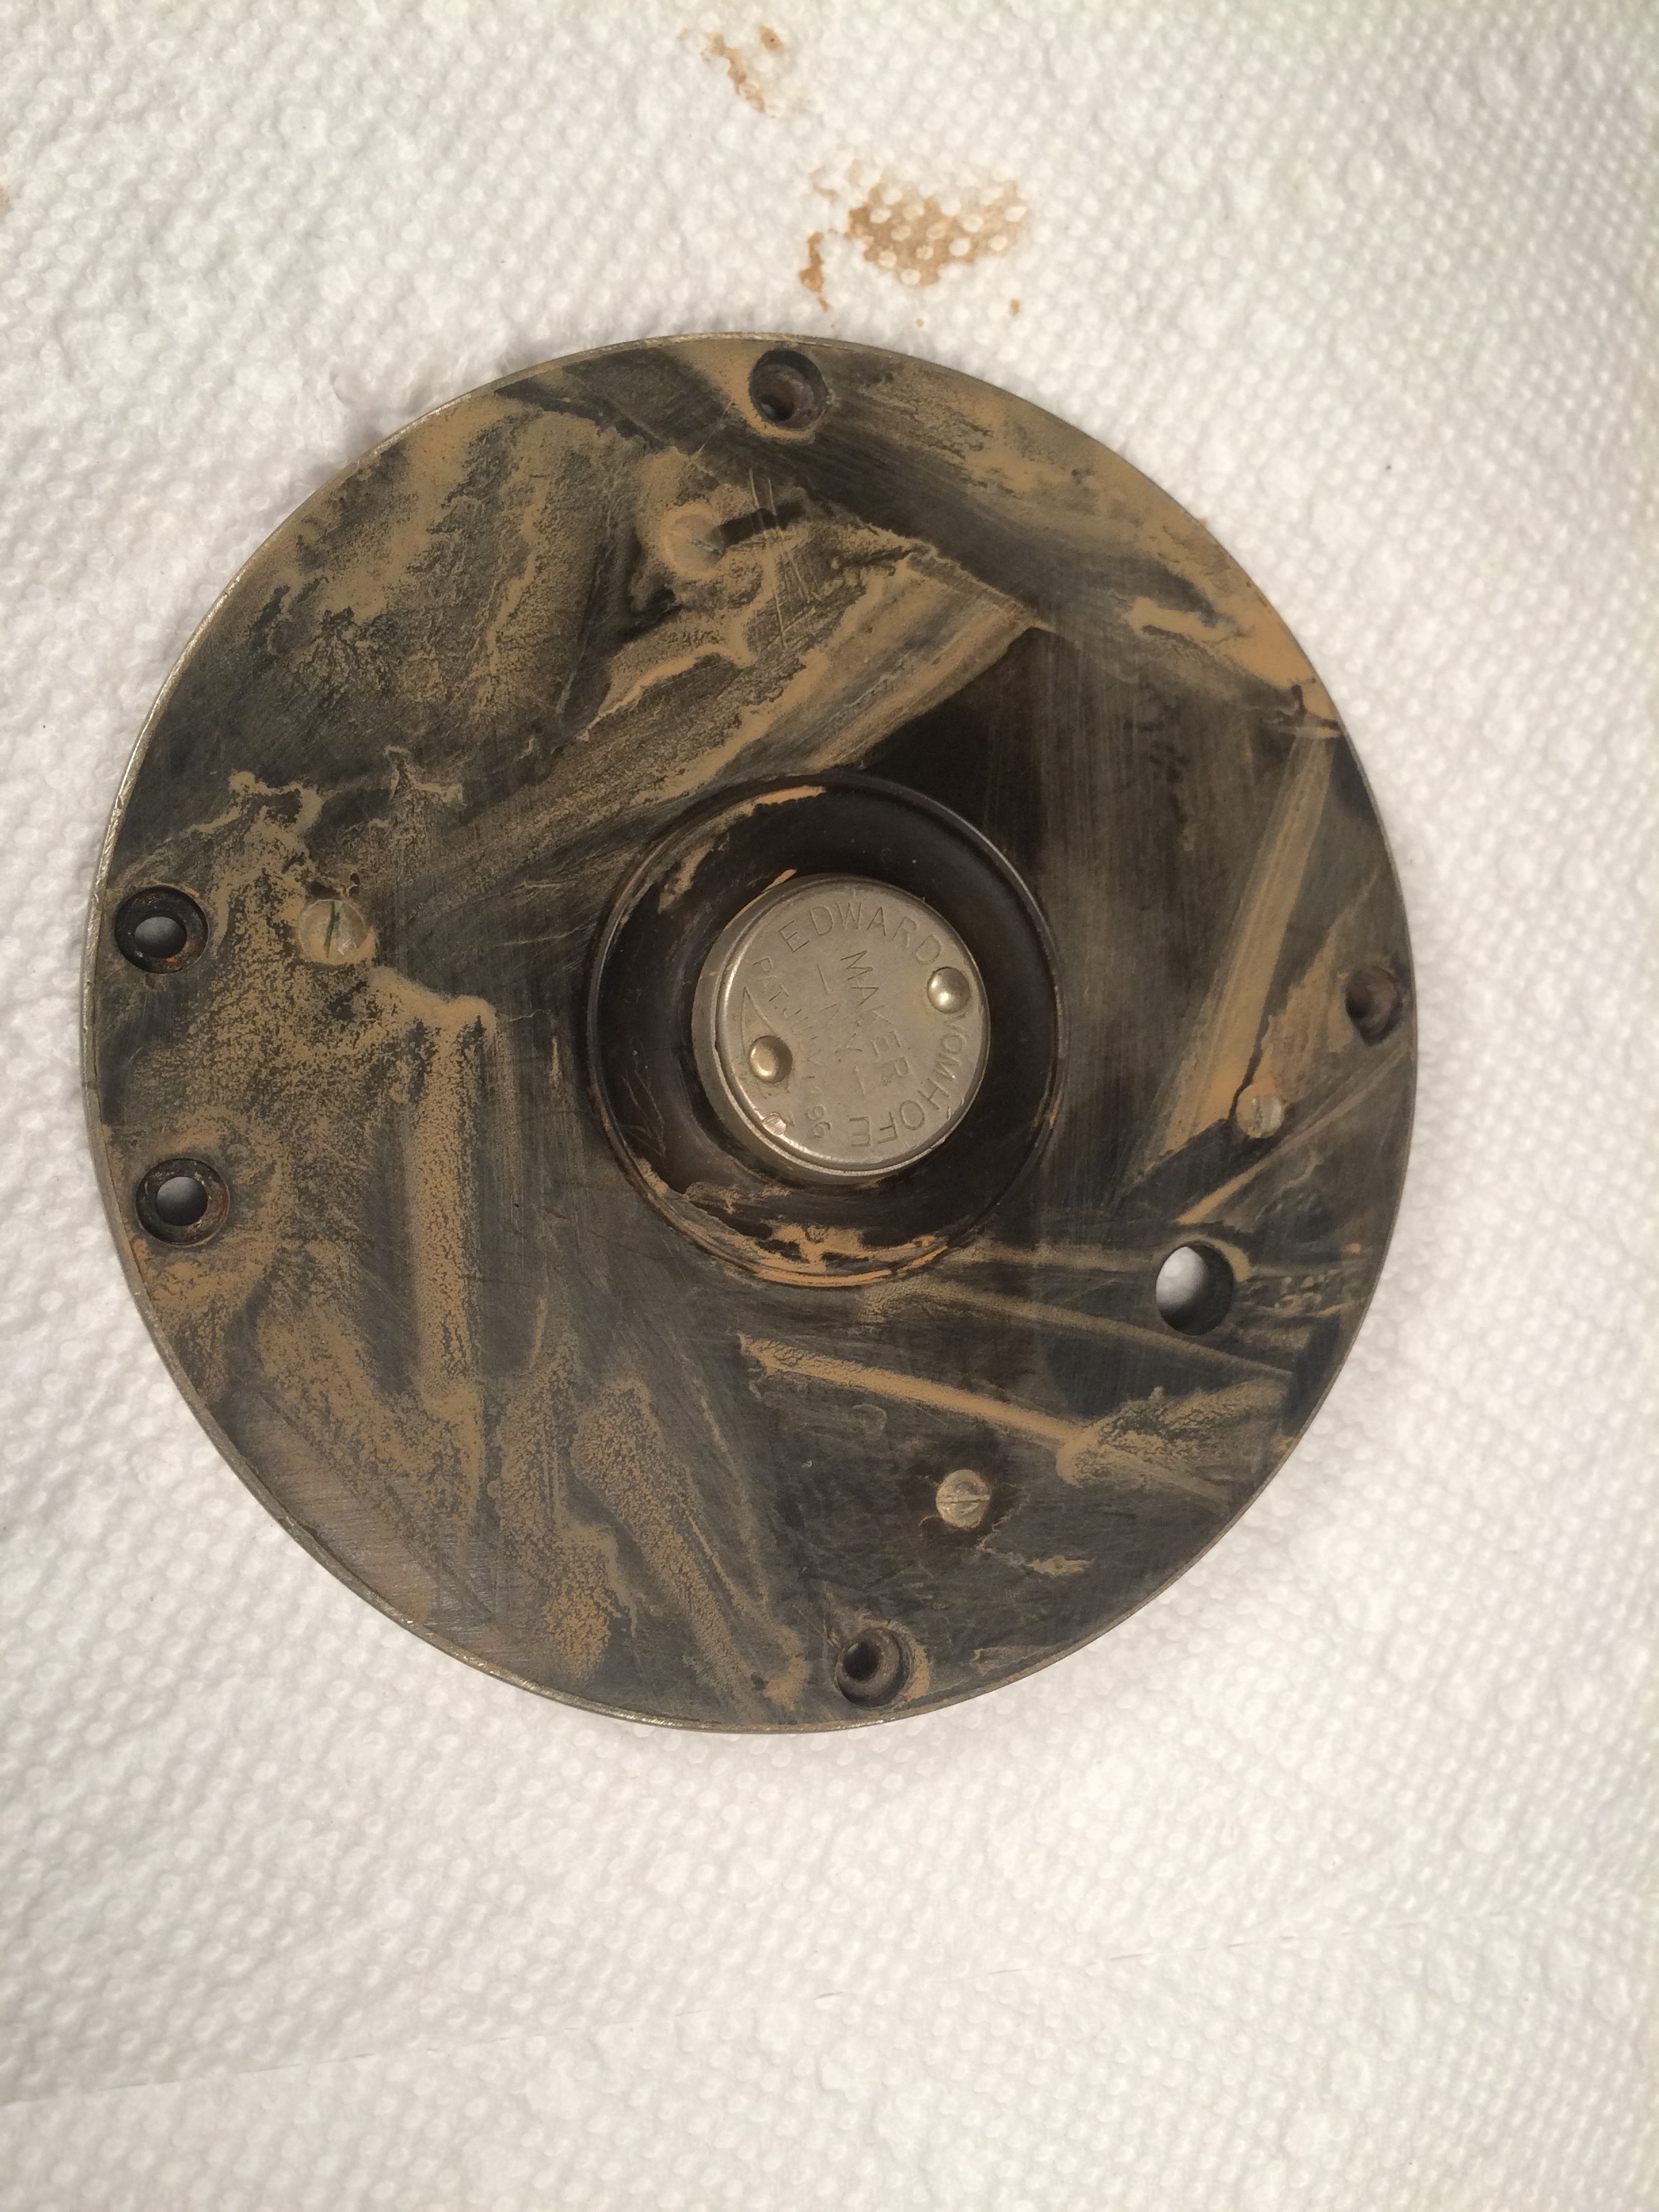
The typical cleaning process (e.g. baths in mineral spirits and vinegar solution) makes the rubber go light brown where it has been exposed to UV. So it is assumed to be UV damage. Inside the backplates and under the throw switches, for example, the rubber is usually as black as the day the reel was made. To my eye, I would rather have a smooth, black rubber reel than a dull brown rubber reel with scratches and dents.

The polishing method described herein is heavy-handed to be sure and not for everyone. However, I like the resulting wet look of the rubber and it stays that way. I remove a very, very thin layer of the dull light brown rubber using a succession of automotive sandpaper grits (wet). The dark rubber underneath the light brown layer is revealed with the largest grit number eg 400 or 600, that I may use several times in a row to get to the black rubber under the brown rubber. But that leaves the rubber rough and it then needs to be smoothed, so I do a quick once-over with larger grit numbers used in succession eg 400, 600, 800, 1000, 1200, 1500, 2000, 3000... using each of these different grits in this order and rinsing off the rubber in fresh water after each change of grit. I also change the bowl of water I use to keep the abrasive paper wet, with each change of the grit number).
[The lower the number the coarser the grit. The higher the number the finer the grit. I have never gone below 400 grit of this application as that is a very coarse grit. By all means try starting with a higher grit. It just takes longer to get the brown off.]
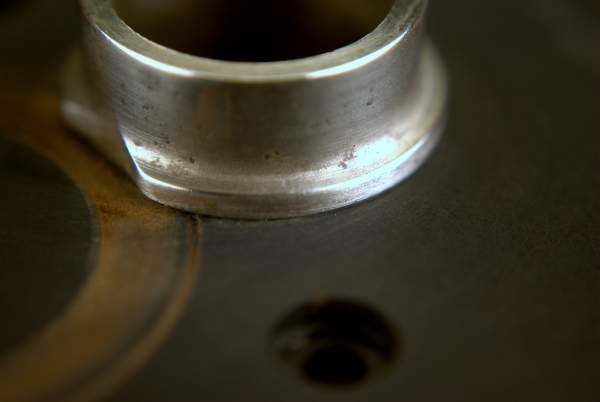
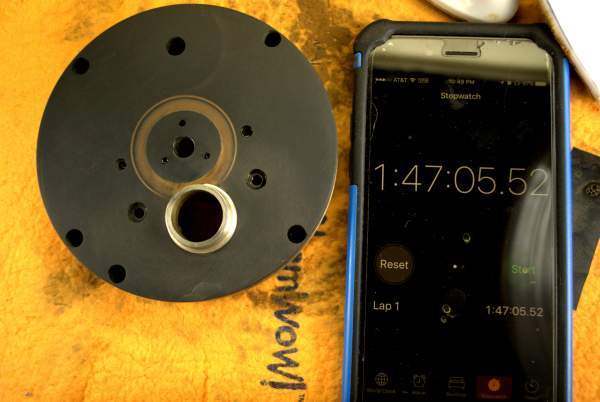
This process is very time consuming, taking many hours per reel. It makes your hands dirty and it smells like burning rubber LOL. It is all done by hand to avoid the indiscriminate damage caused by a buffing wheel but renders similar results if you want to polish it that much. (Less is OK too; it is up to you.) A close look at the finished product will reveal most of the original flaws are still there but they are less obvious and the rubber is smoother and black. Detailing around the edges of immovable metal objects is something to do very carefully. Avoid applying too much hand pressure. Let the abrasive product do the work for you.
The focus of this post is on polishing the rubber so I didn't get into the full take-down, cleaning the major nickel silver parts or re-assembly, etc but a few video scenes, like the first 2, show the simplest of details for beginners.
I have provided some still images followed by video links so you can decide what you want to see (if anything at all) and in what order.
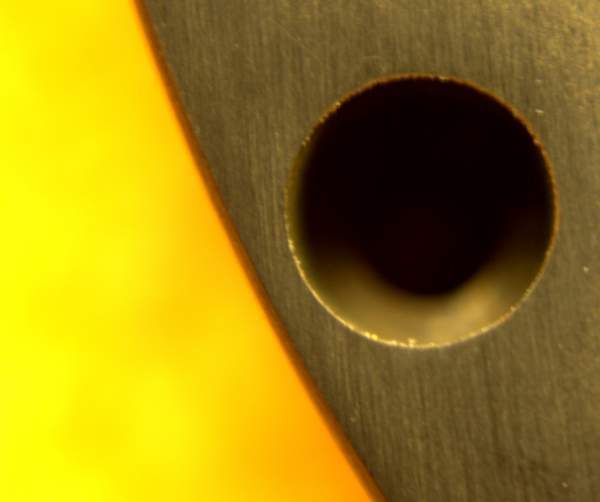
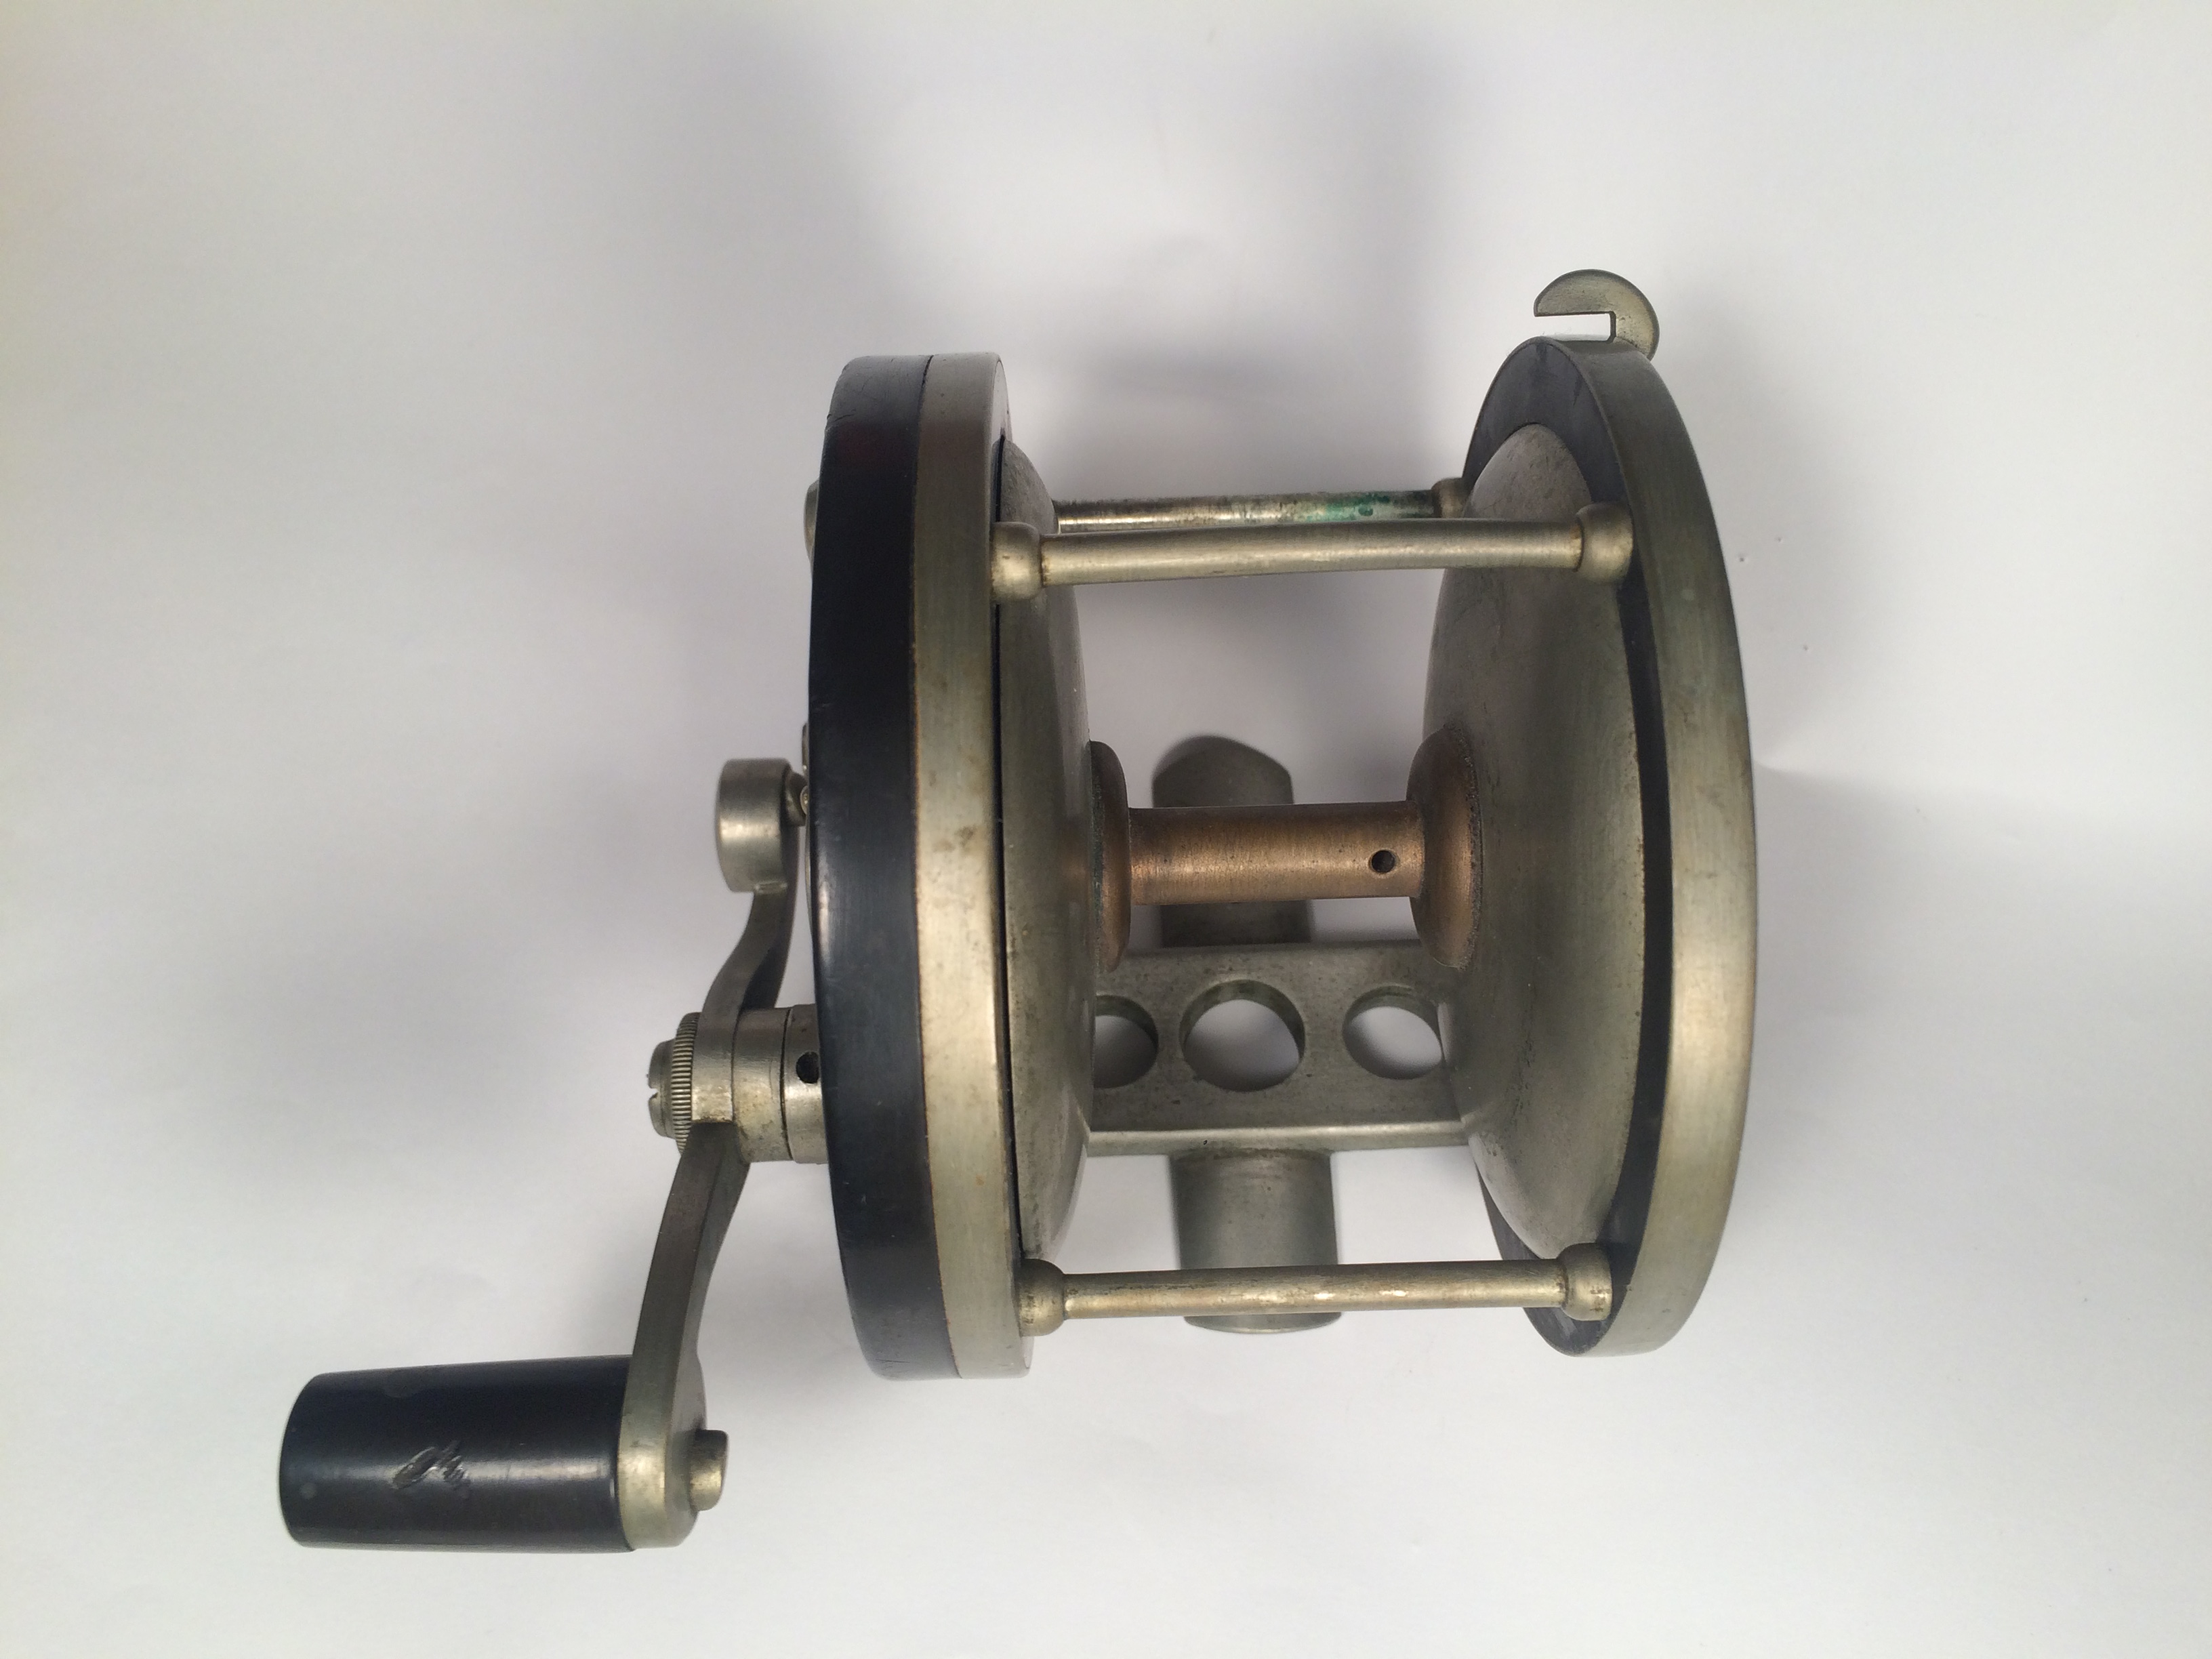
Before
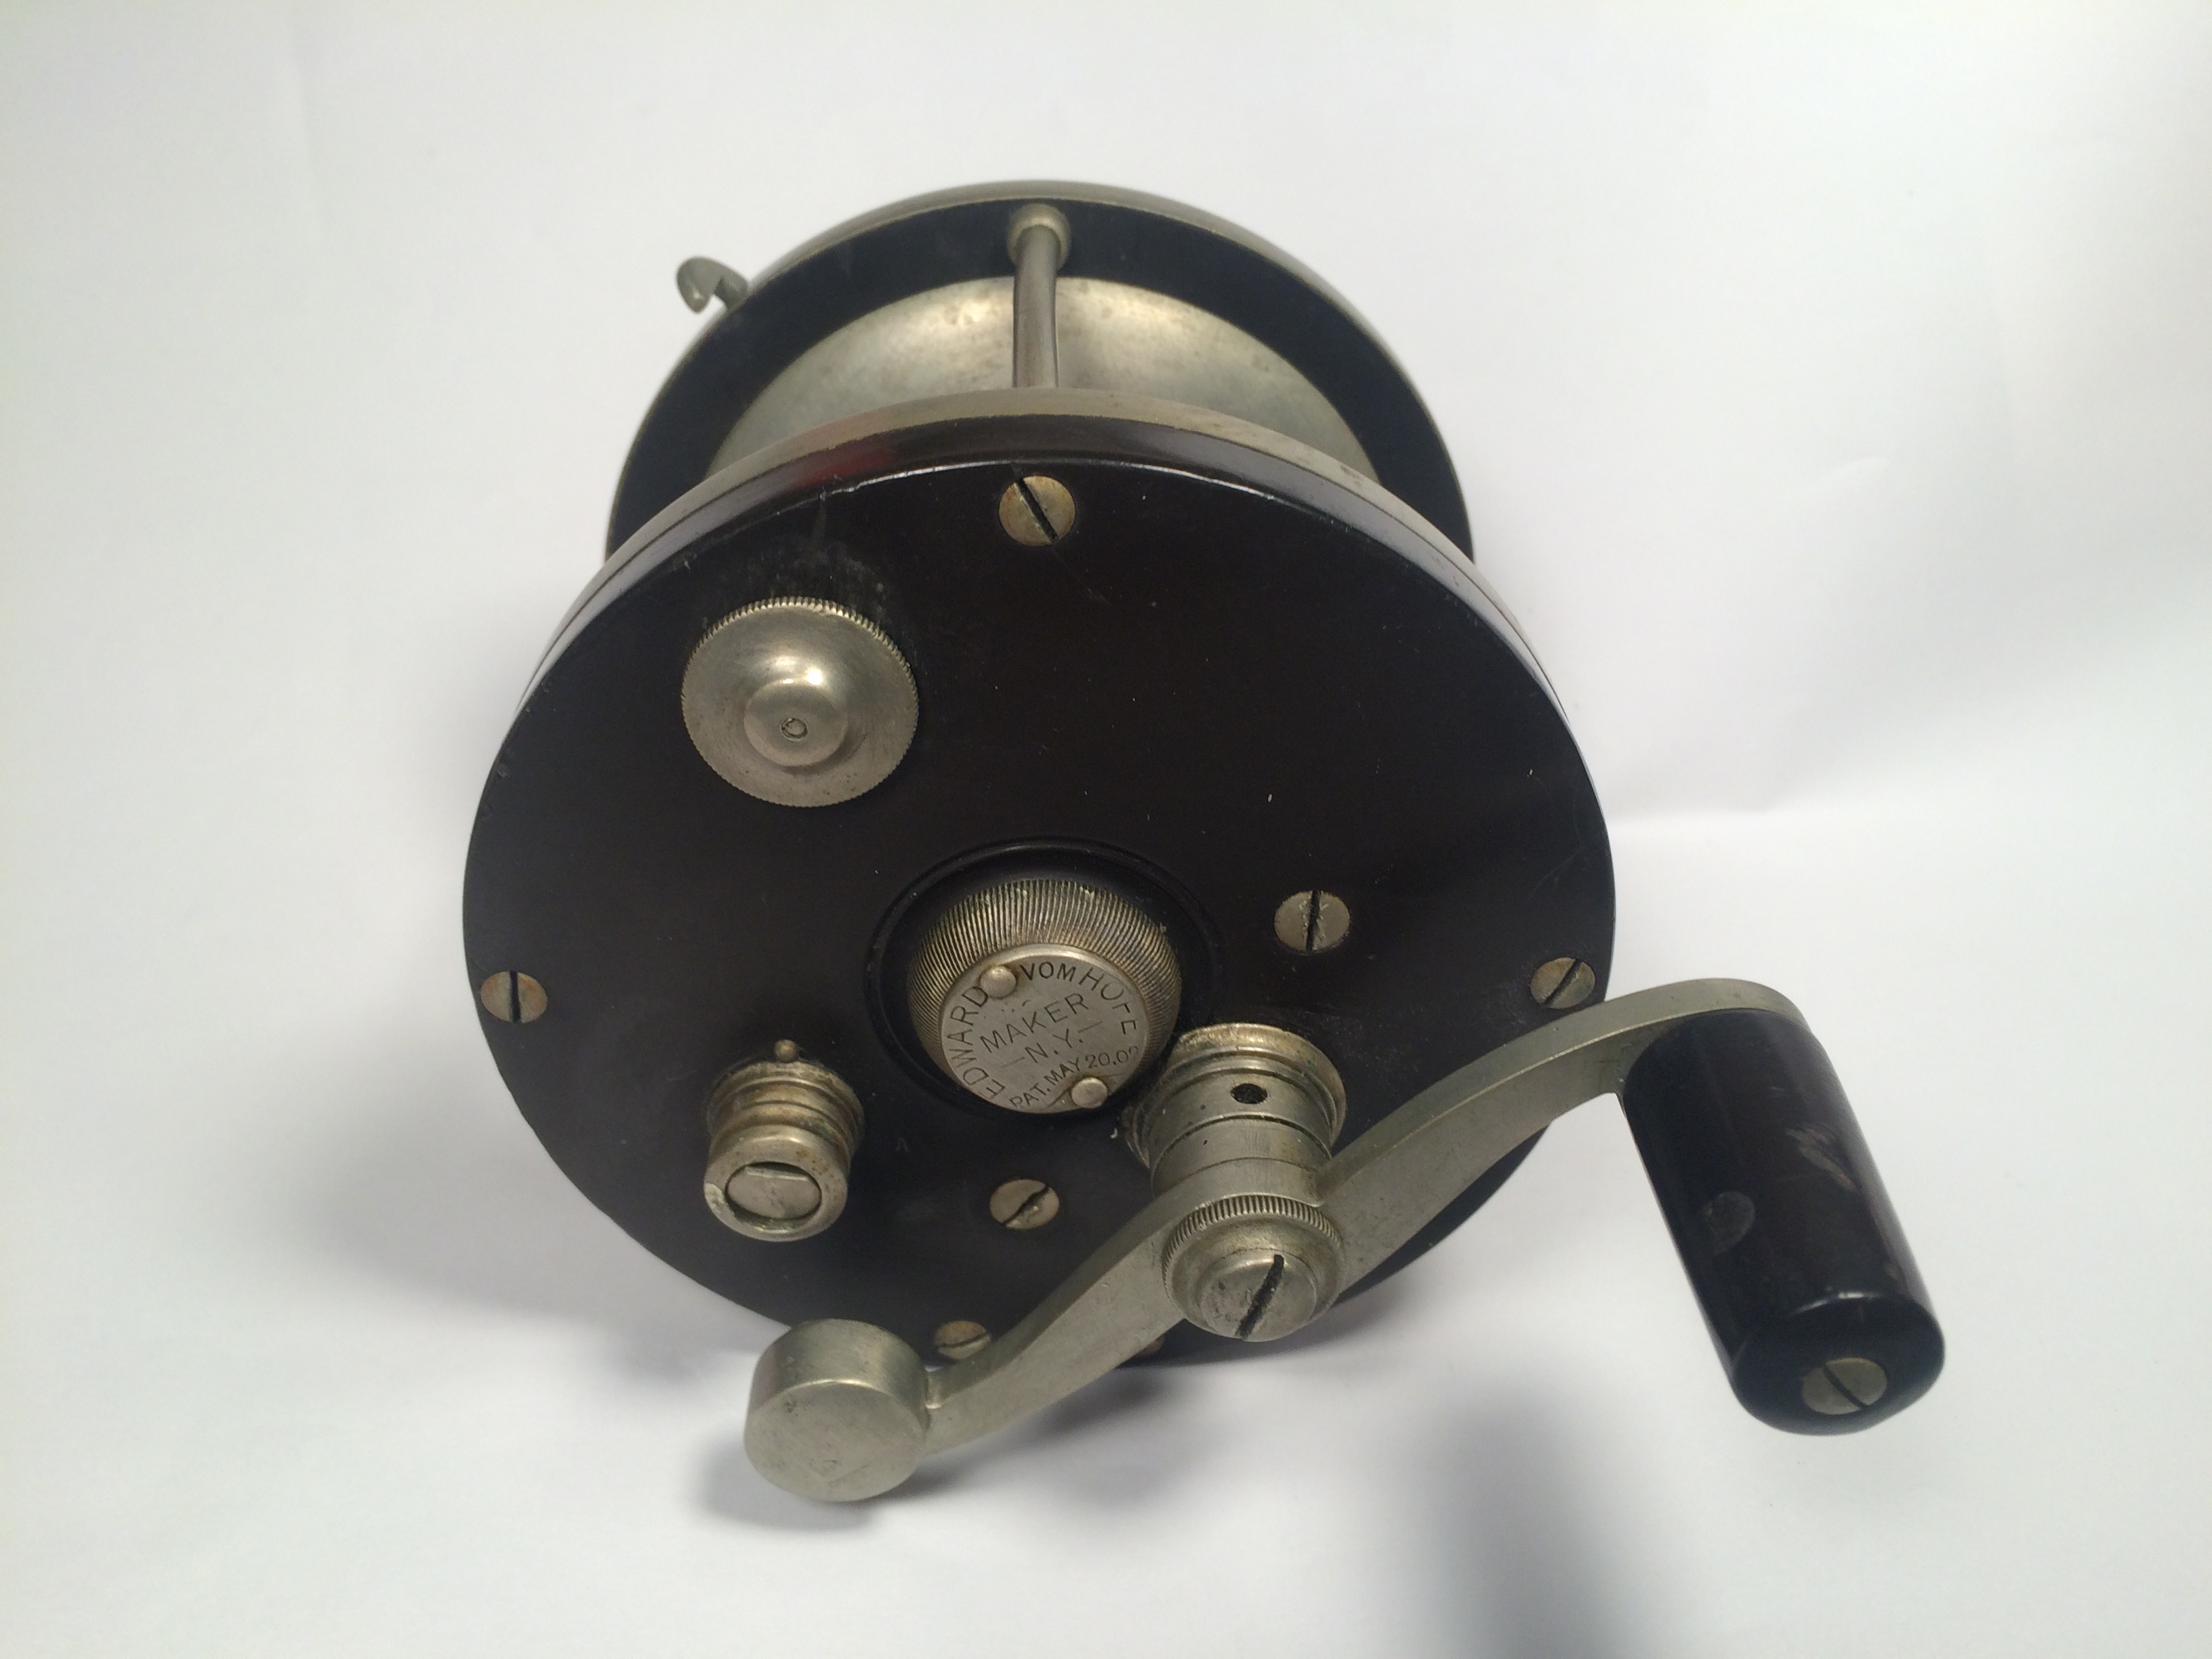


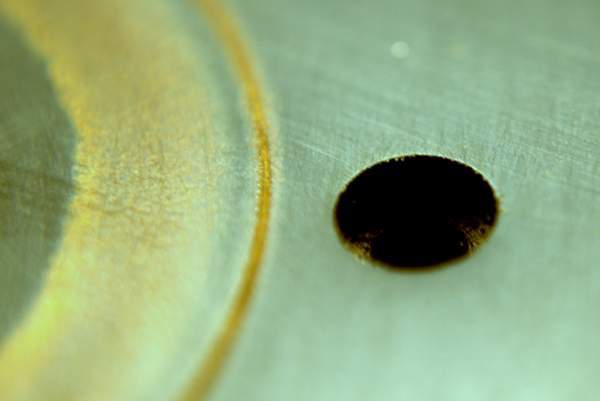
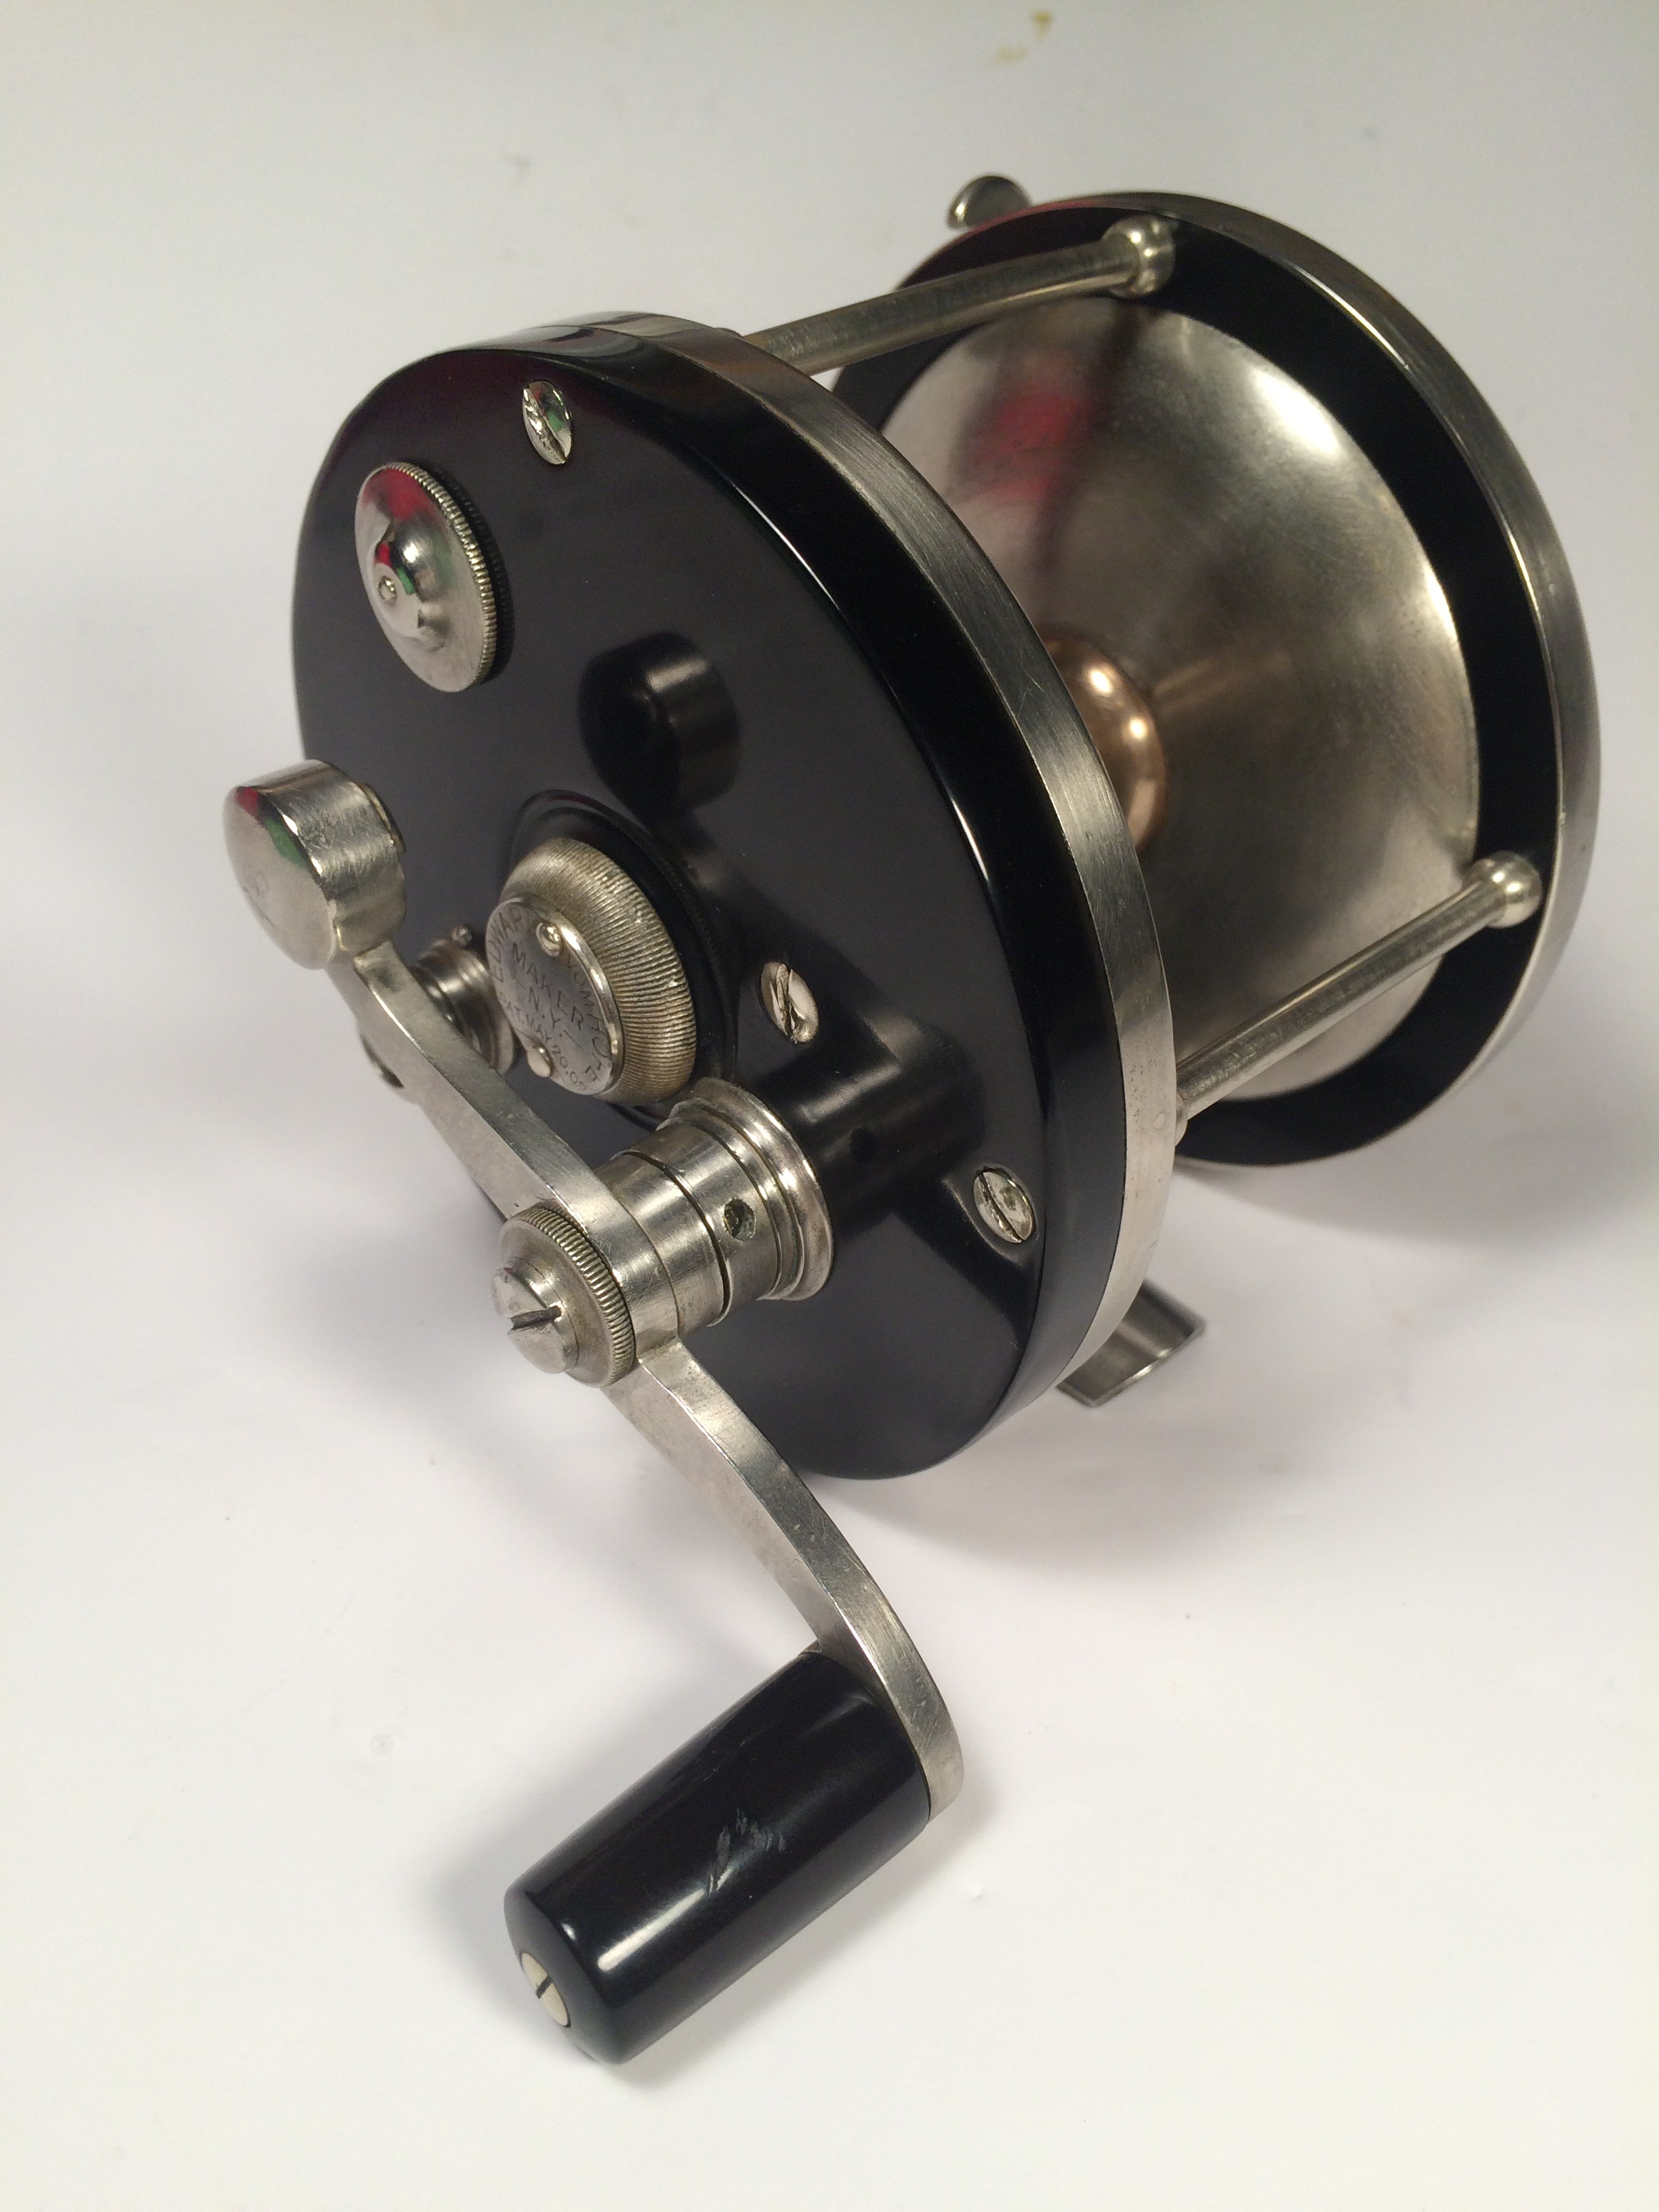
After


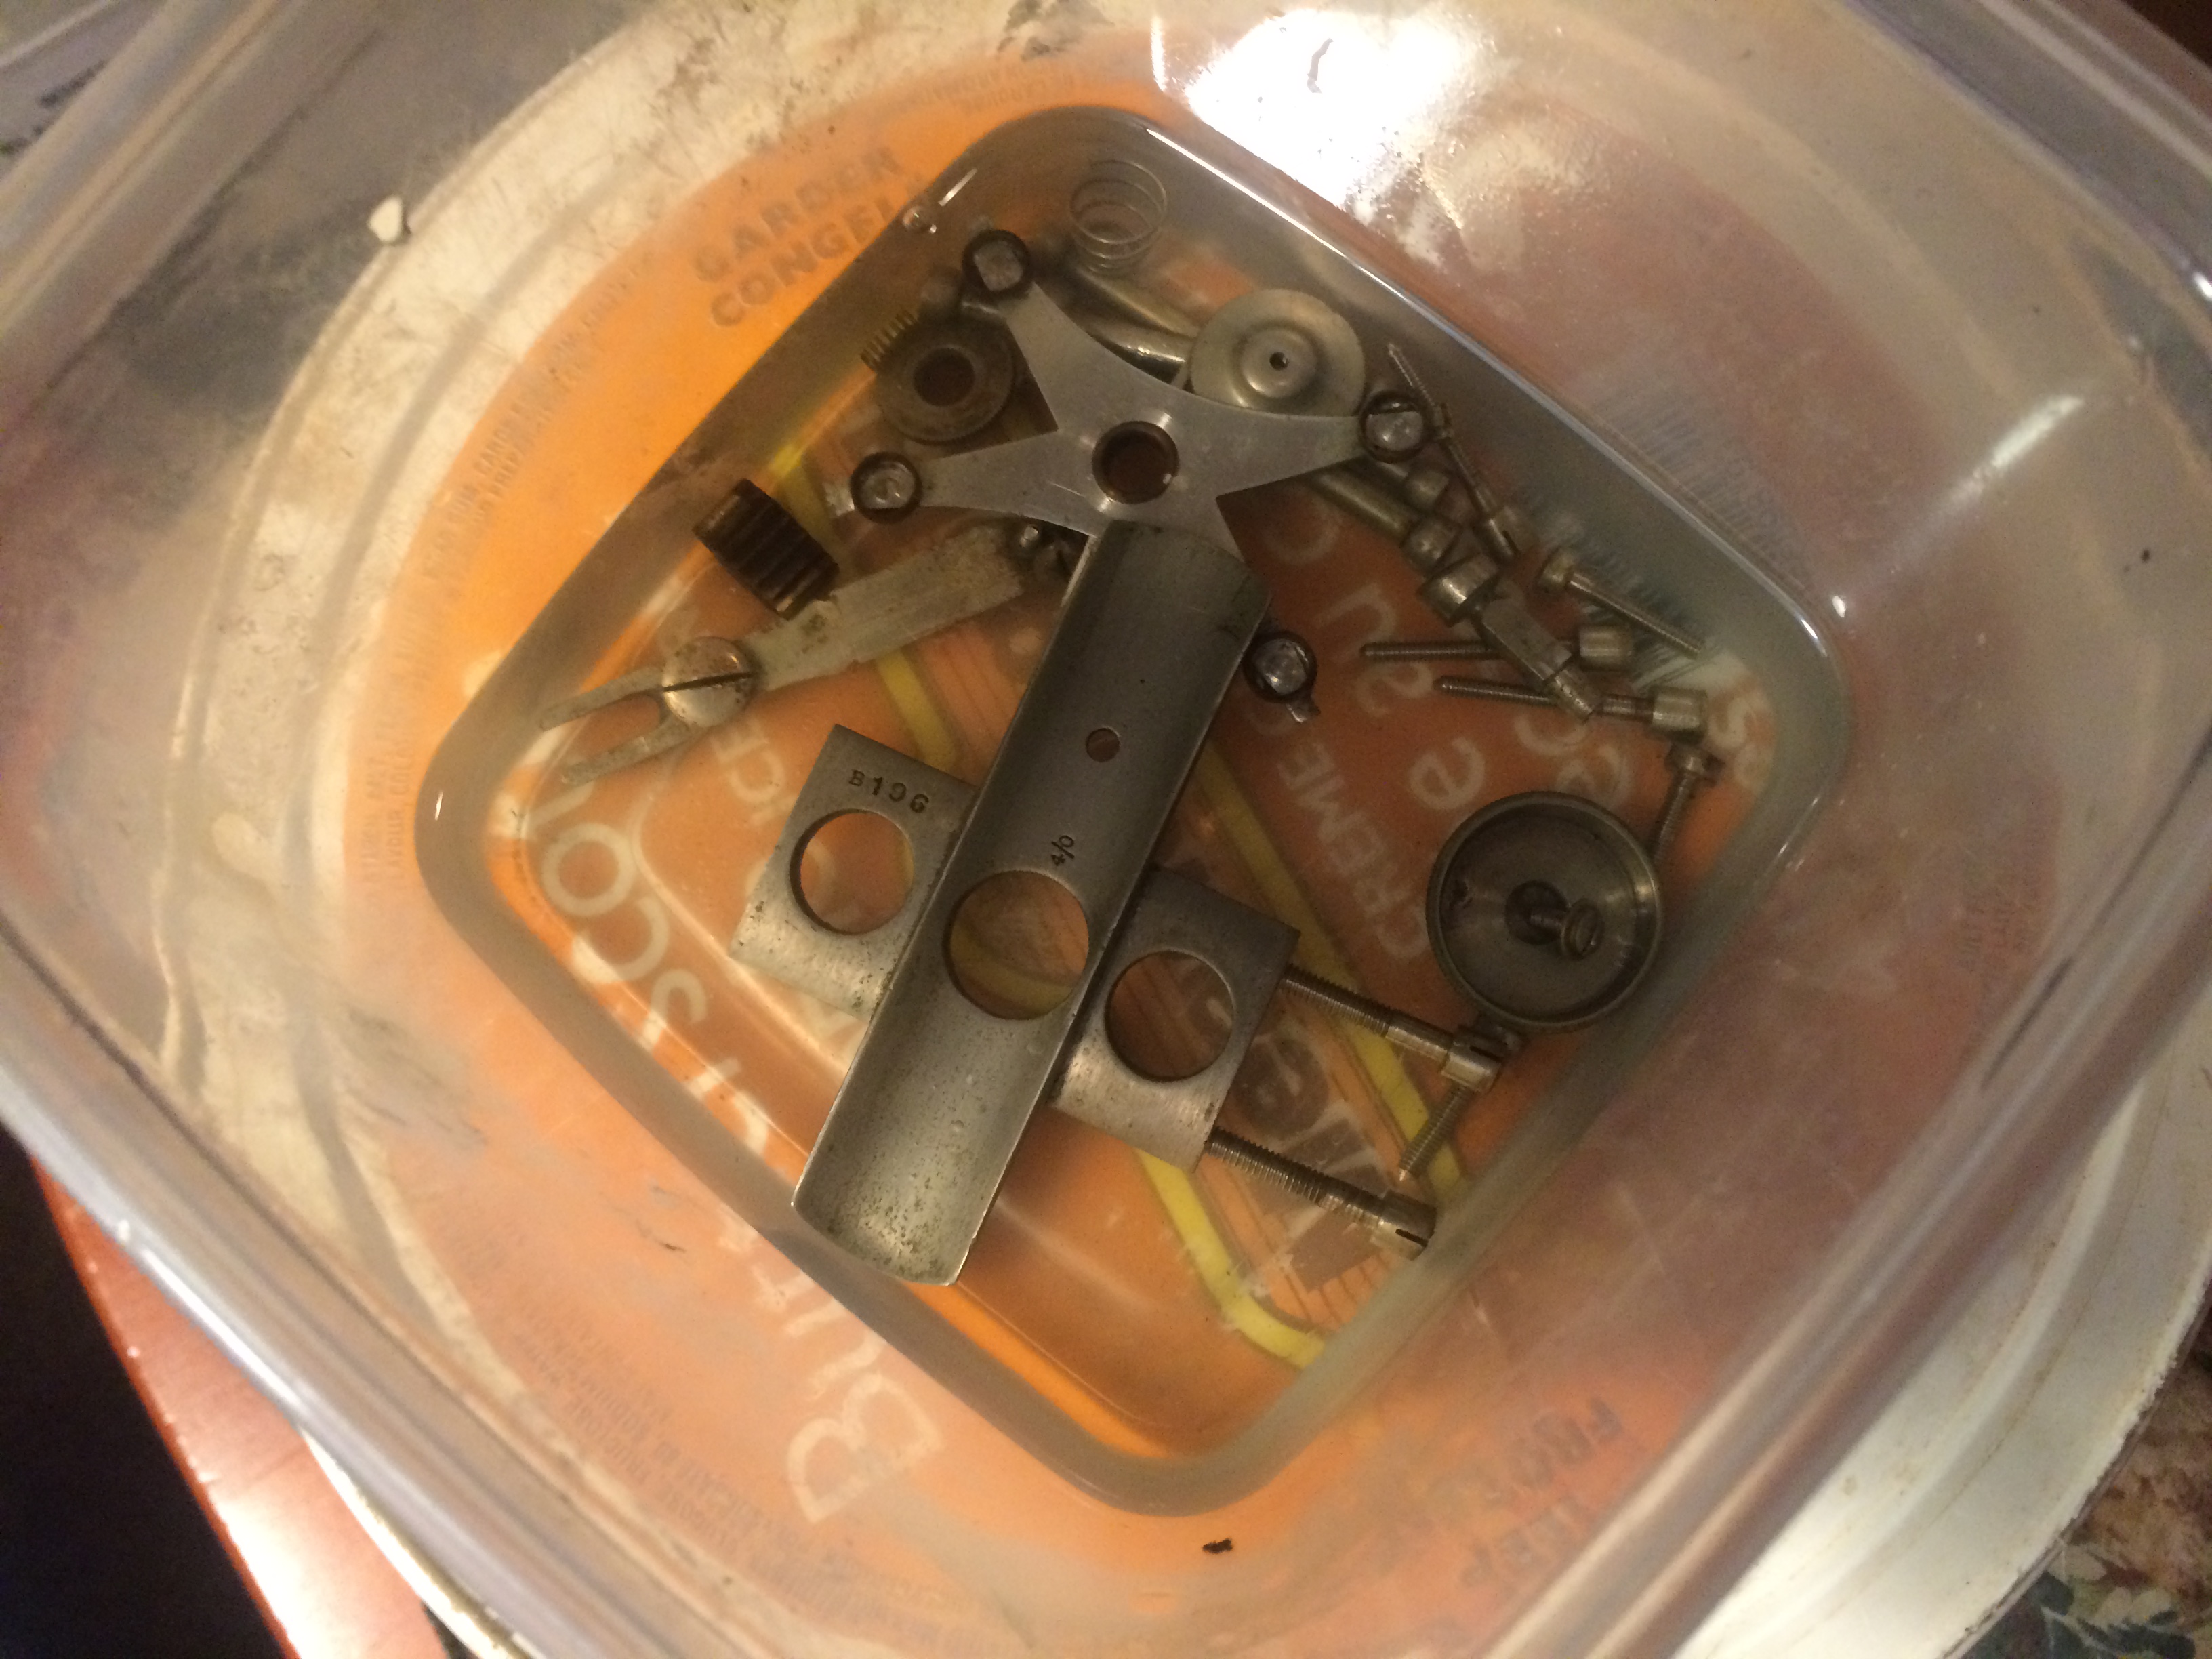
During:
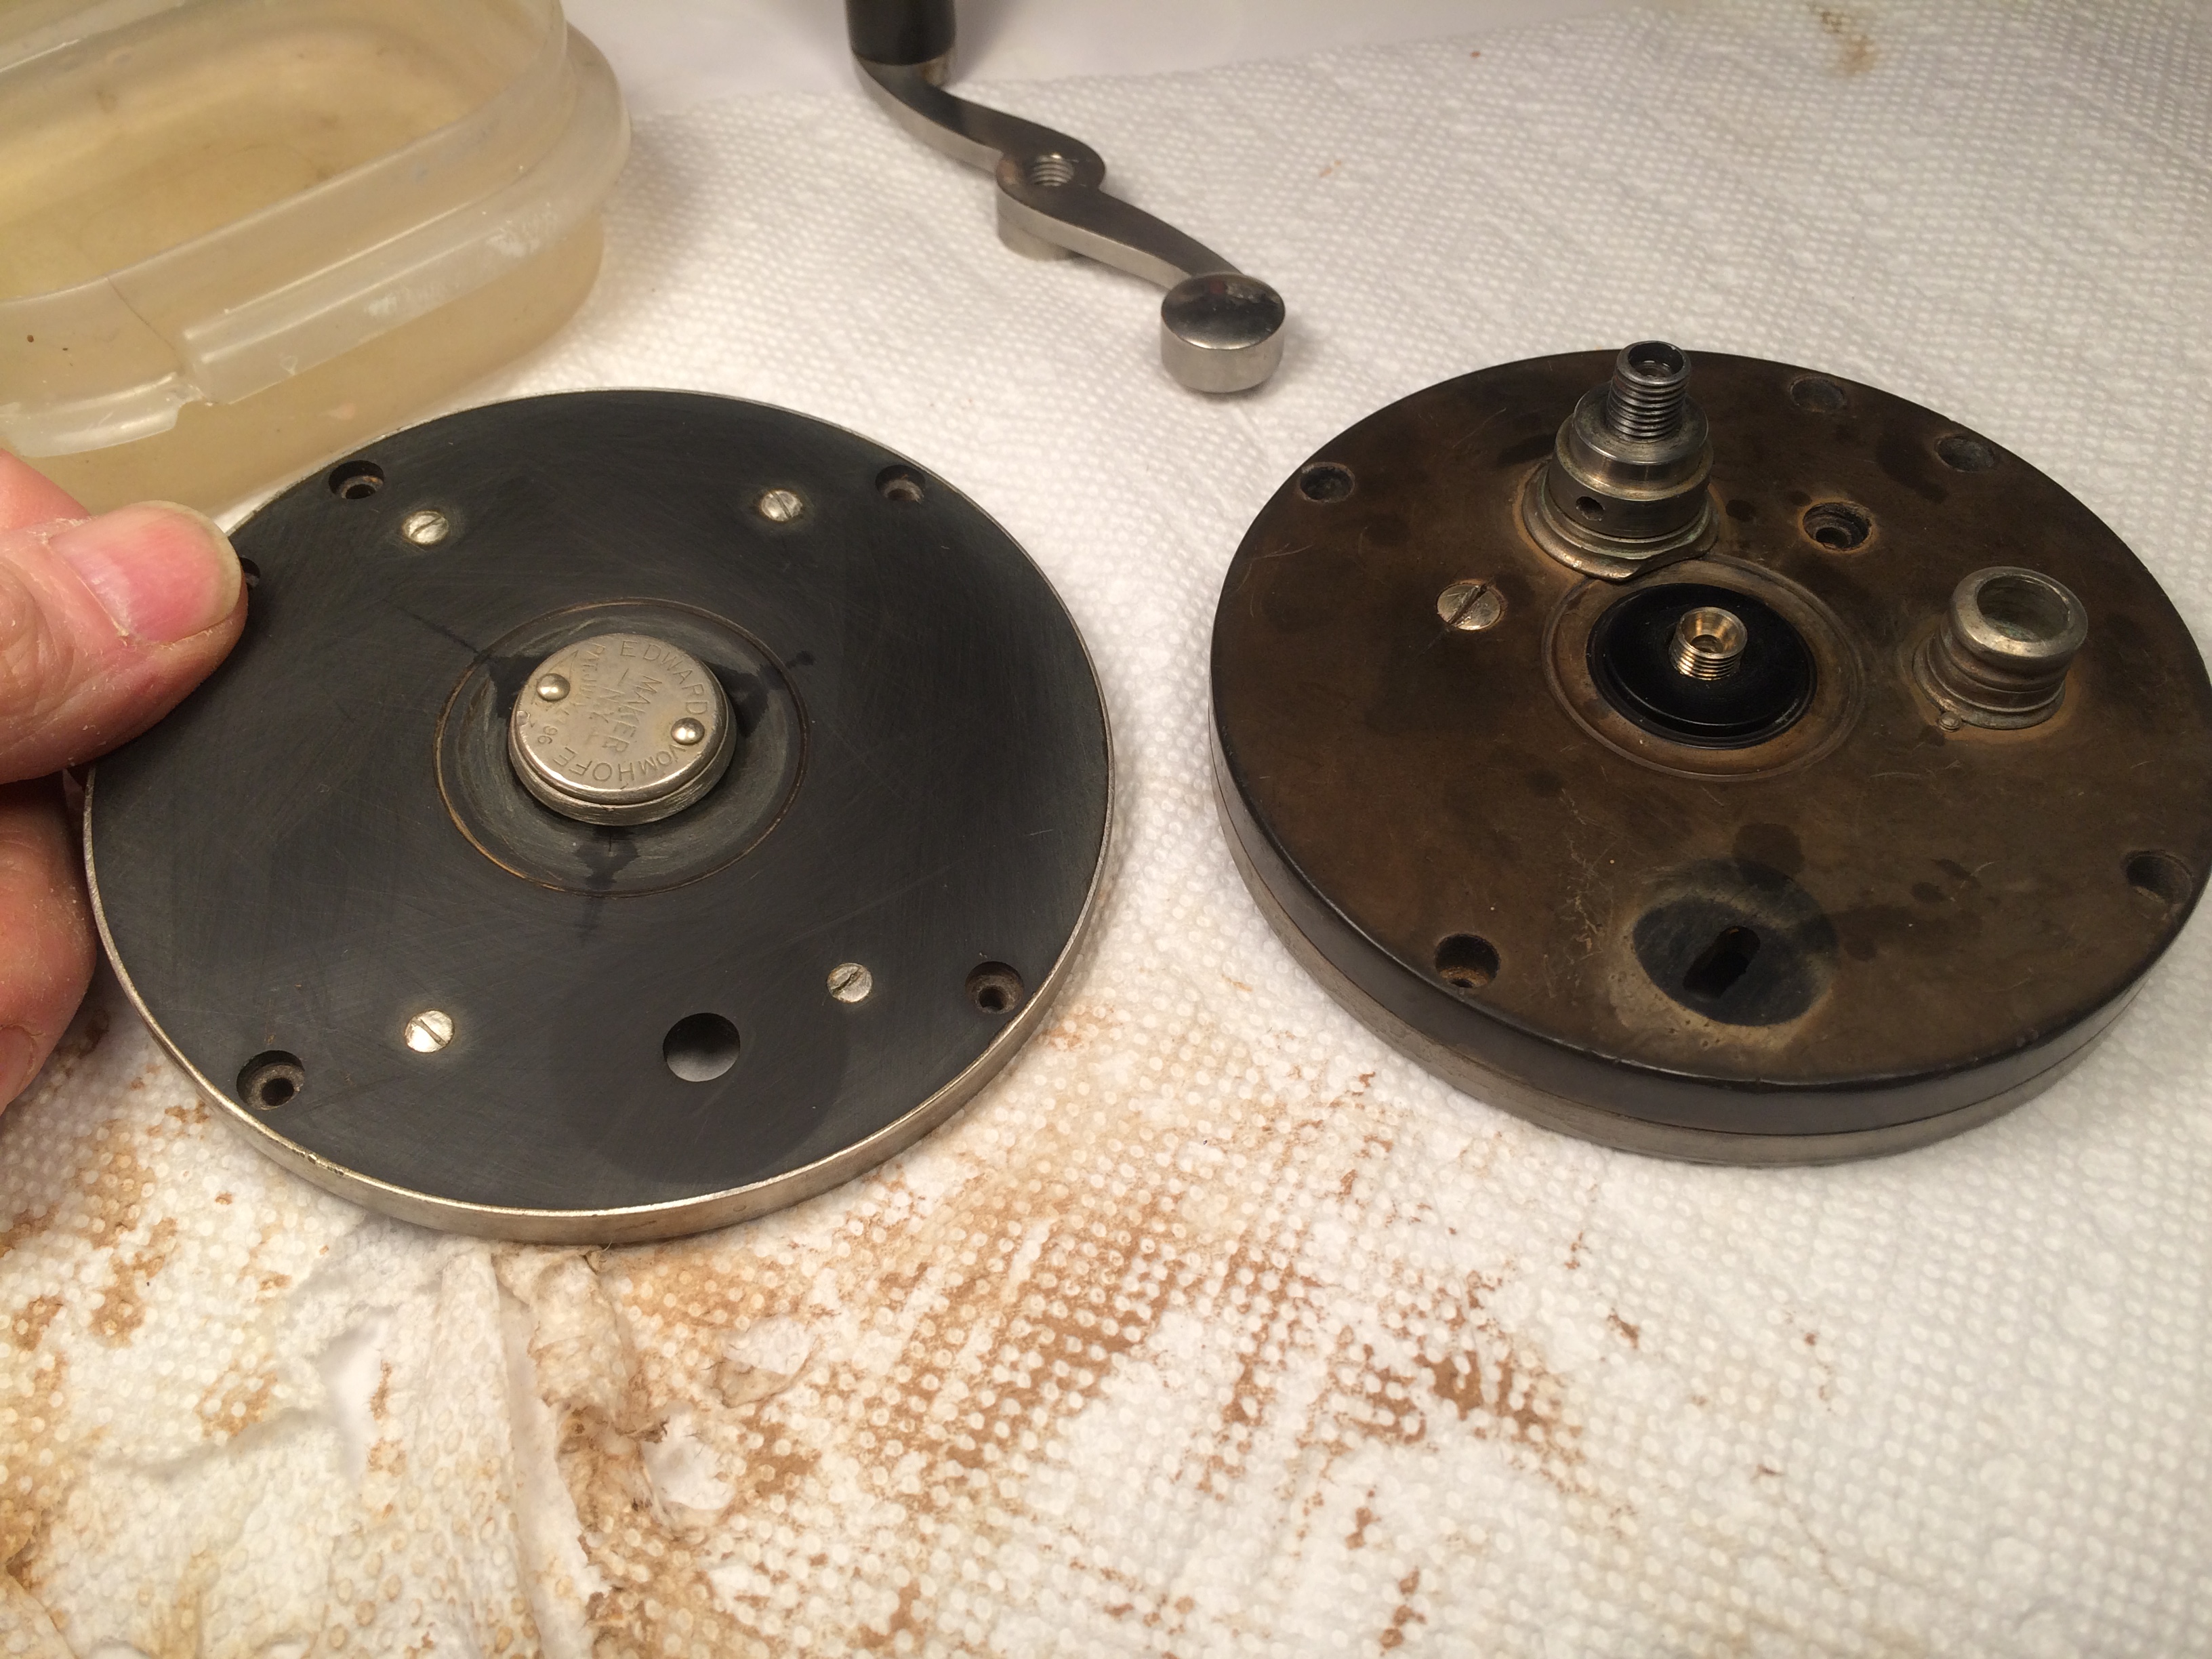
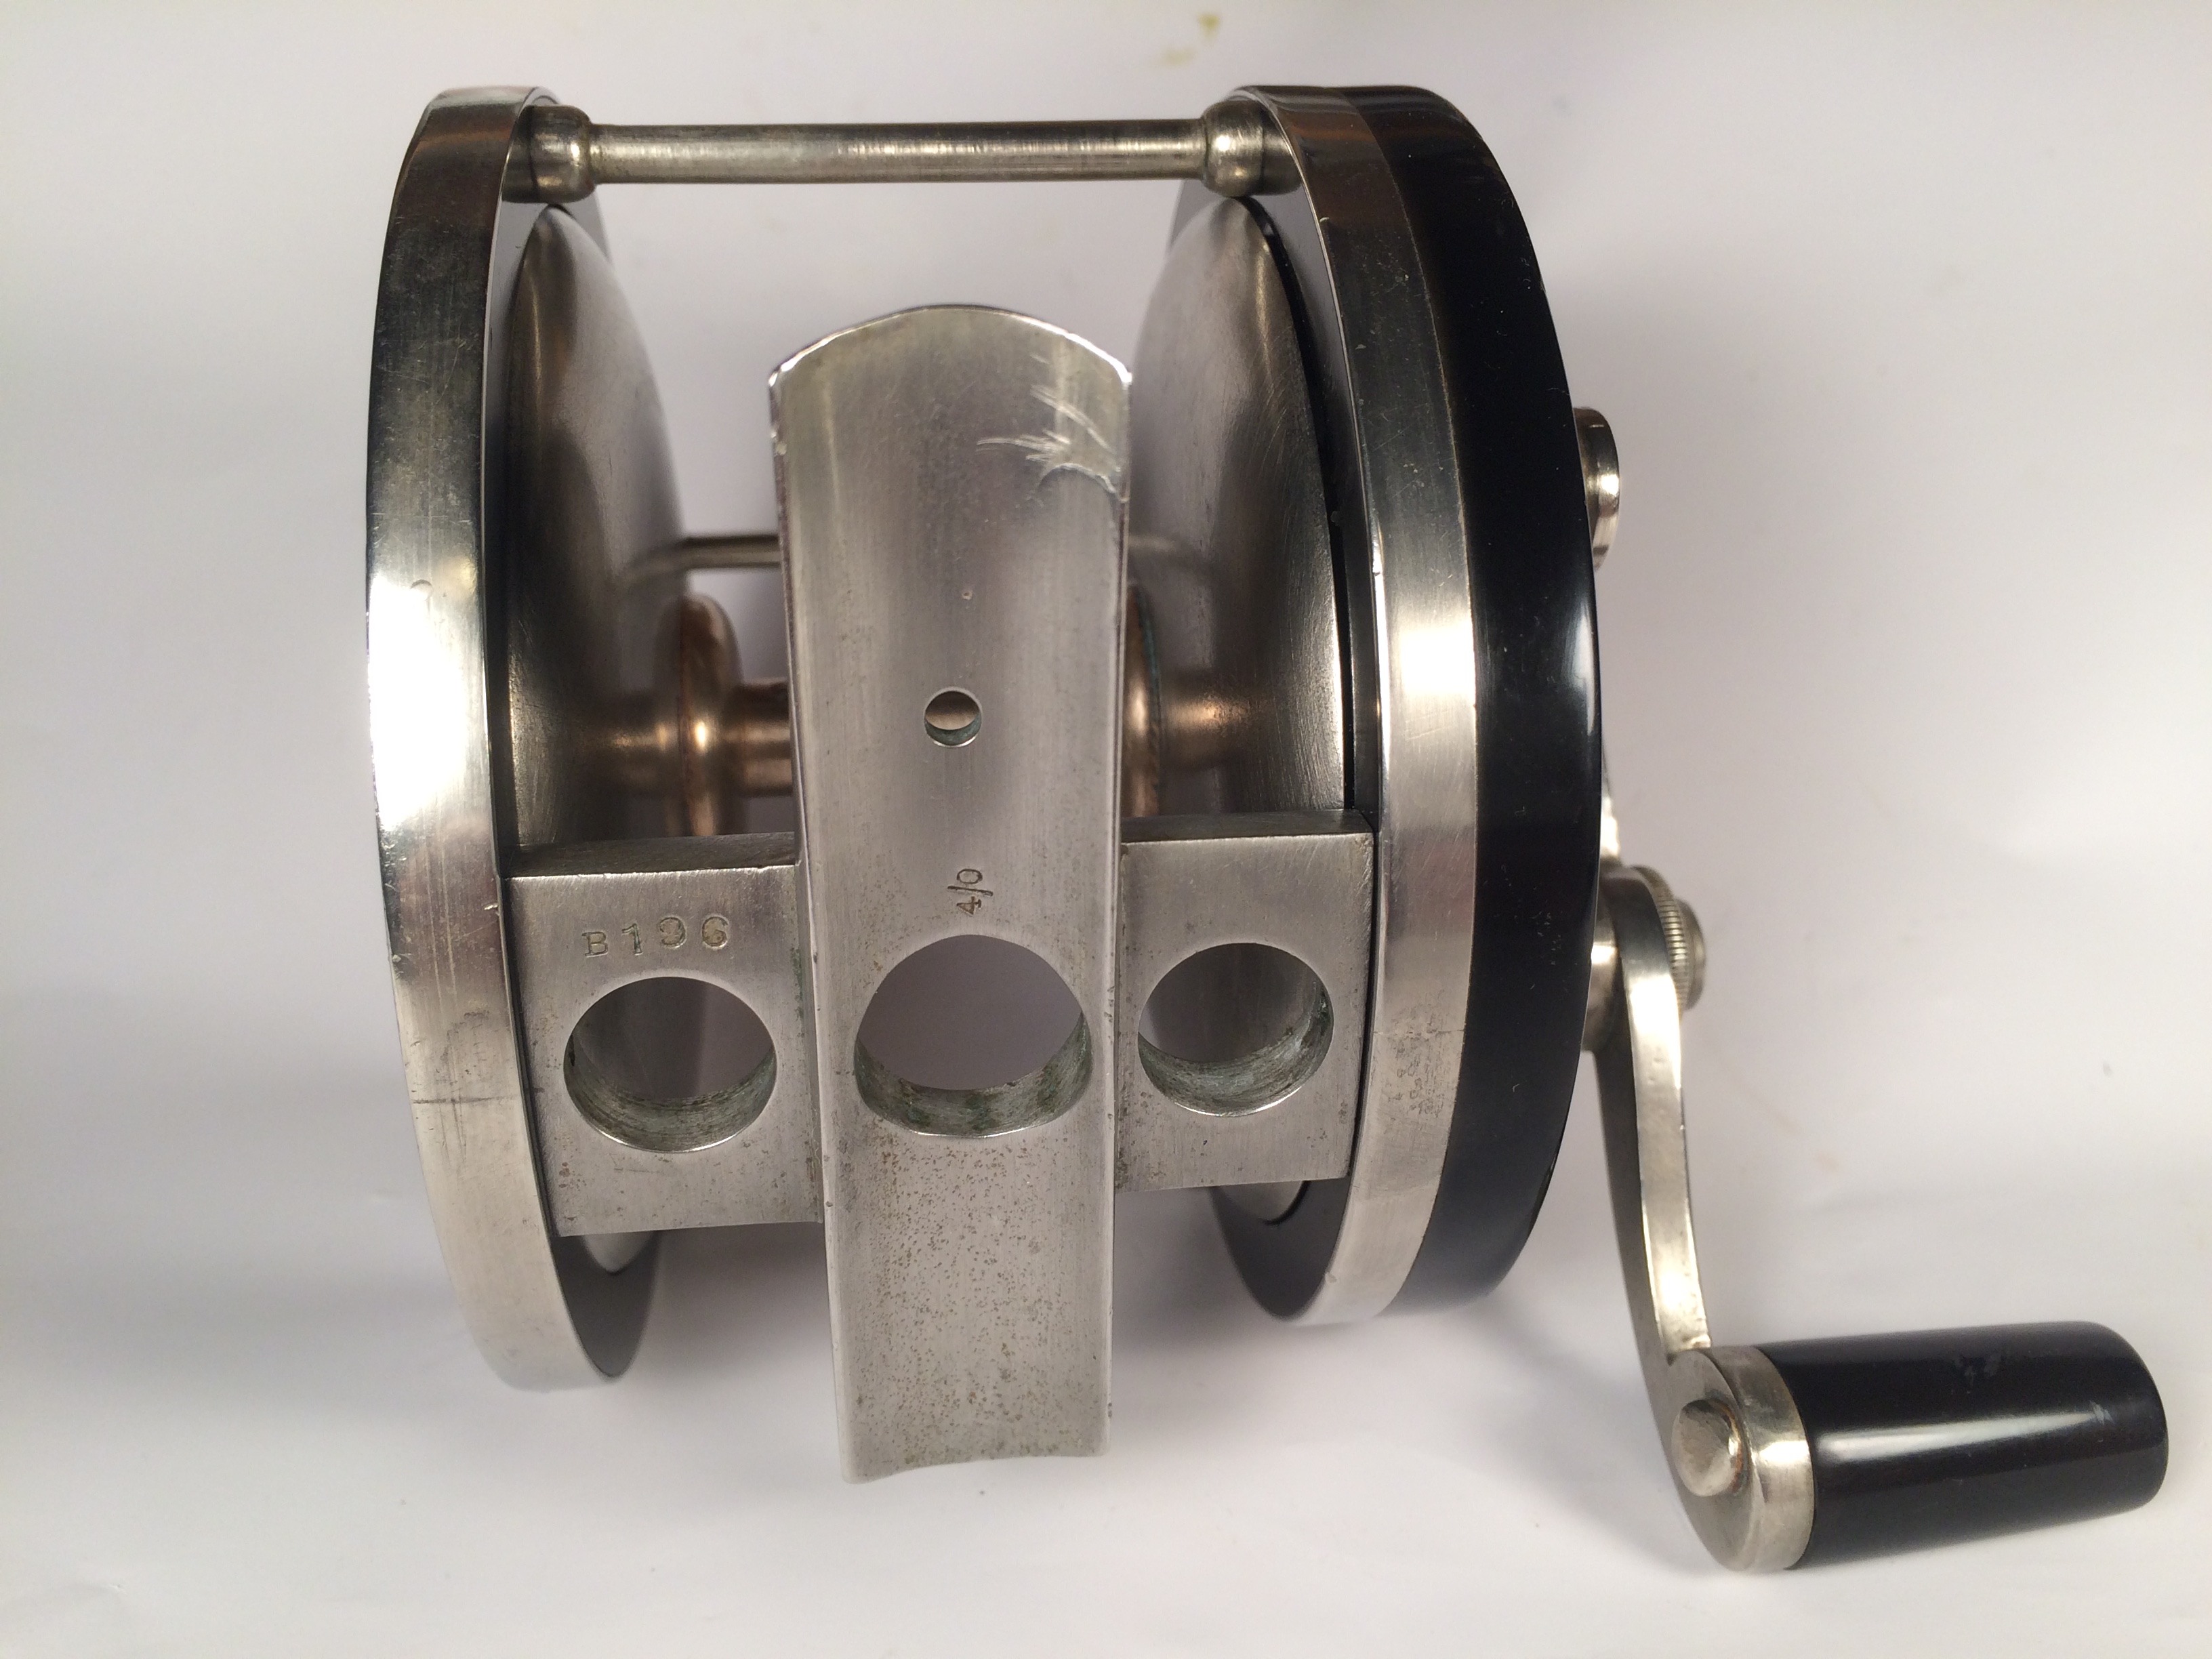
After cleaning but before use of abrasive vs. after use of abrasive vs. after initial polishing:

Videos-
Start of reel take-down:
https://youtu.be/L0JpL_VsYkE
Detailing a NS screw:
https://youtu.be/P9pOBLwH790
Start removing the light brown rubber resulting from the cleaning baths (I am a lefty so the turning directions may be opposite for a righty):
https://youtu.be/n6d8SJgyDFY
Rinsing the rubber between each change of grit size:
https://youtu.be/WHuQ0OTrQyo
More rubber polishing with a high grit number. (I am a lefty so the turning directions may be opposite for a righty).
https://youtu.be/dPhE3Eg1xhU
Final polishing with Simichrome. See the big difference before and after.
https://youtu.be/wRzKhCN67ek