
Here's the concept. You can click on the thumbnail photos throughout to enlarge them and get better detail. You can also enlarge the enlarged photo by using the black icon menu bar at the top above the enlarged photo.

I found that a McDonald's straw fit perfectly over the bushing portion. It just so happens that a local fast food chain had straws that are the same size and clear so I used one of their straws for a form. The clear straw works great because you can see whether or not there are any voids in the JB Weld.
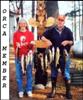
I removed the main shaft, measured the length of the round portion of the bushing (10 mm) and the flat sided length length (5 mm). I used 3 washers as a spacing guide above the click gear so that the cut would be straight and true all the way around. I used a small craft metal backsaw to cut the plastic around the shaft.
Next, I roughed up the shaft surface and filed a couple of small grooves in the main shaft to give the JB Weld better adherence. I cut two straw forms, just in case I needed an extra, the correct length. I also had an old ball point pen section that was the perfect diameter to slip over the straw to make sure the form stayed perfectly round. I mixed the JB Weld and added about 10% clear 3 ton epoxy to help make the JB Weld a little harder when finally set.


I put tape on the threads to protect them from the epoxy and slipped the straw form over the portion of the bushing that I had left in place.
I used a block of wood and part of a pen for a stand to hold the shaft while I packed the JB Weld into the straw form.

Once the form was full, leveled at the top and centered on the shaft I slipped the rigid piece of pen over the form to make sure it stayed round until the JB Weld cured.

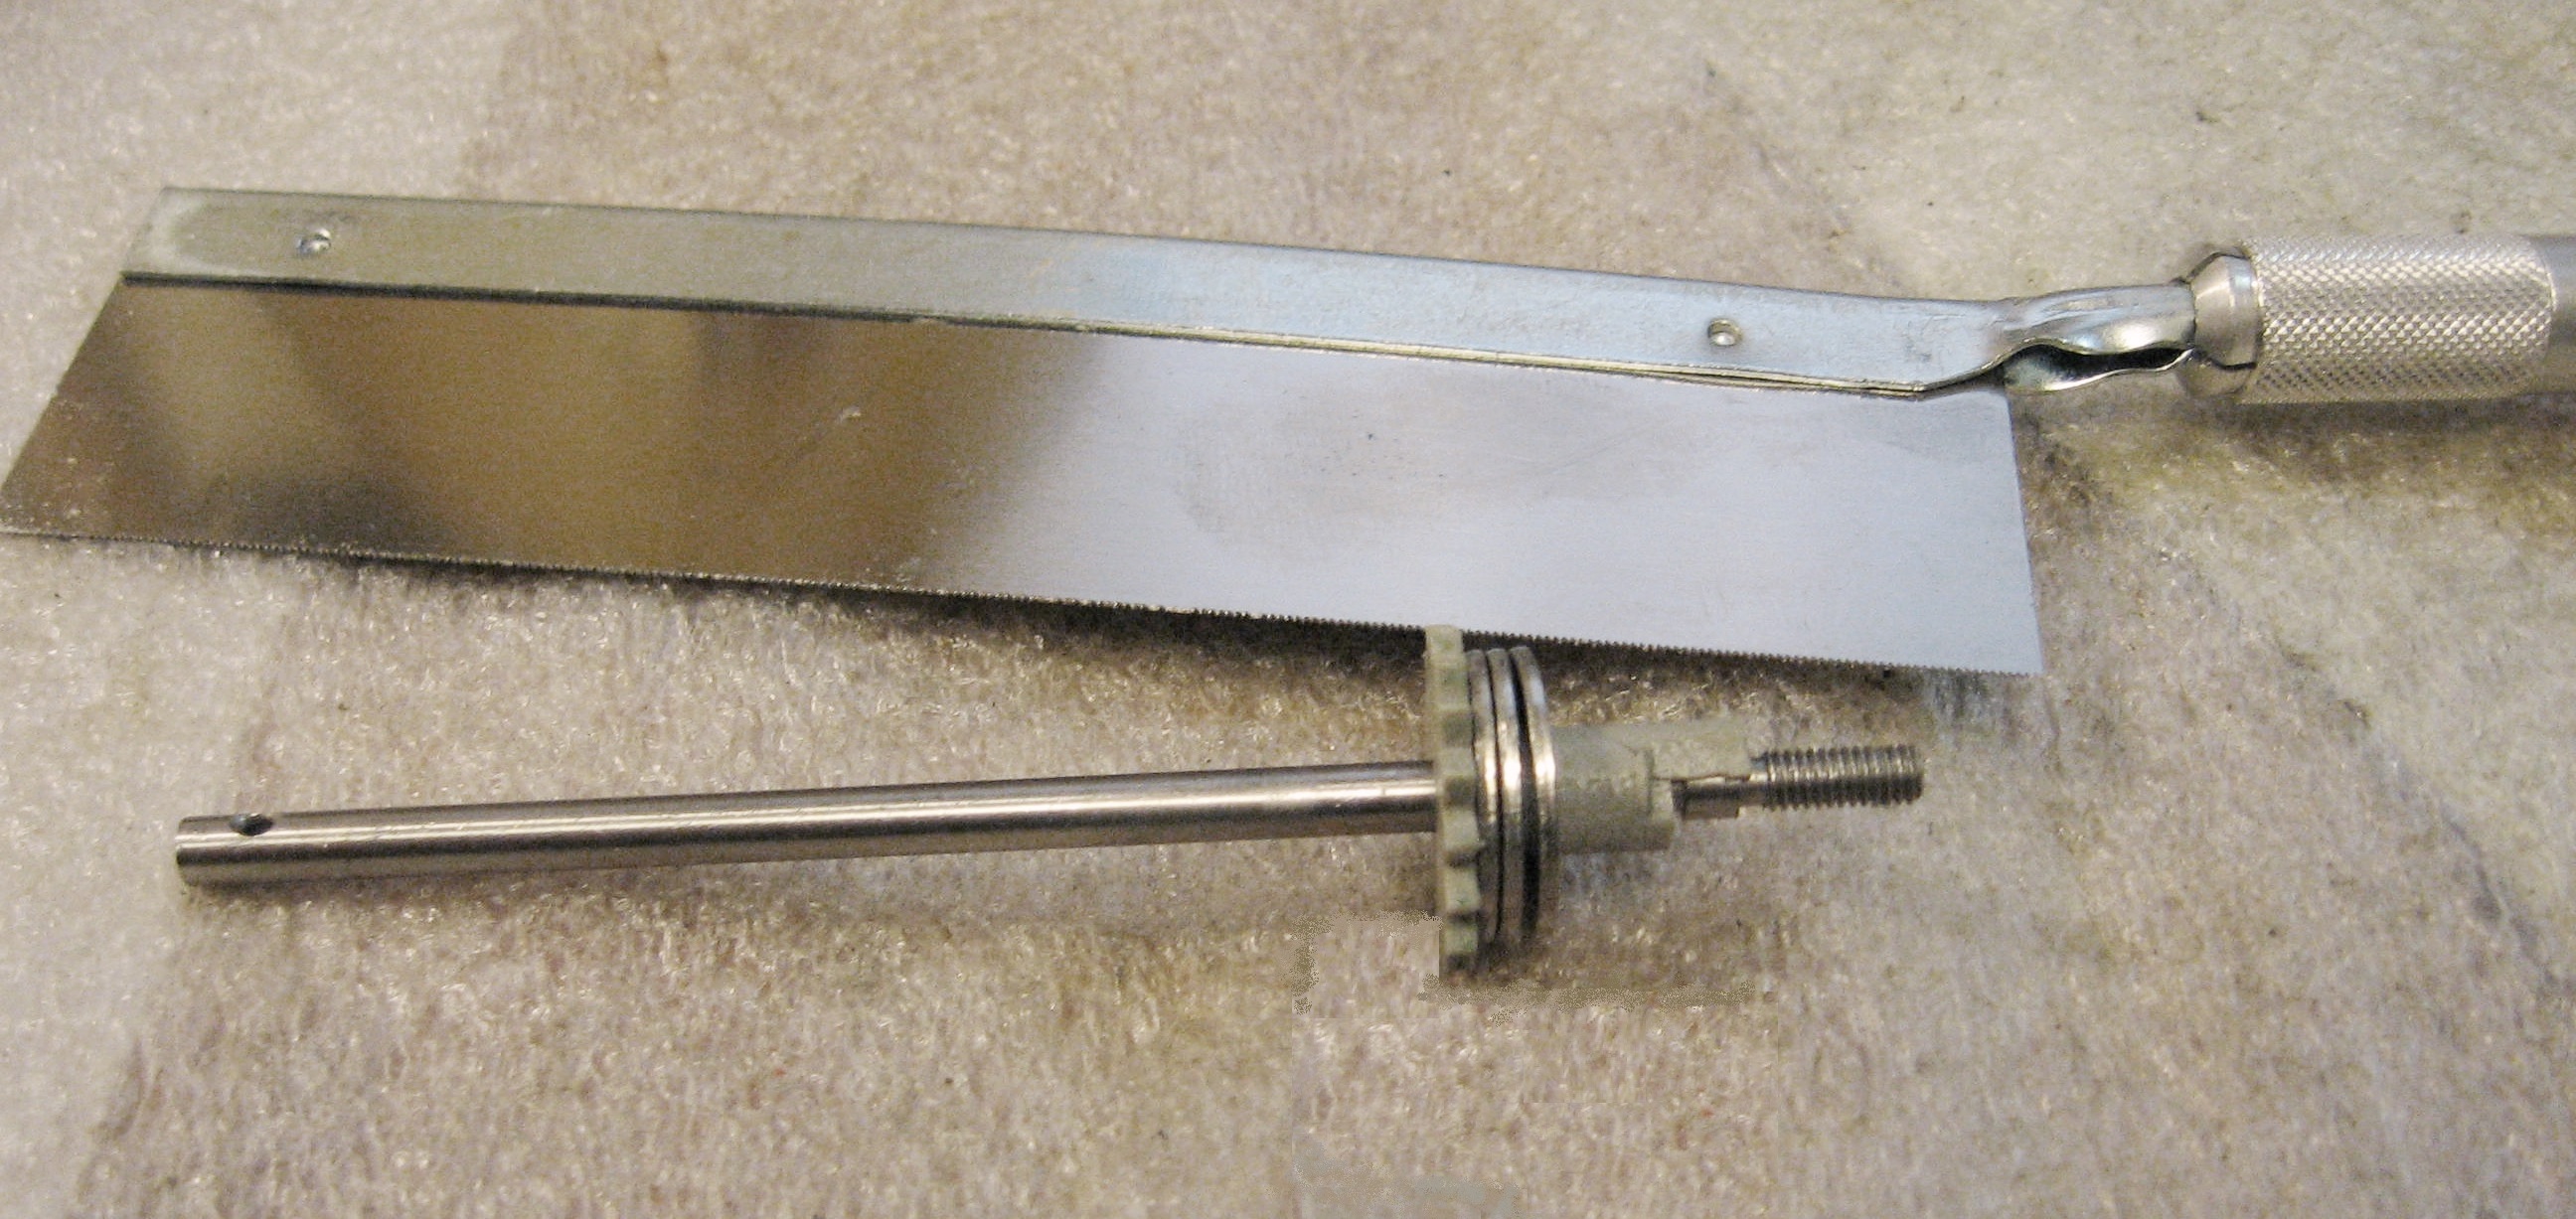
I let it cure for a couple of days just to make sure it was good and hard. I removed the pen form and tape and this is what I had.
I made a small slit in the straw form at the base with an X-acto knife and it slid right off. The JB Weld repair was a tight fit into the spool bushing so I sanded it down a little with 320 and then 800 grit sandpaper until it turned freely in the spool bushing.
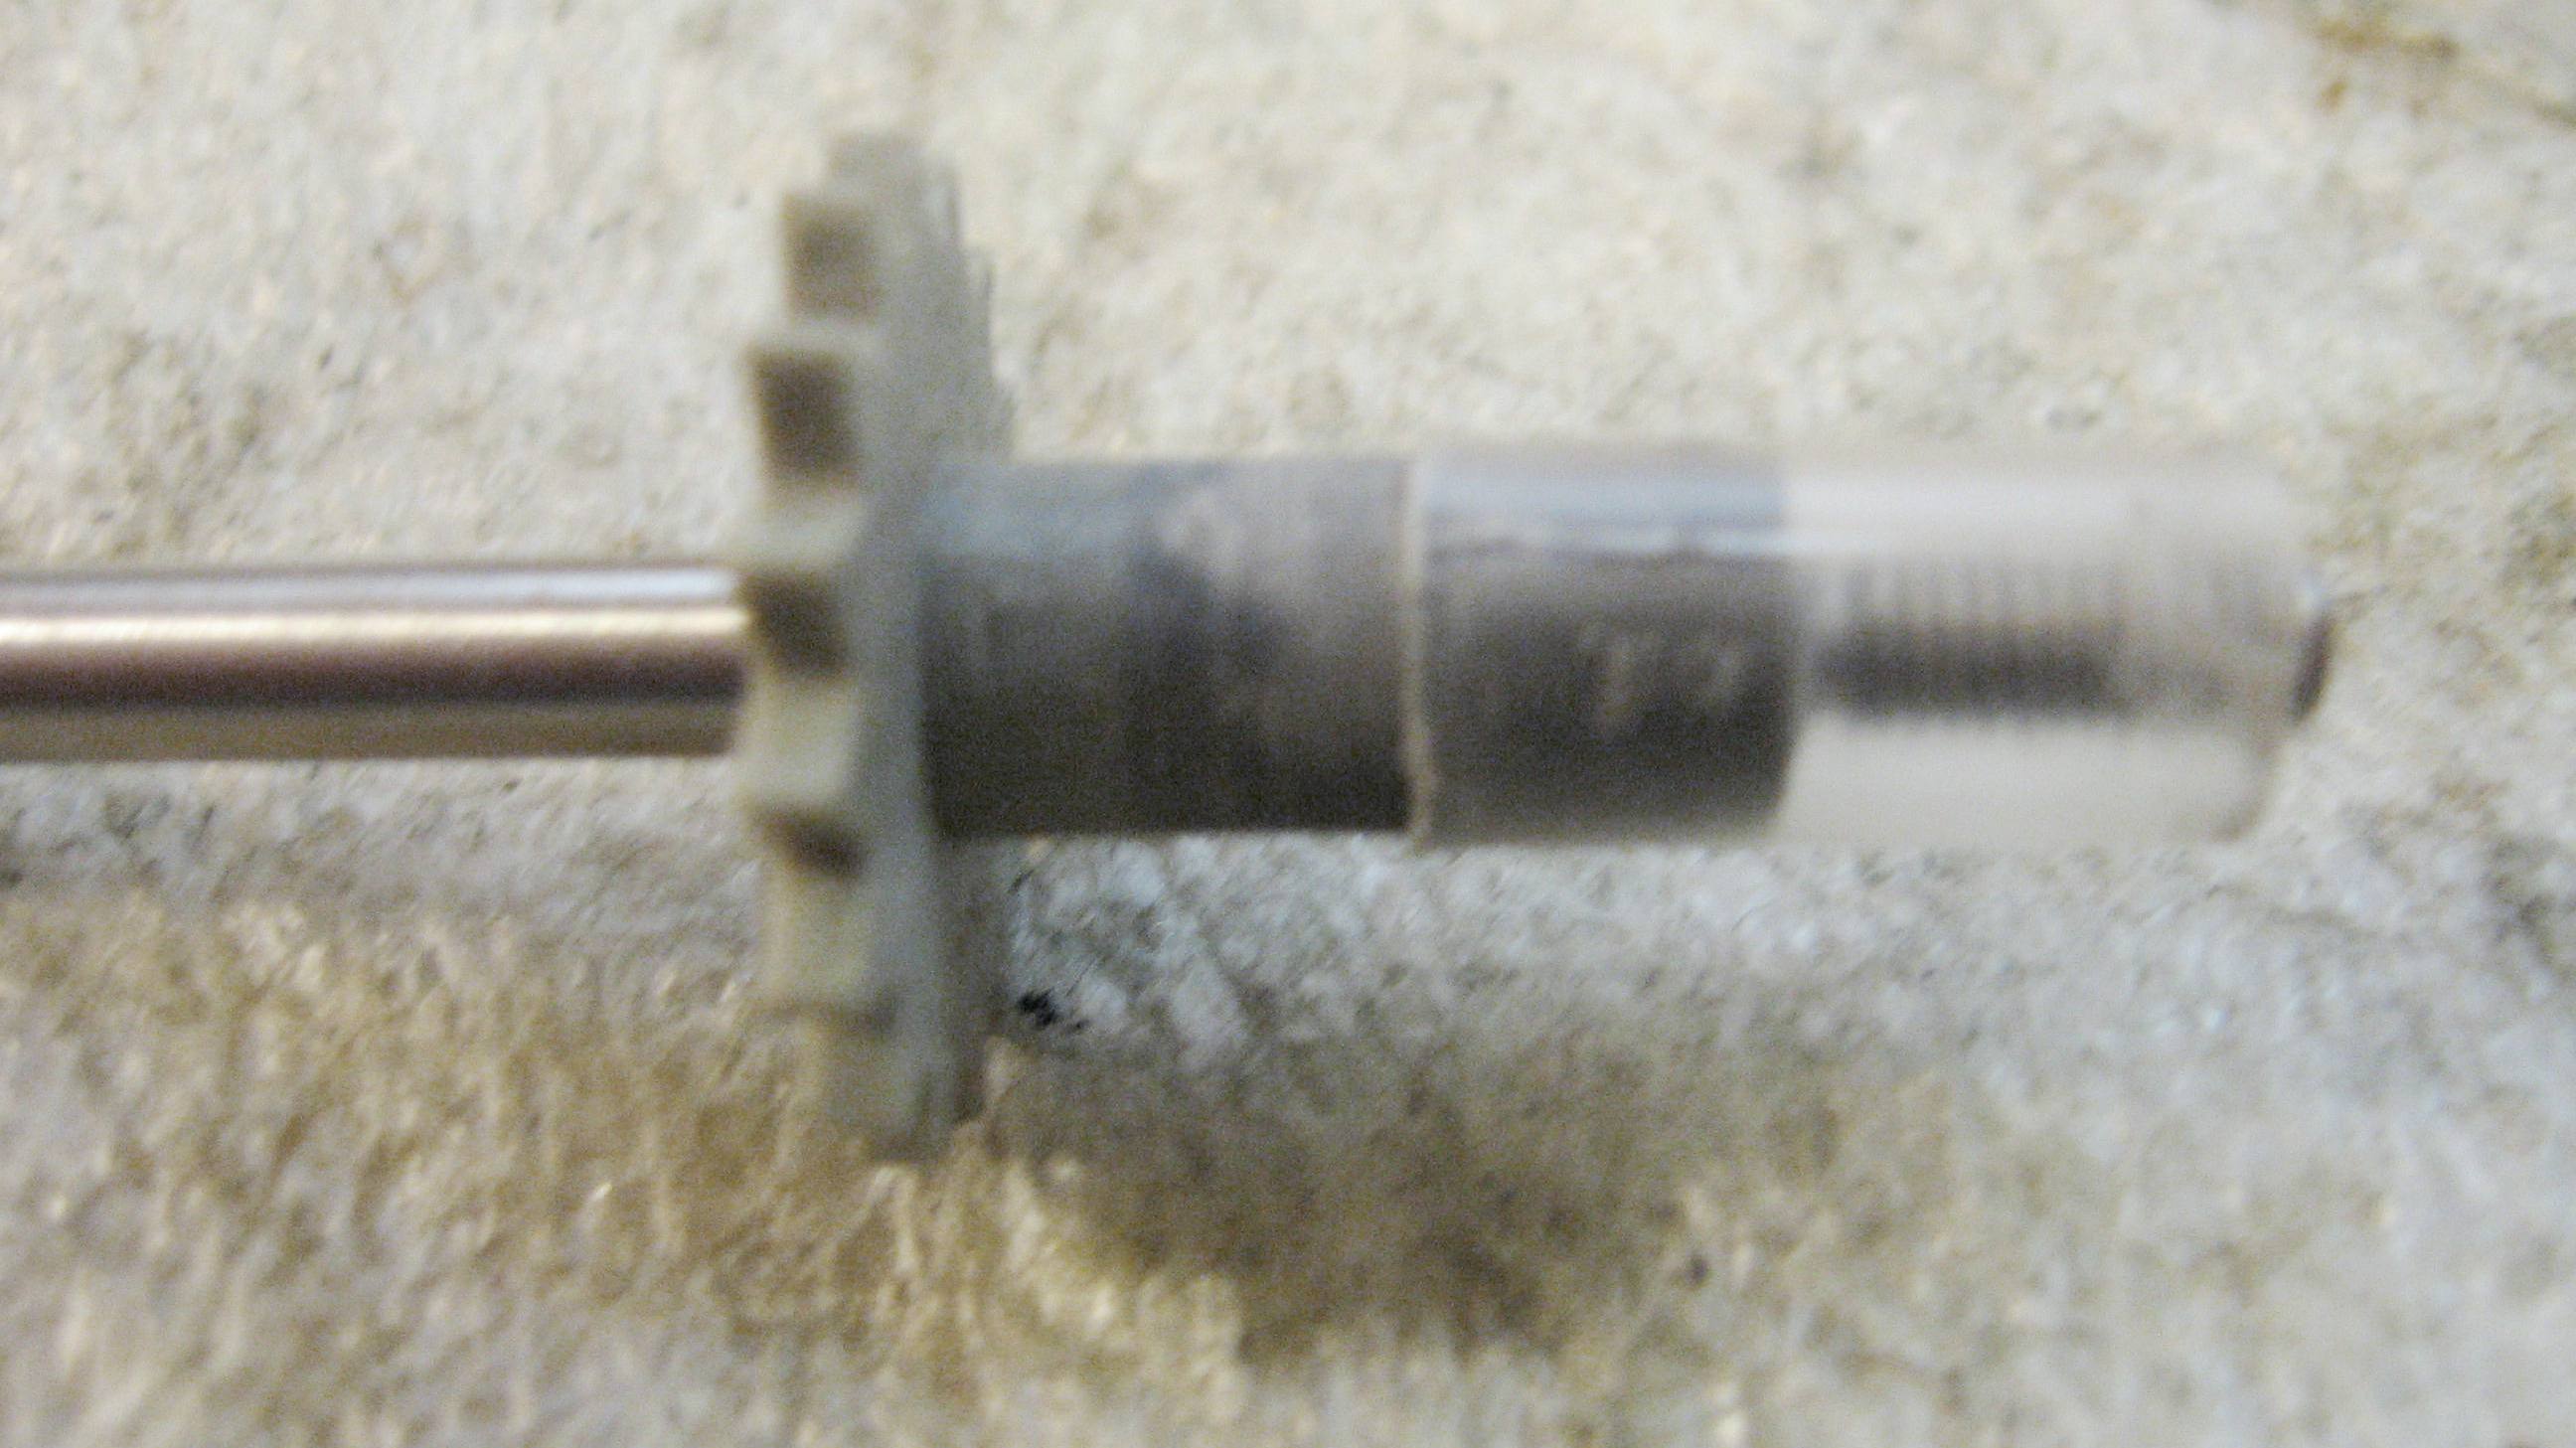
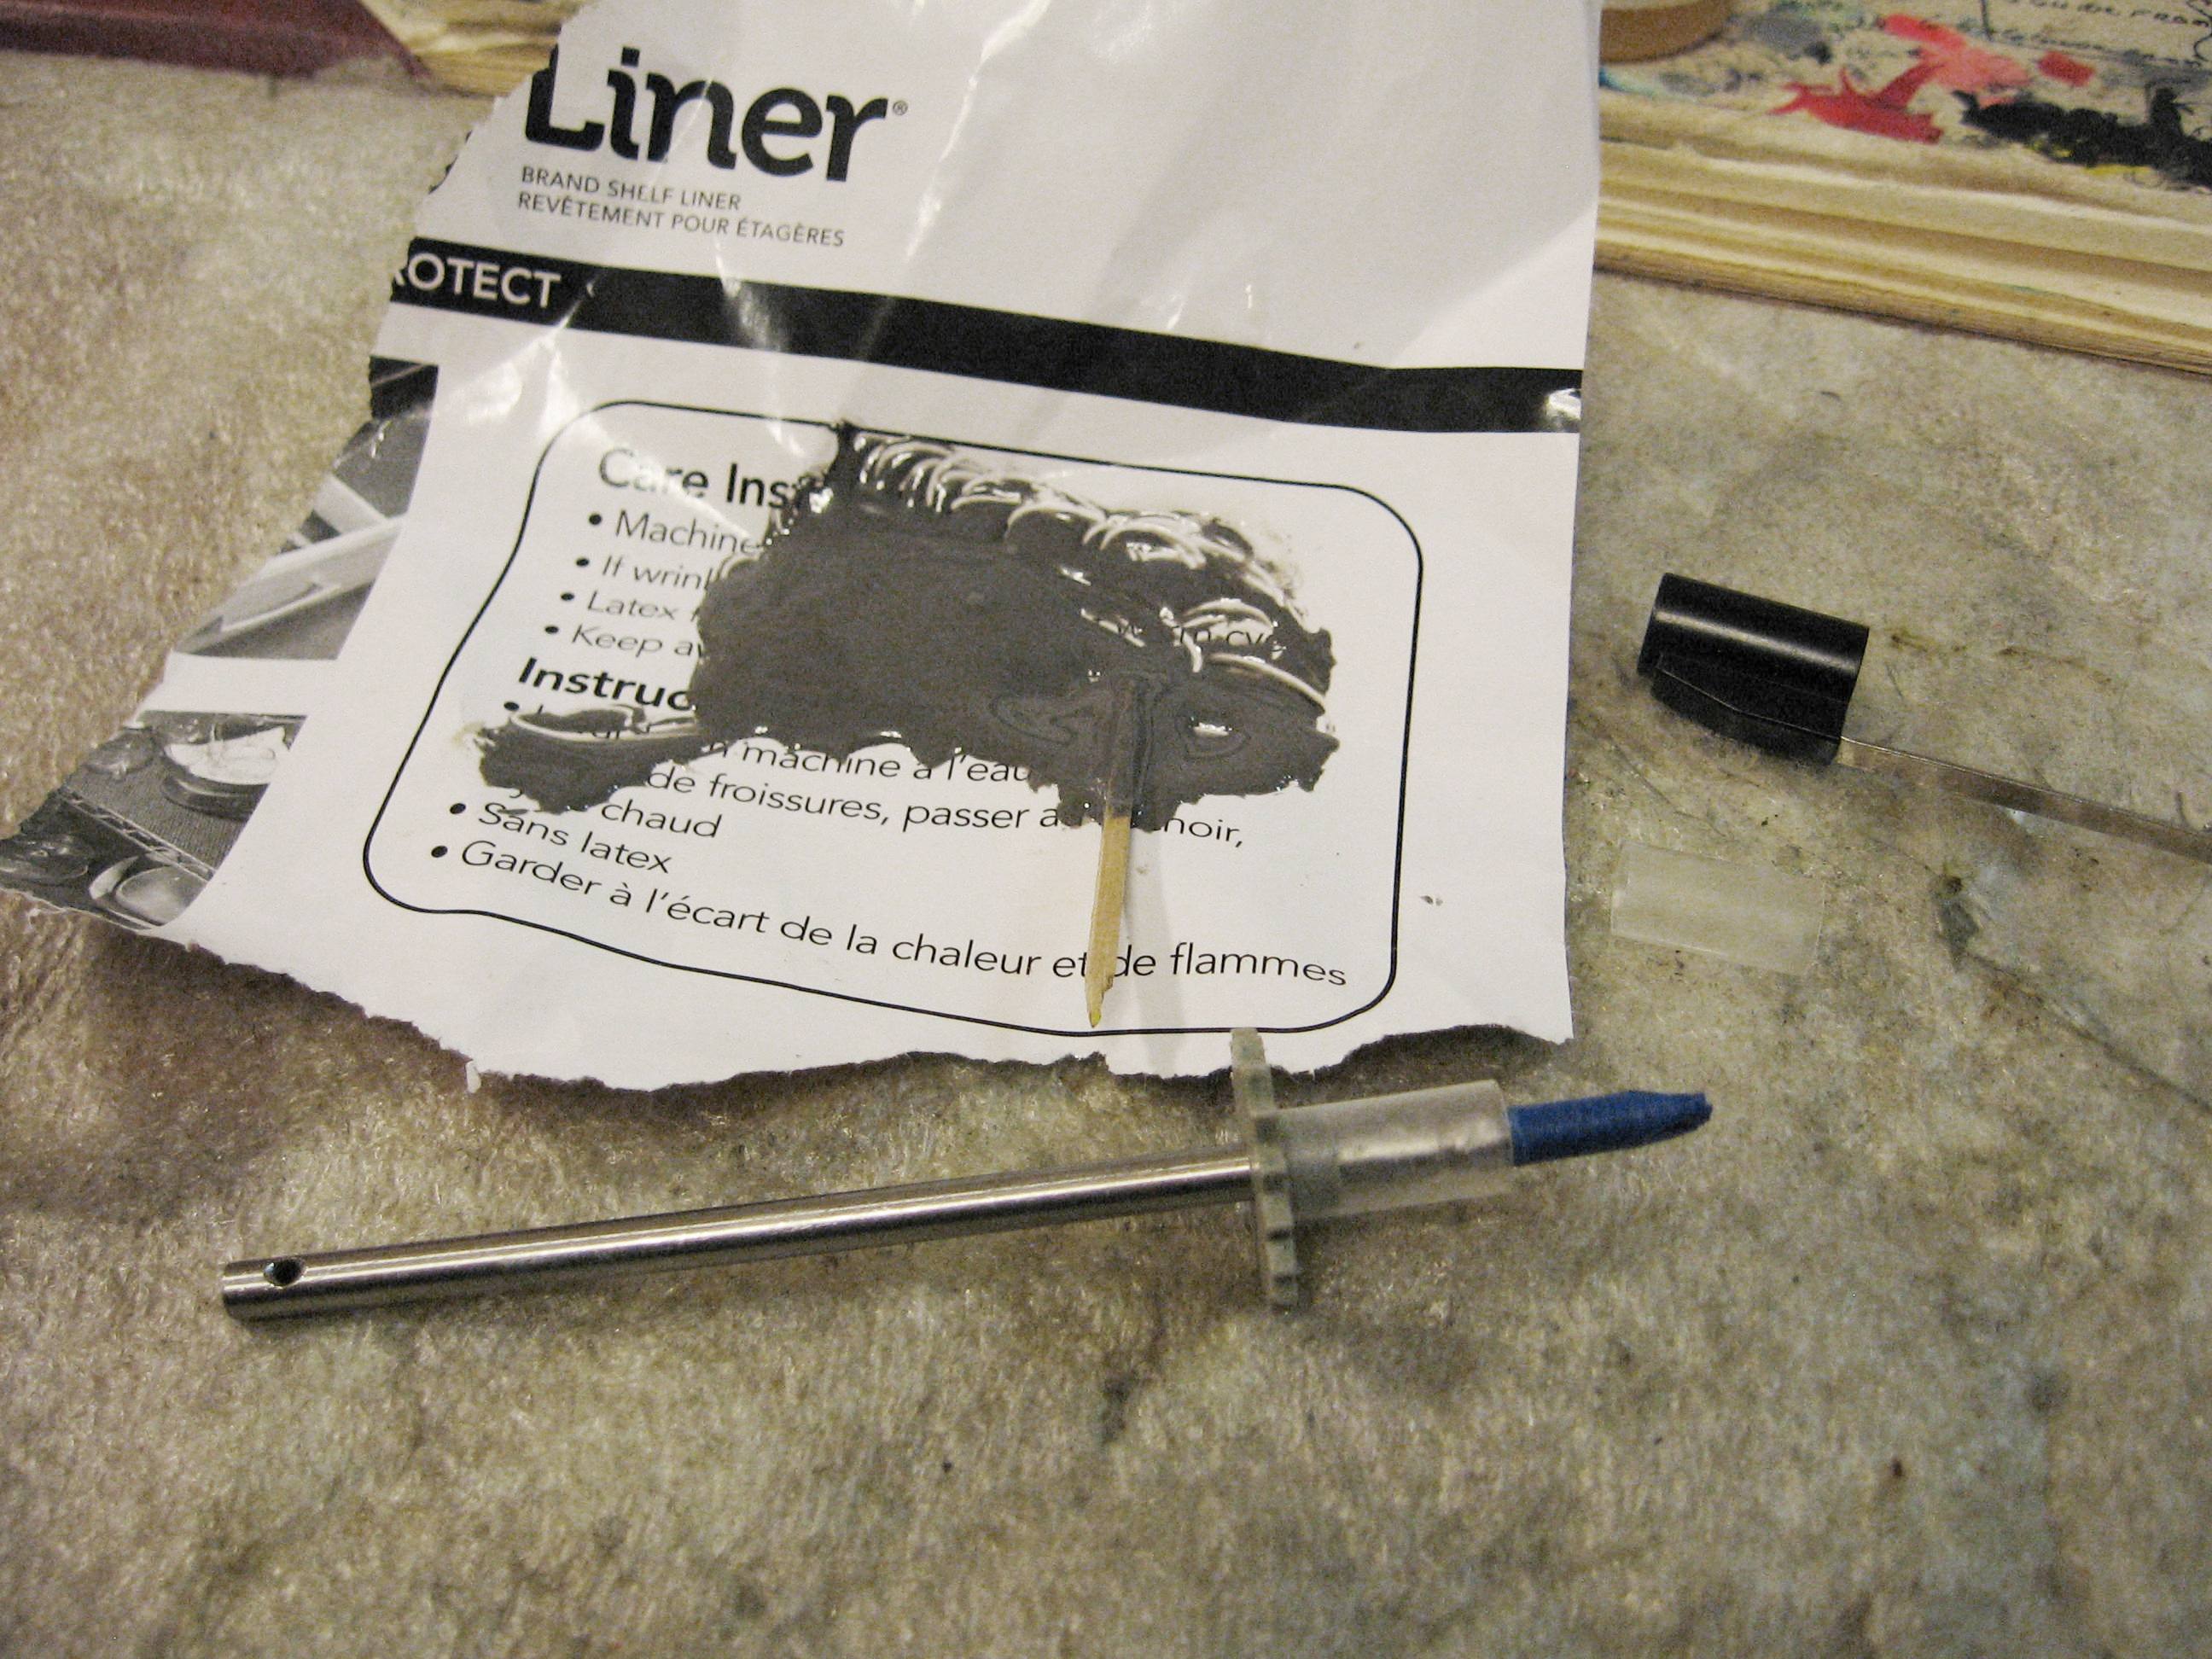
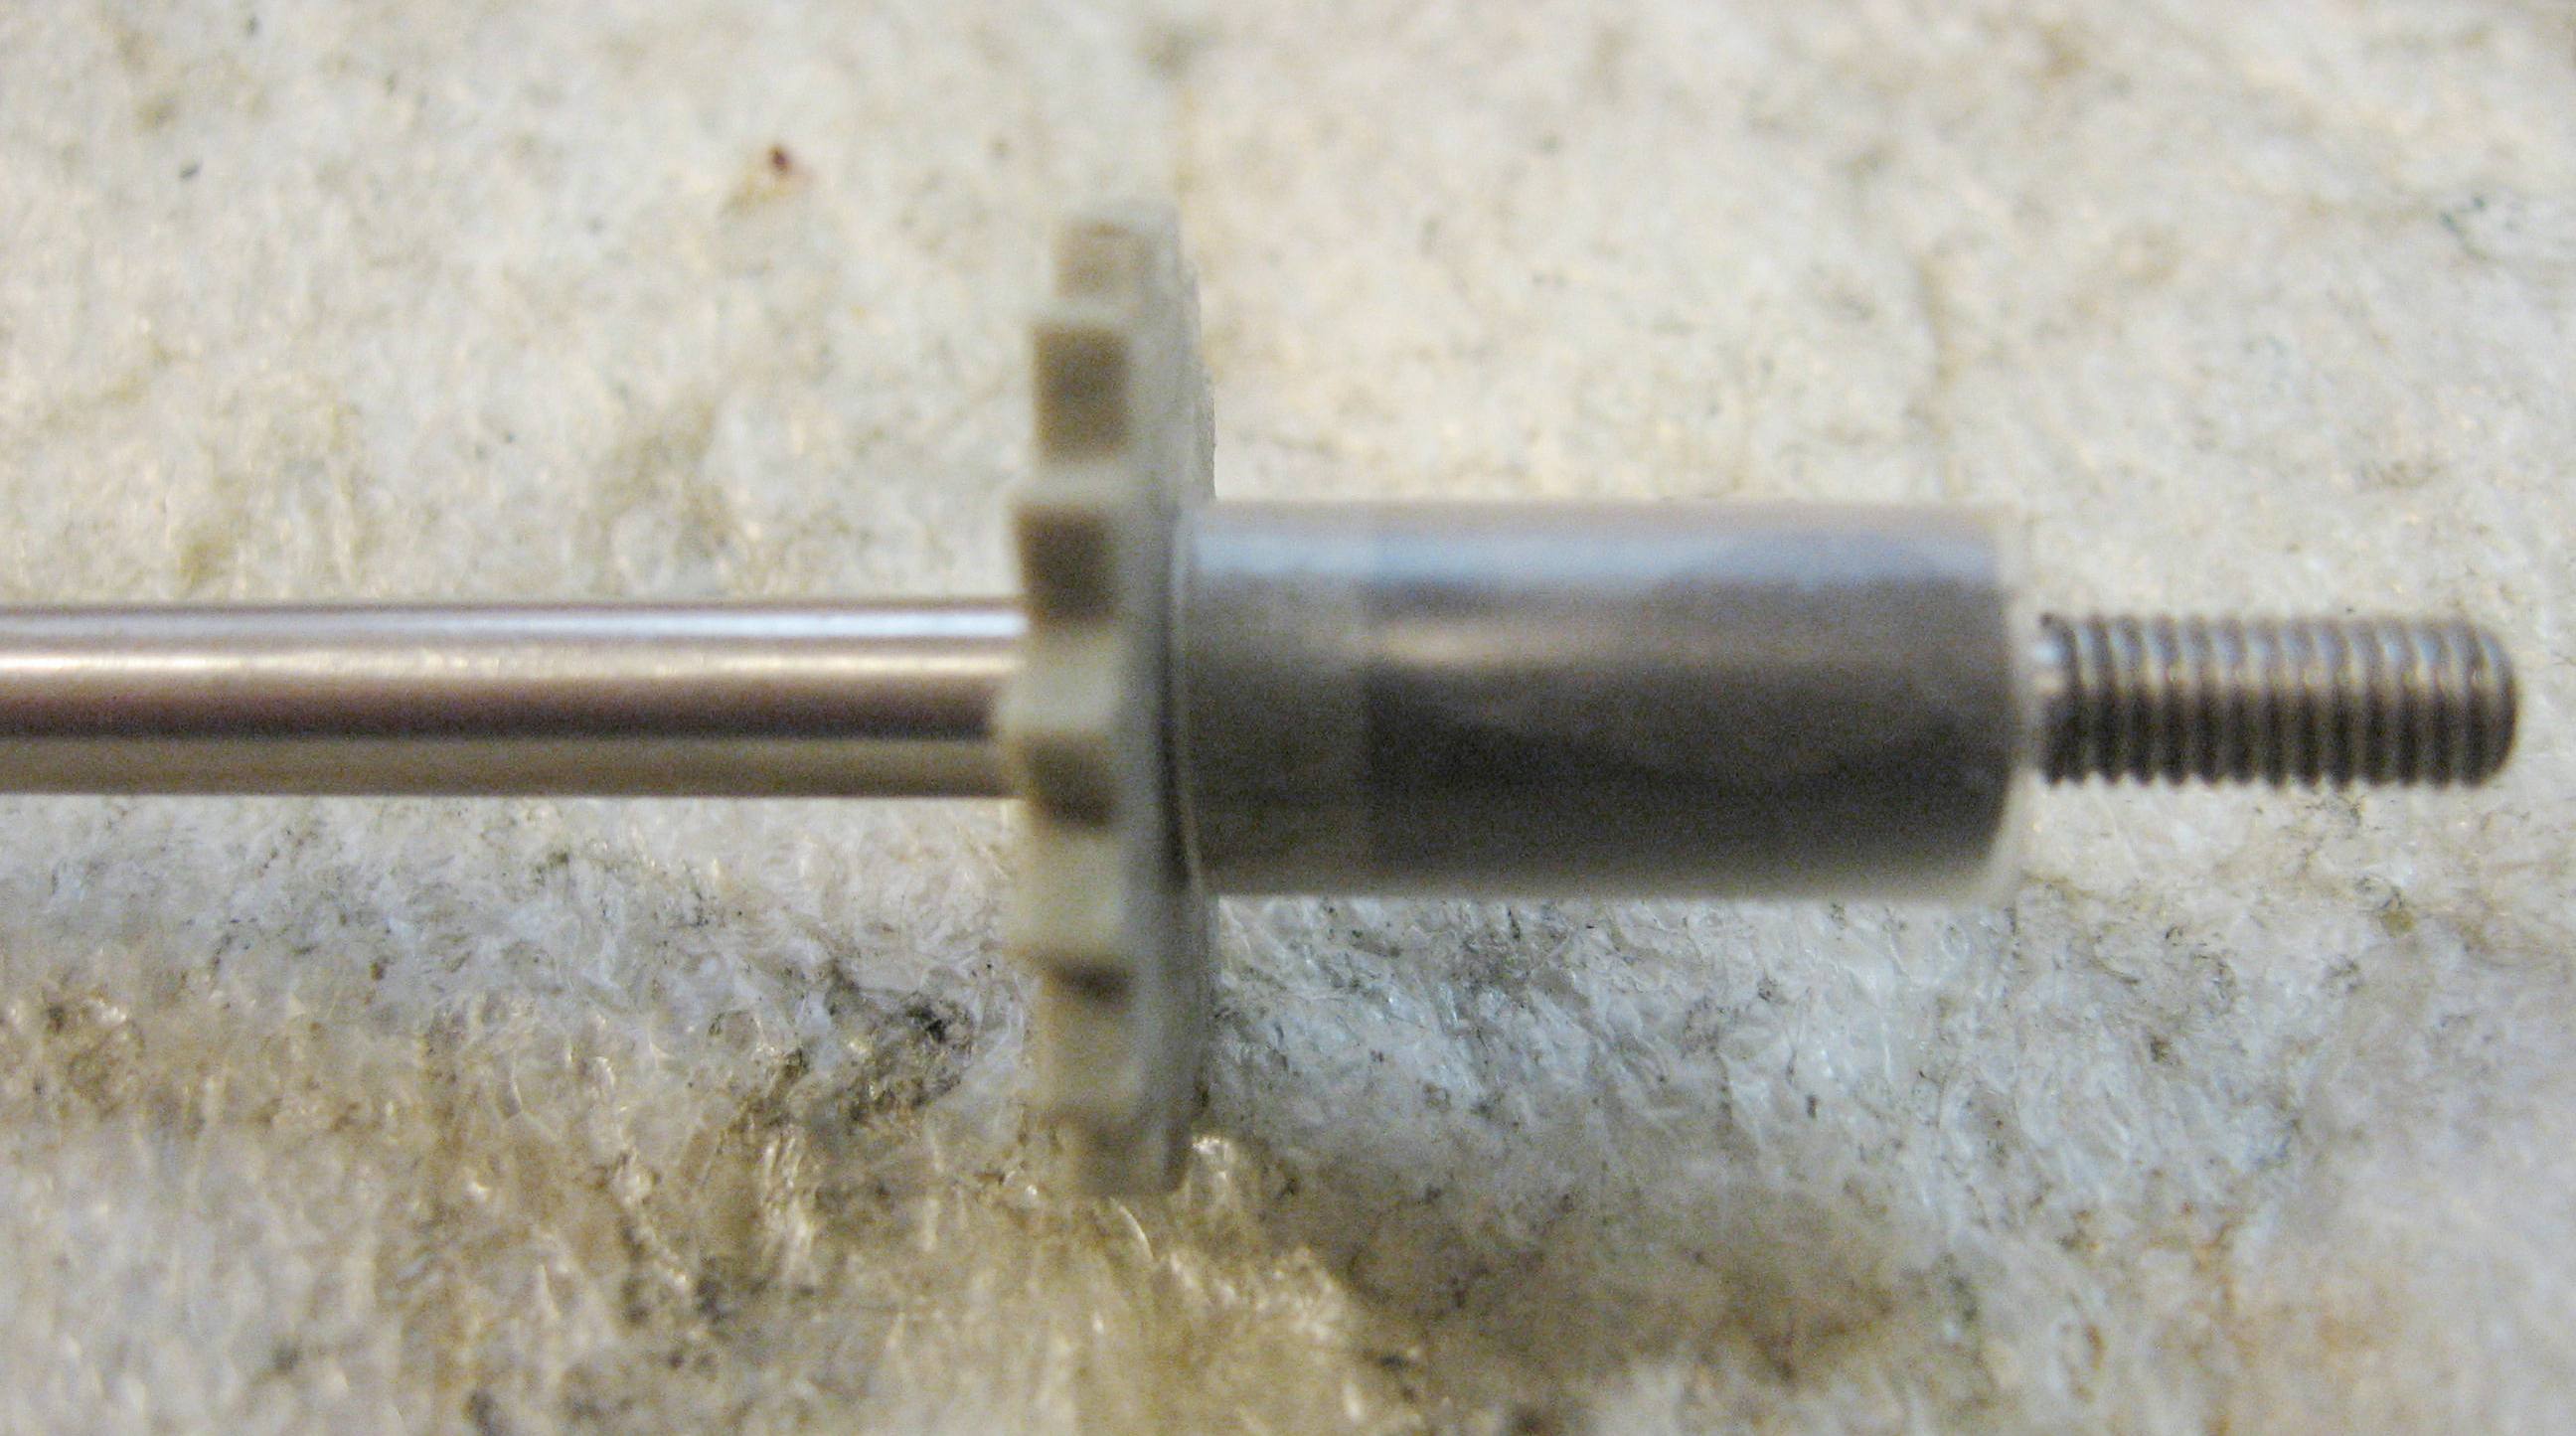
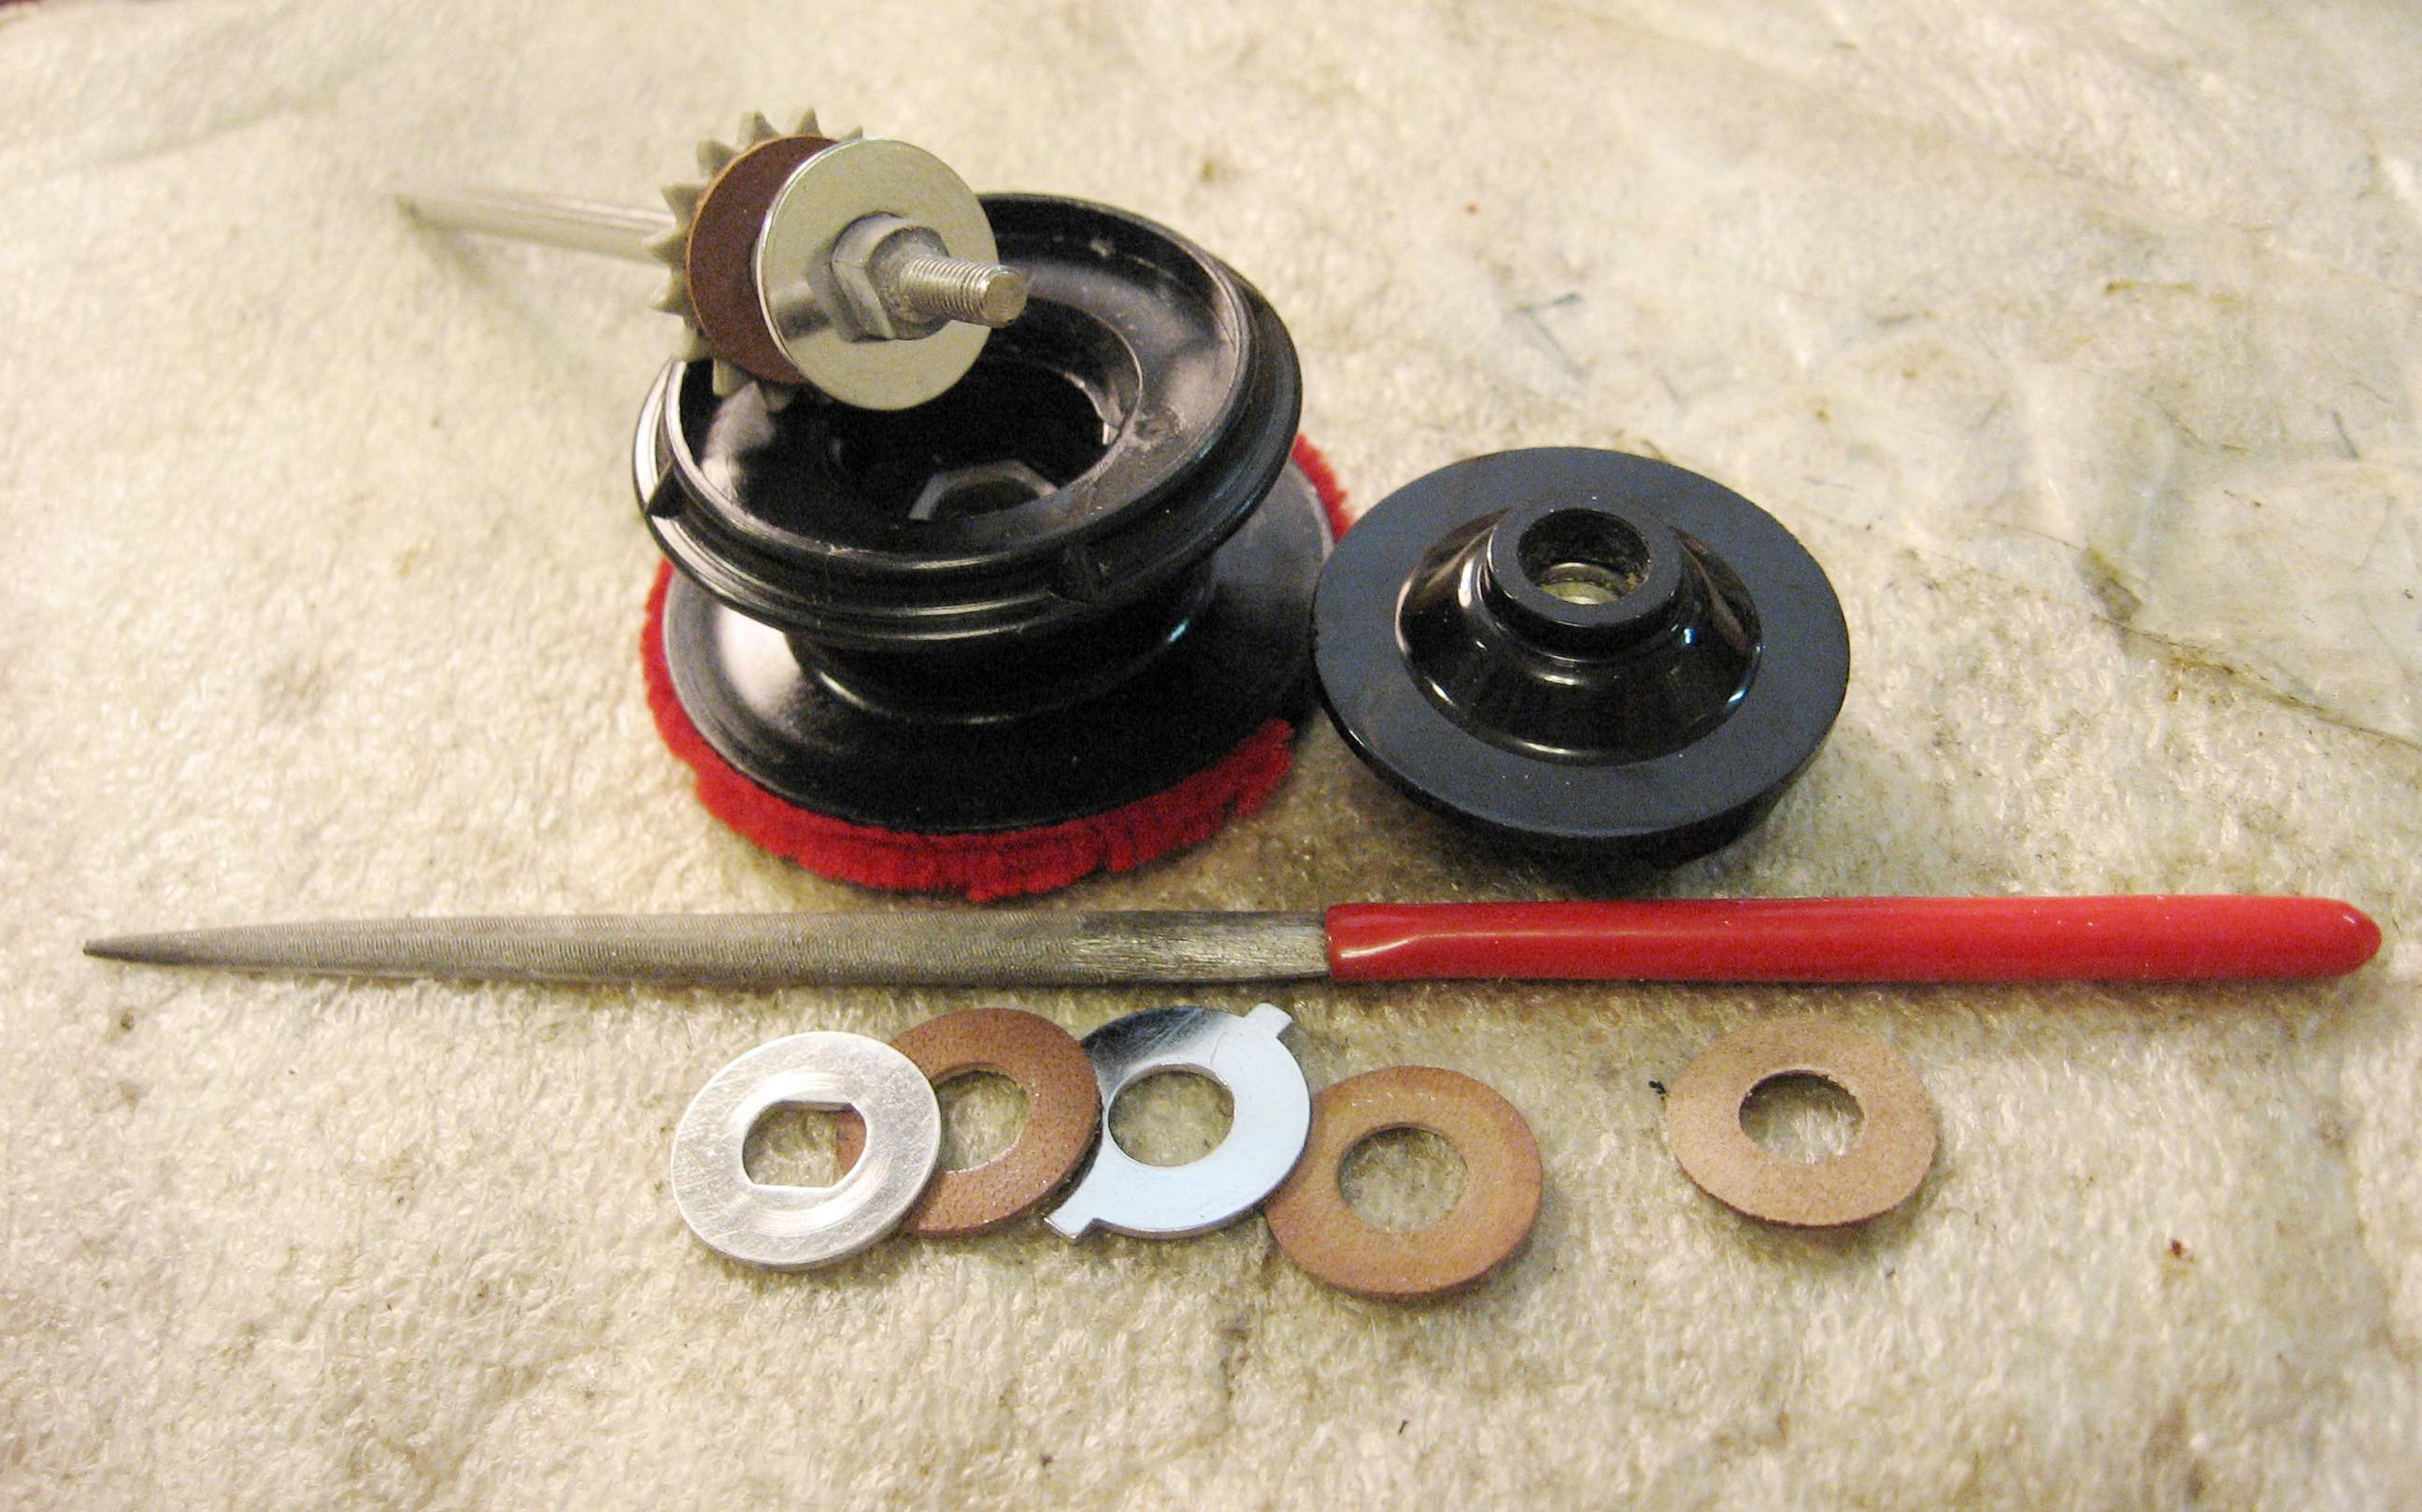
There are 16 points on the click gear so I marked the grooves between 8 on each side for a guide. That way I could make sure the flat areas were correctly placed opposite each other. I used a mini file and drag washer as a guide, going a little at a time, to file the 5 mm flat sided areas until the washer fit perfectly.
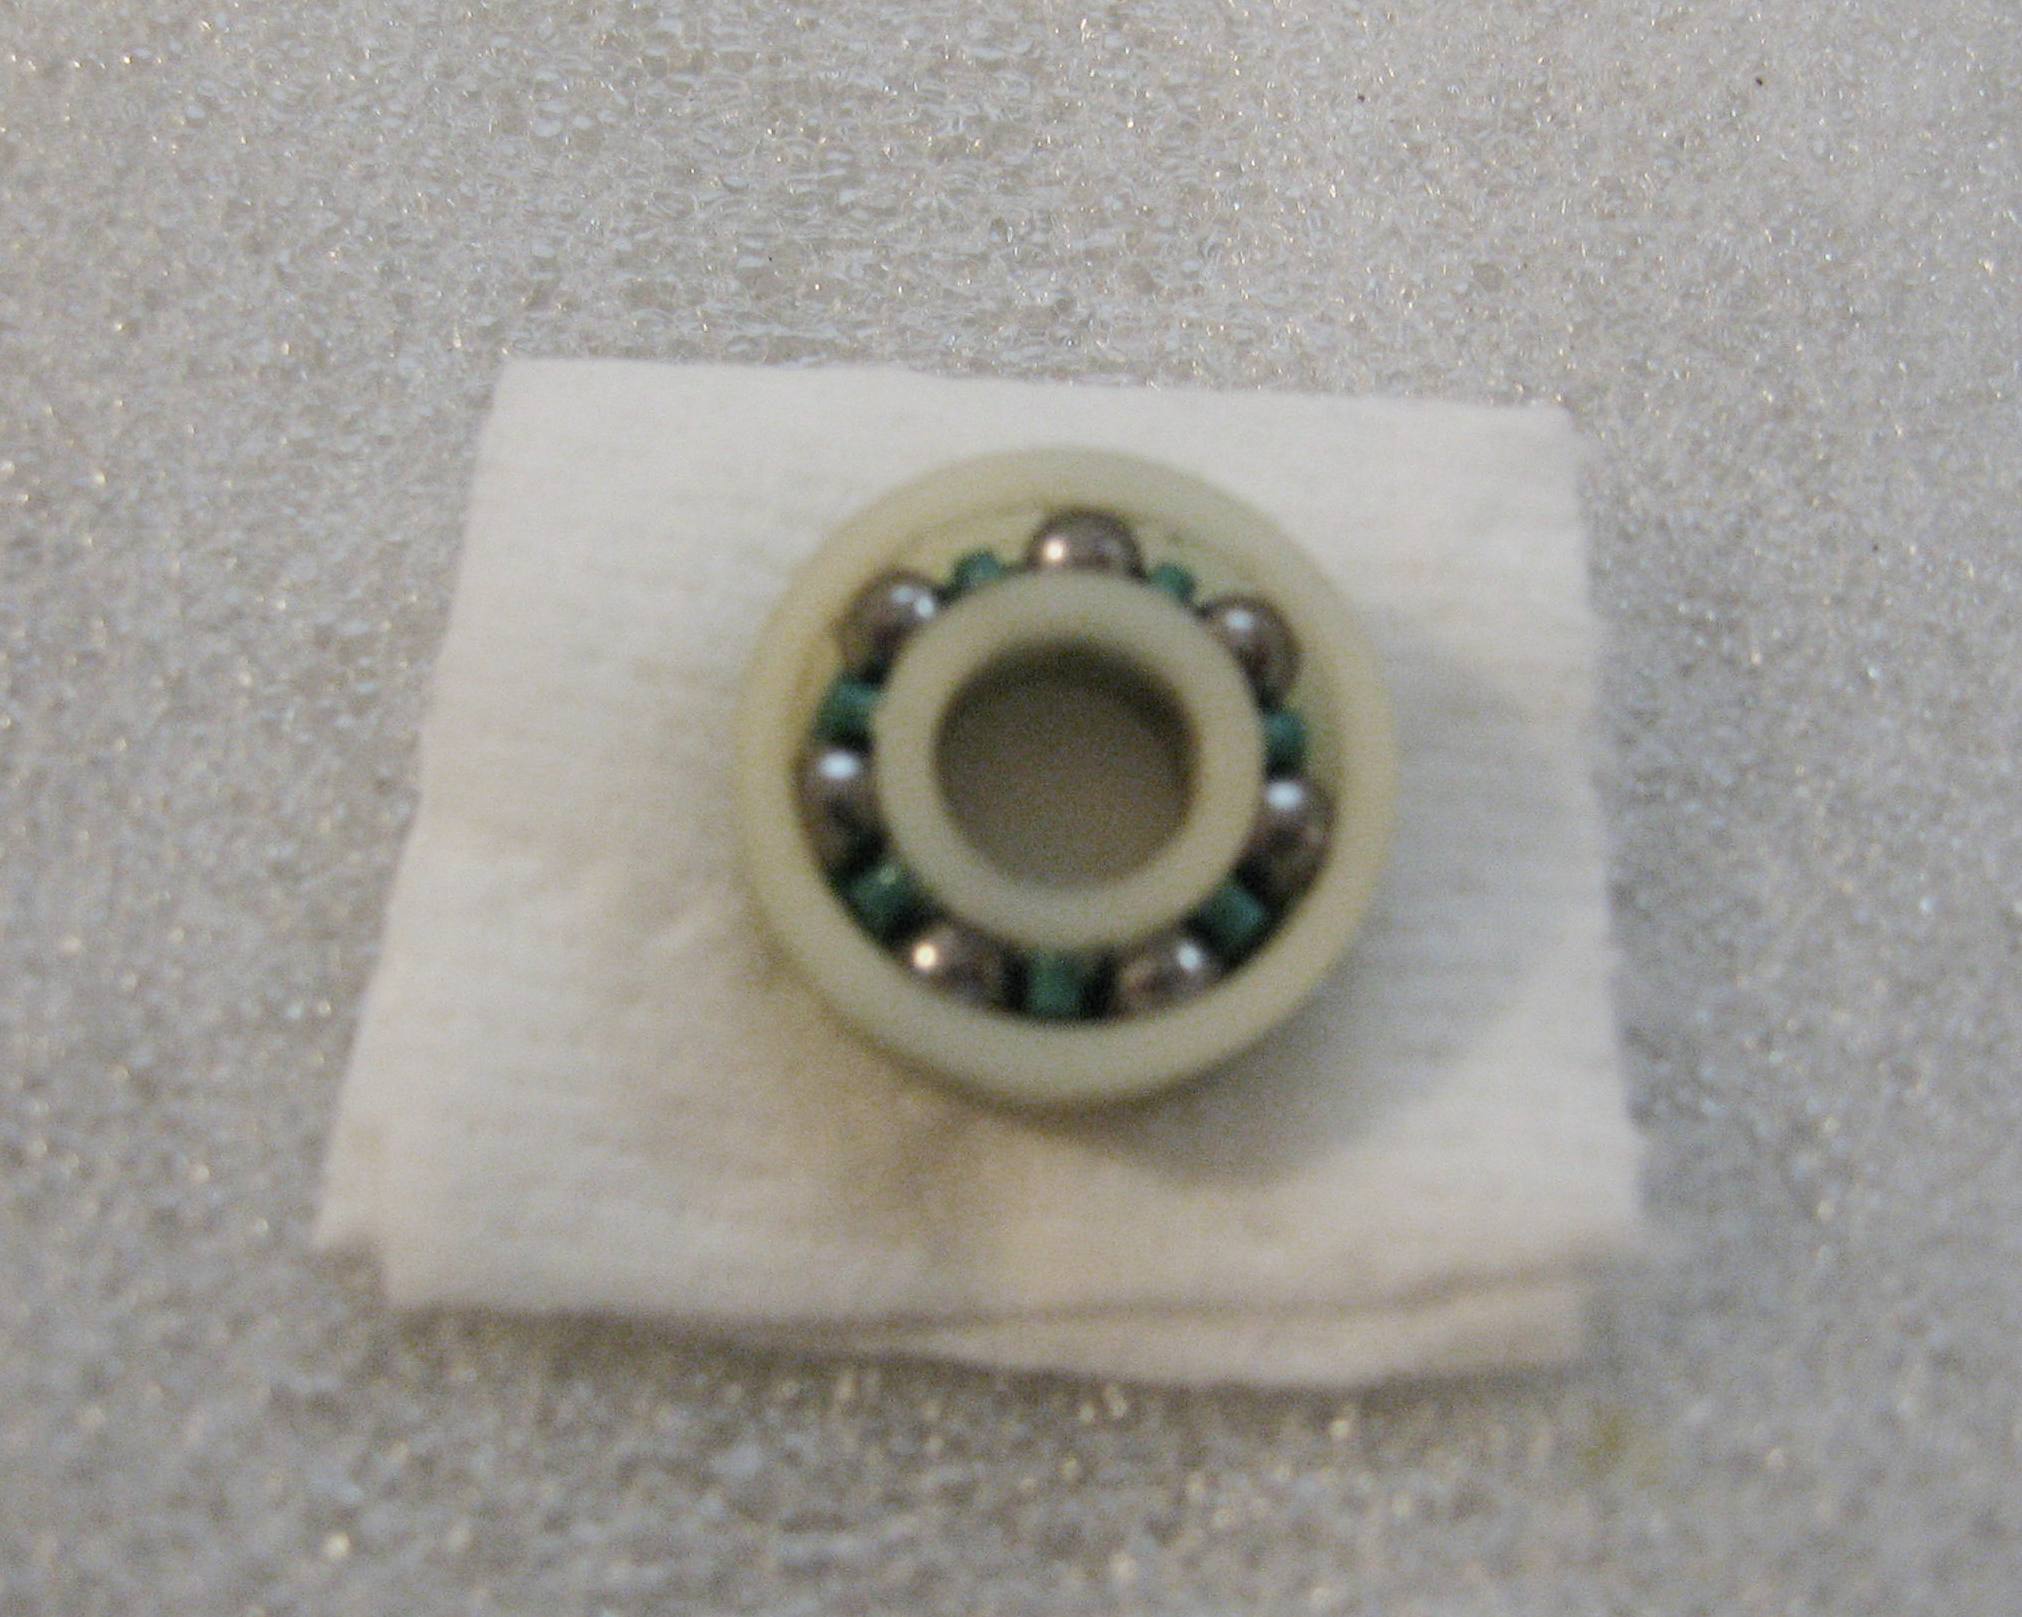
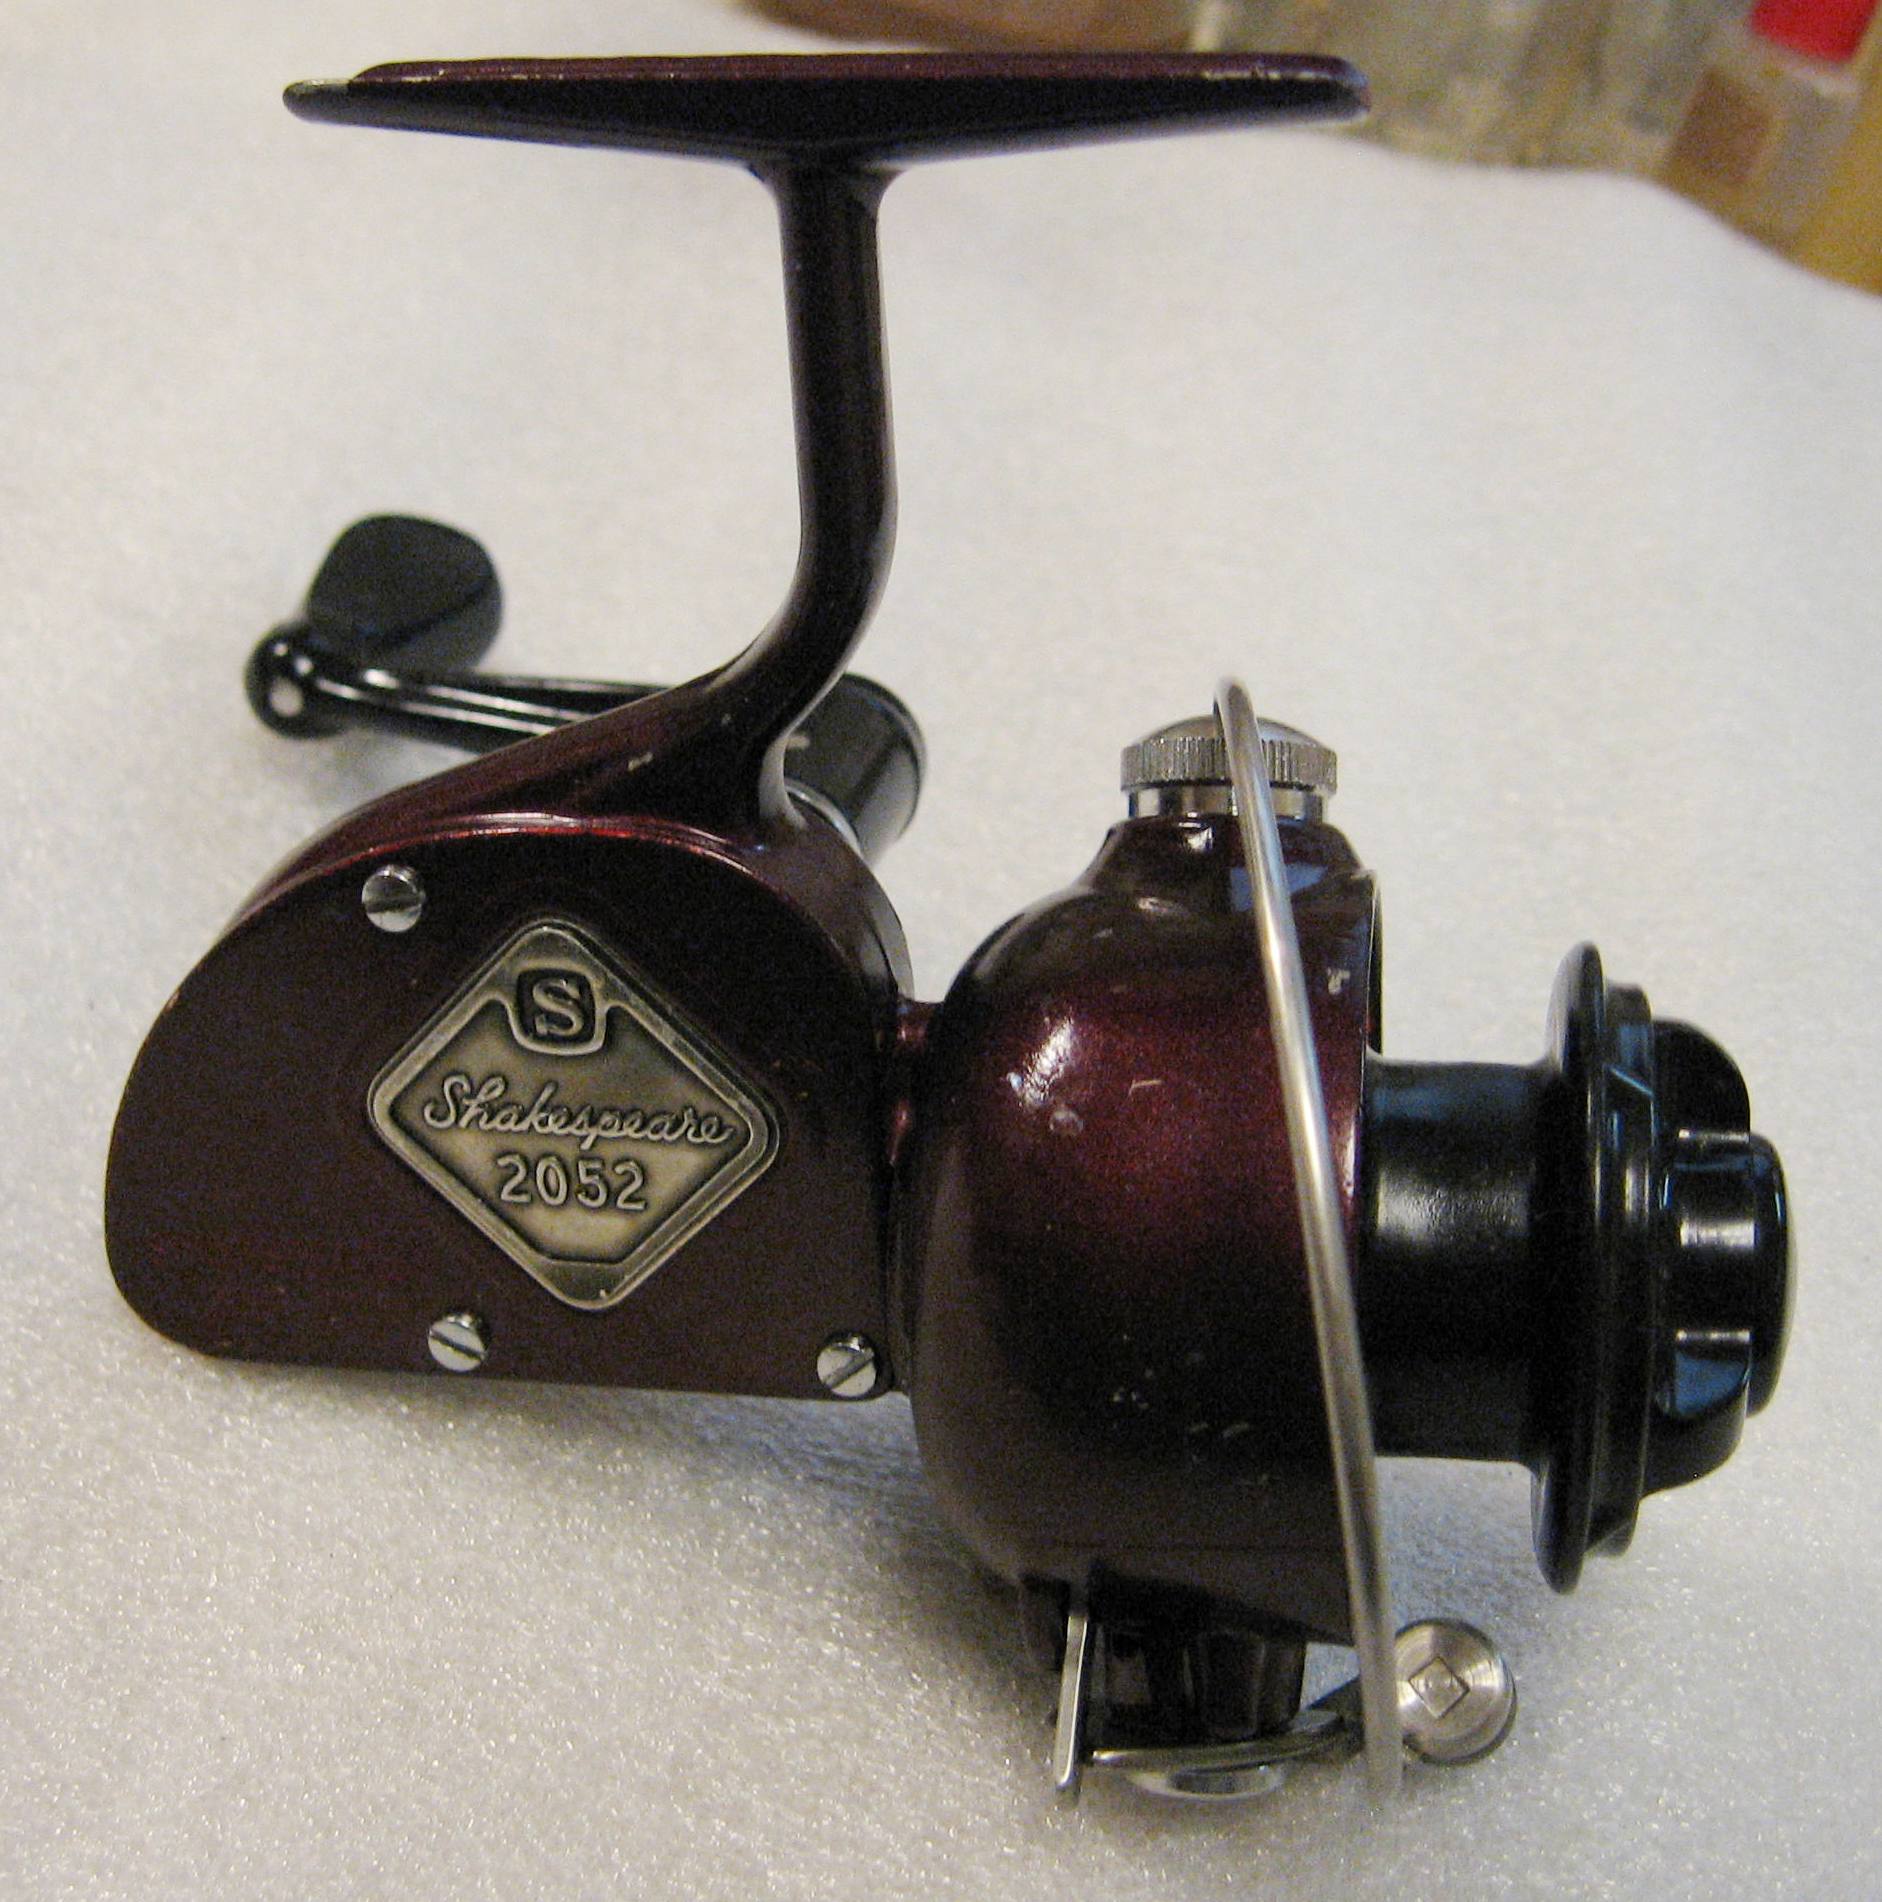
For those that wonder how Shakespeare cheapened their last versions of the "Royal Maroons", among things like the handle and plastic main shaft click gear/bushing, they also went to nylon encased ball bearings without a metal race on this 2052.
Here the reel is cleaned & lubed, and you can see the epoxy click gear/bushing repair.
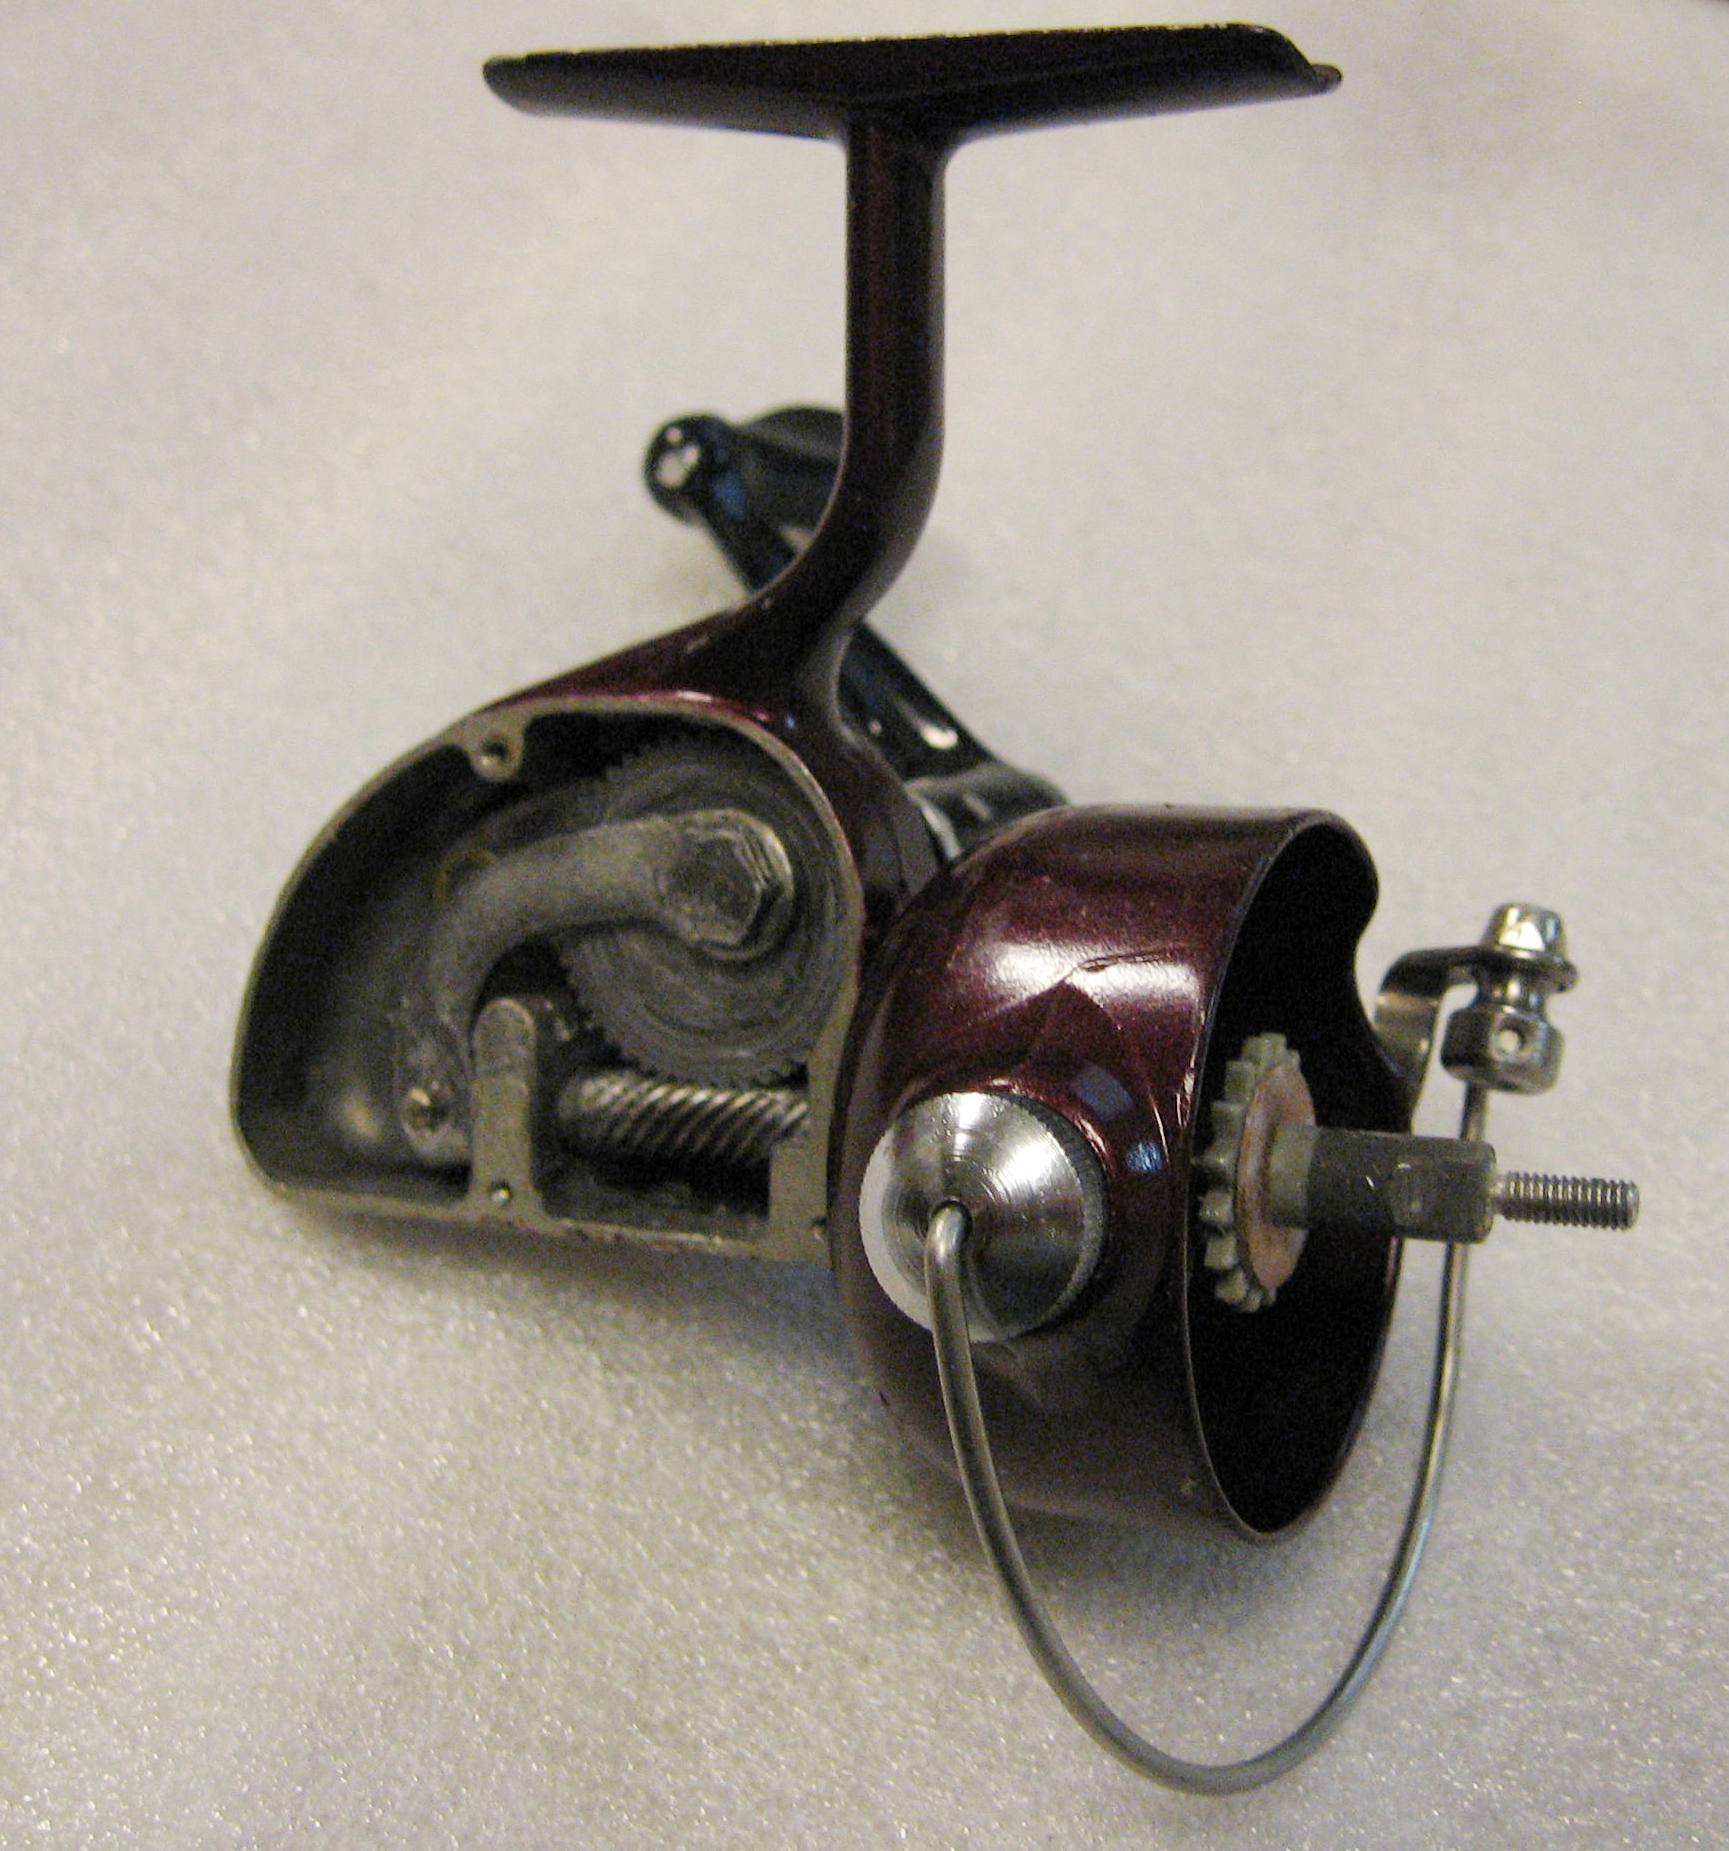
Ready for the side plate, spool & drag knob.

Ready to fish
The epoxy click gear/bushing repair will more than likely last as long as the rest of the reel.