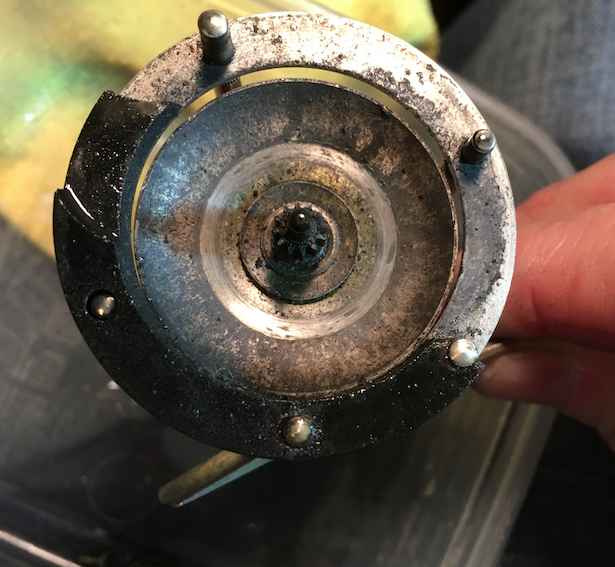
The existing broken spacer provided only half the coverage required.
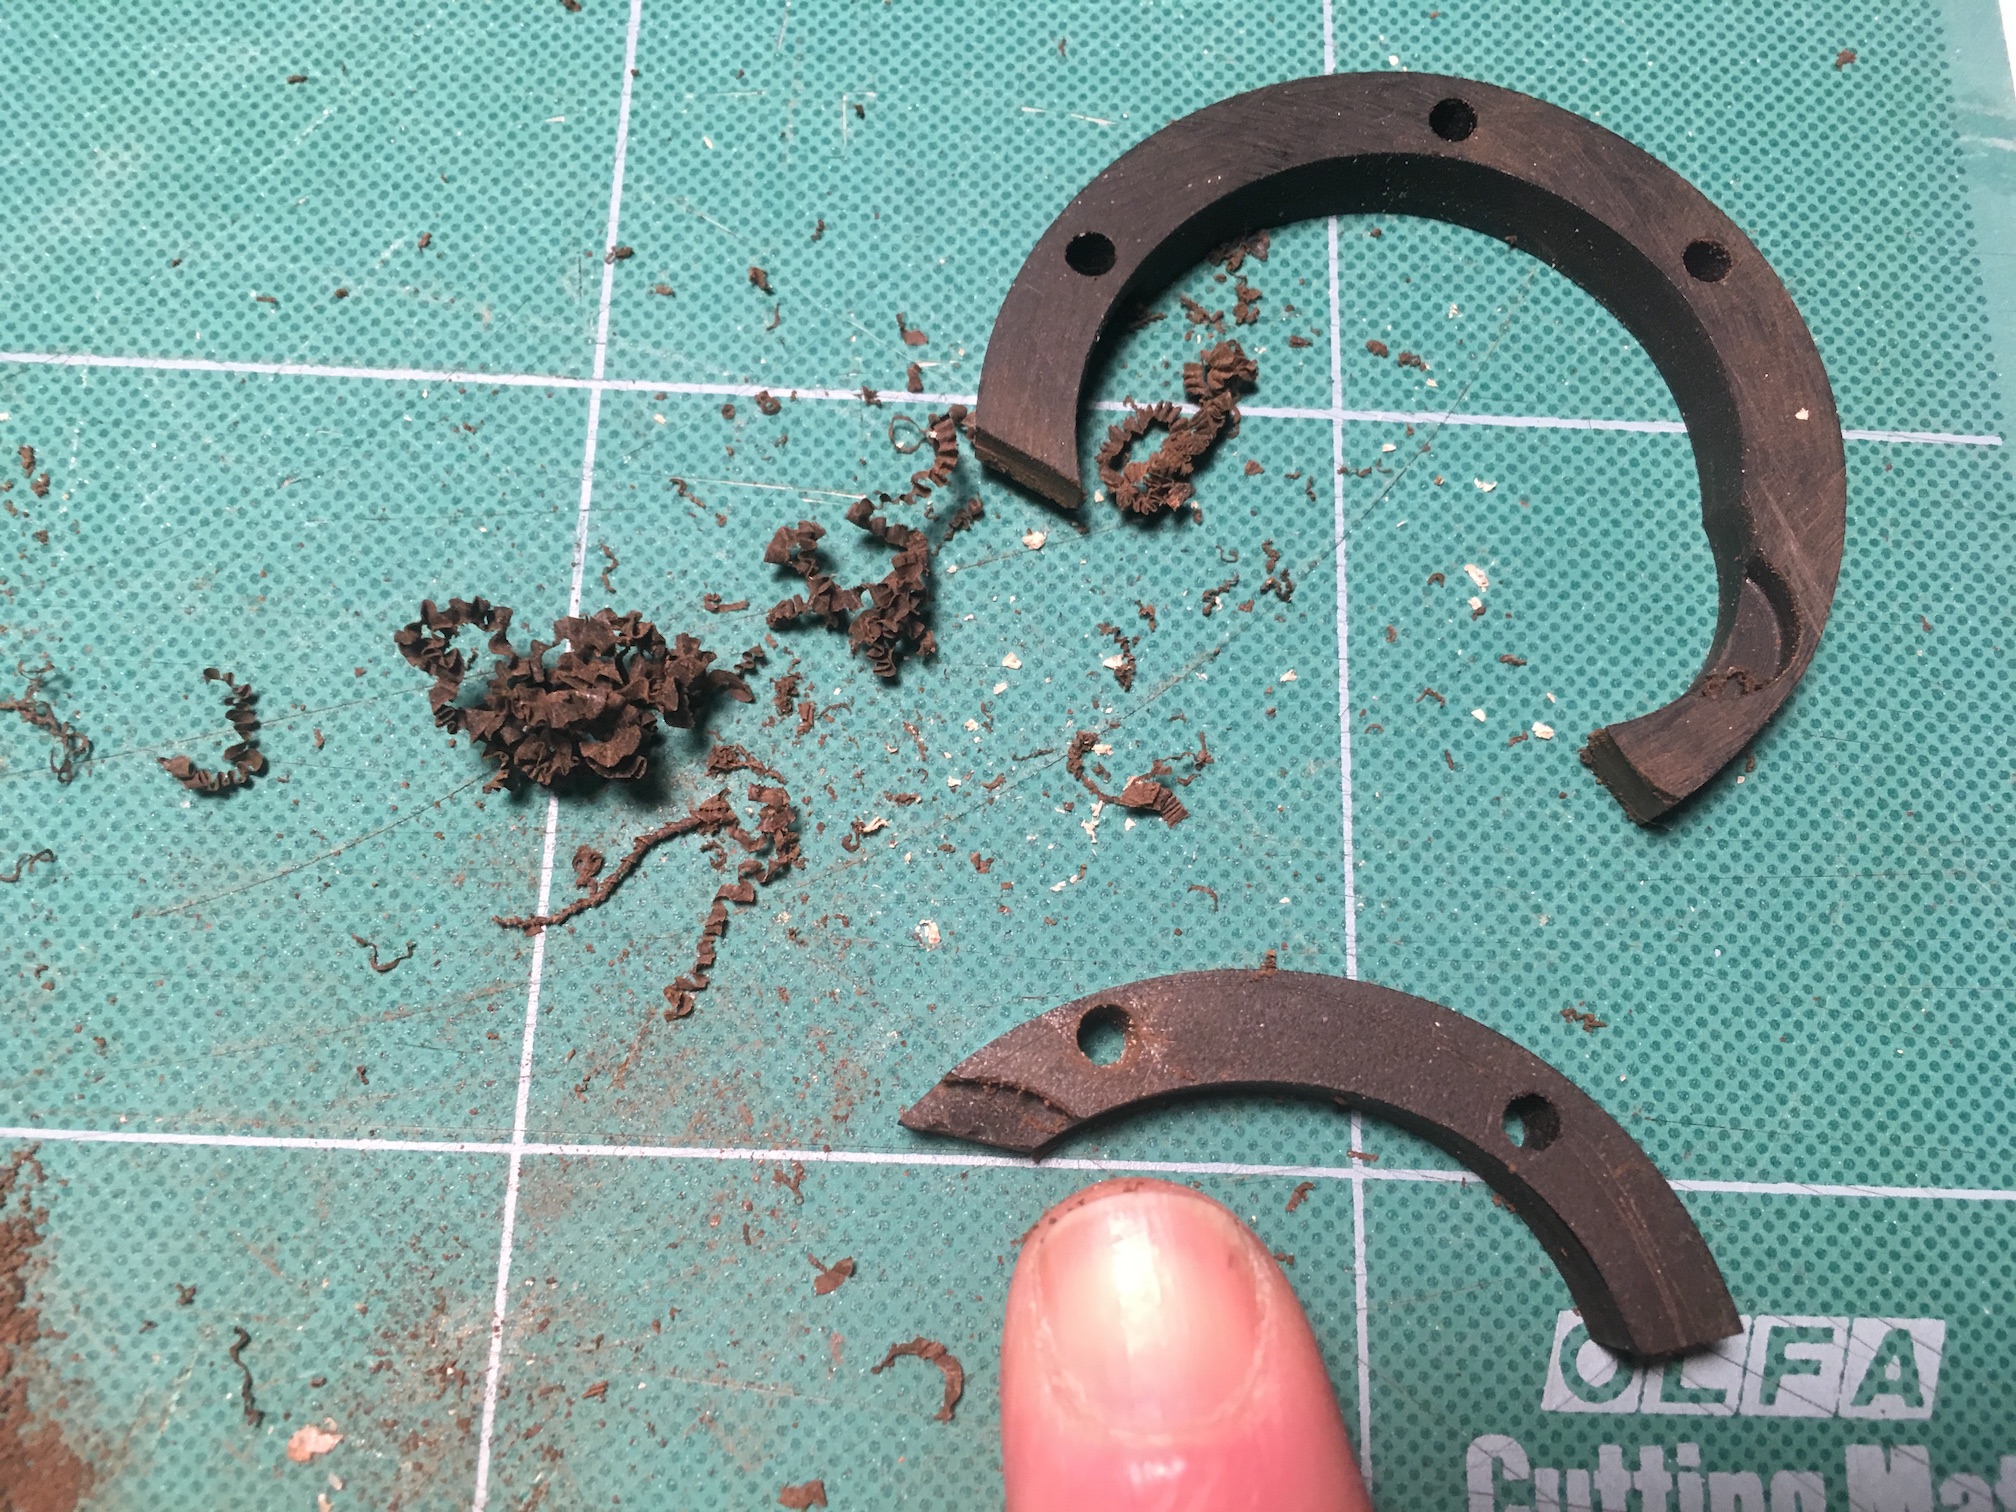
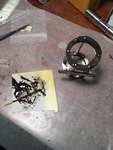
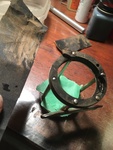
The picture below depicts creation of suitable sections using a similar vintage Shakespeare spacer provided by Ed from Rods1 (THANK YOU ED!) The spacer Ed sent me was made from the same material and a similar style but it was 0.2" dia larger and through-holes and recesses were in different locations. I realized that if I just centered it on the reel and ground it, it wouldn't work at all. The radius at various points would have been all wrong. So I decided to break it into useable segments and glue the pieces together.
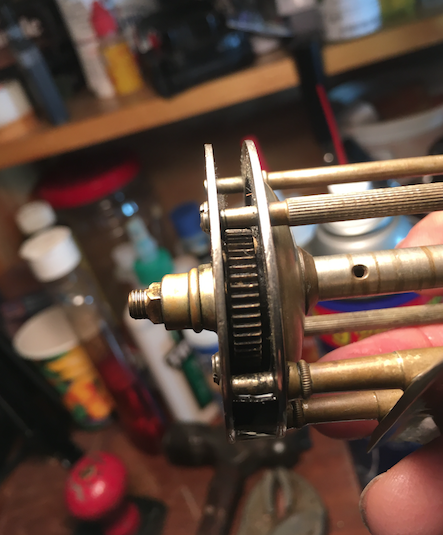
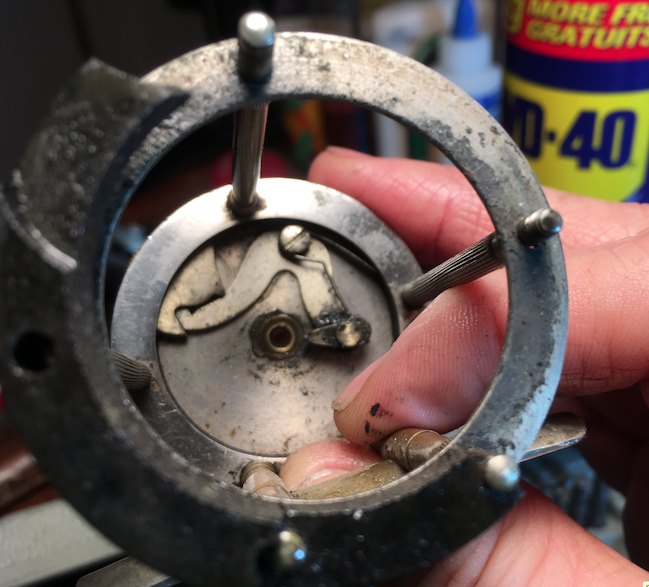
My finger is pointing to a new hole I drilled. This hard rubber has very unusual behaviour when you drill into it, the way the scrap material spirals up in continuous strands from the piece rather than becoming dust, as seen above my finger.

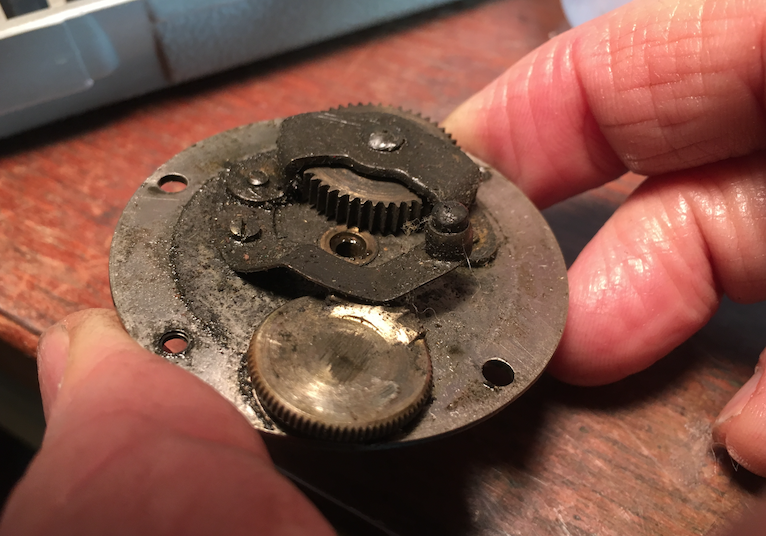
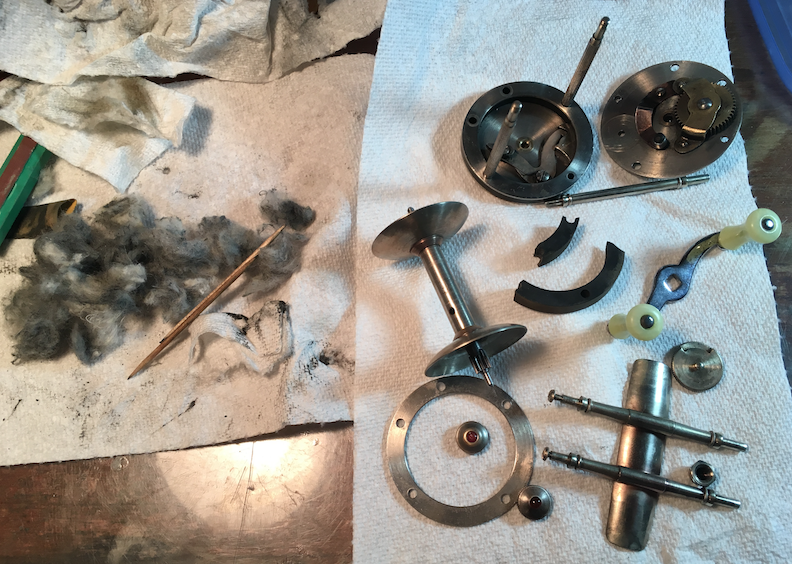
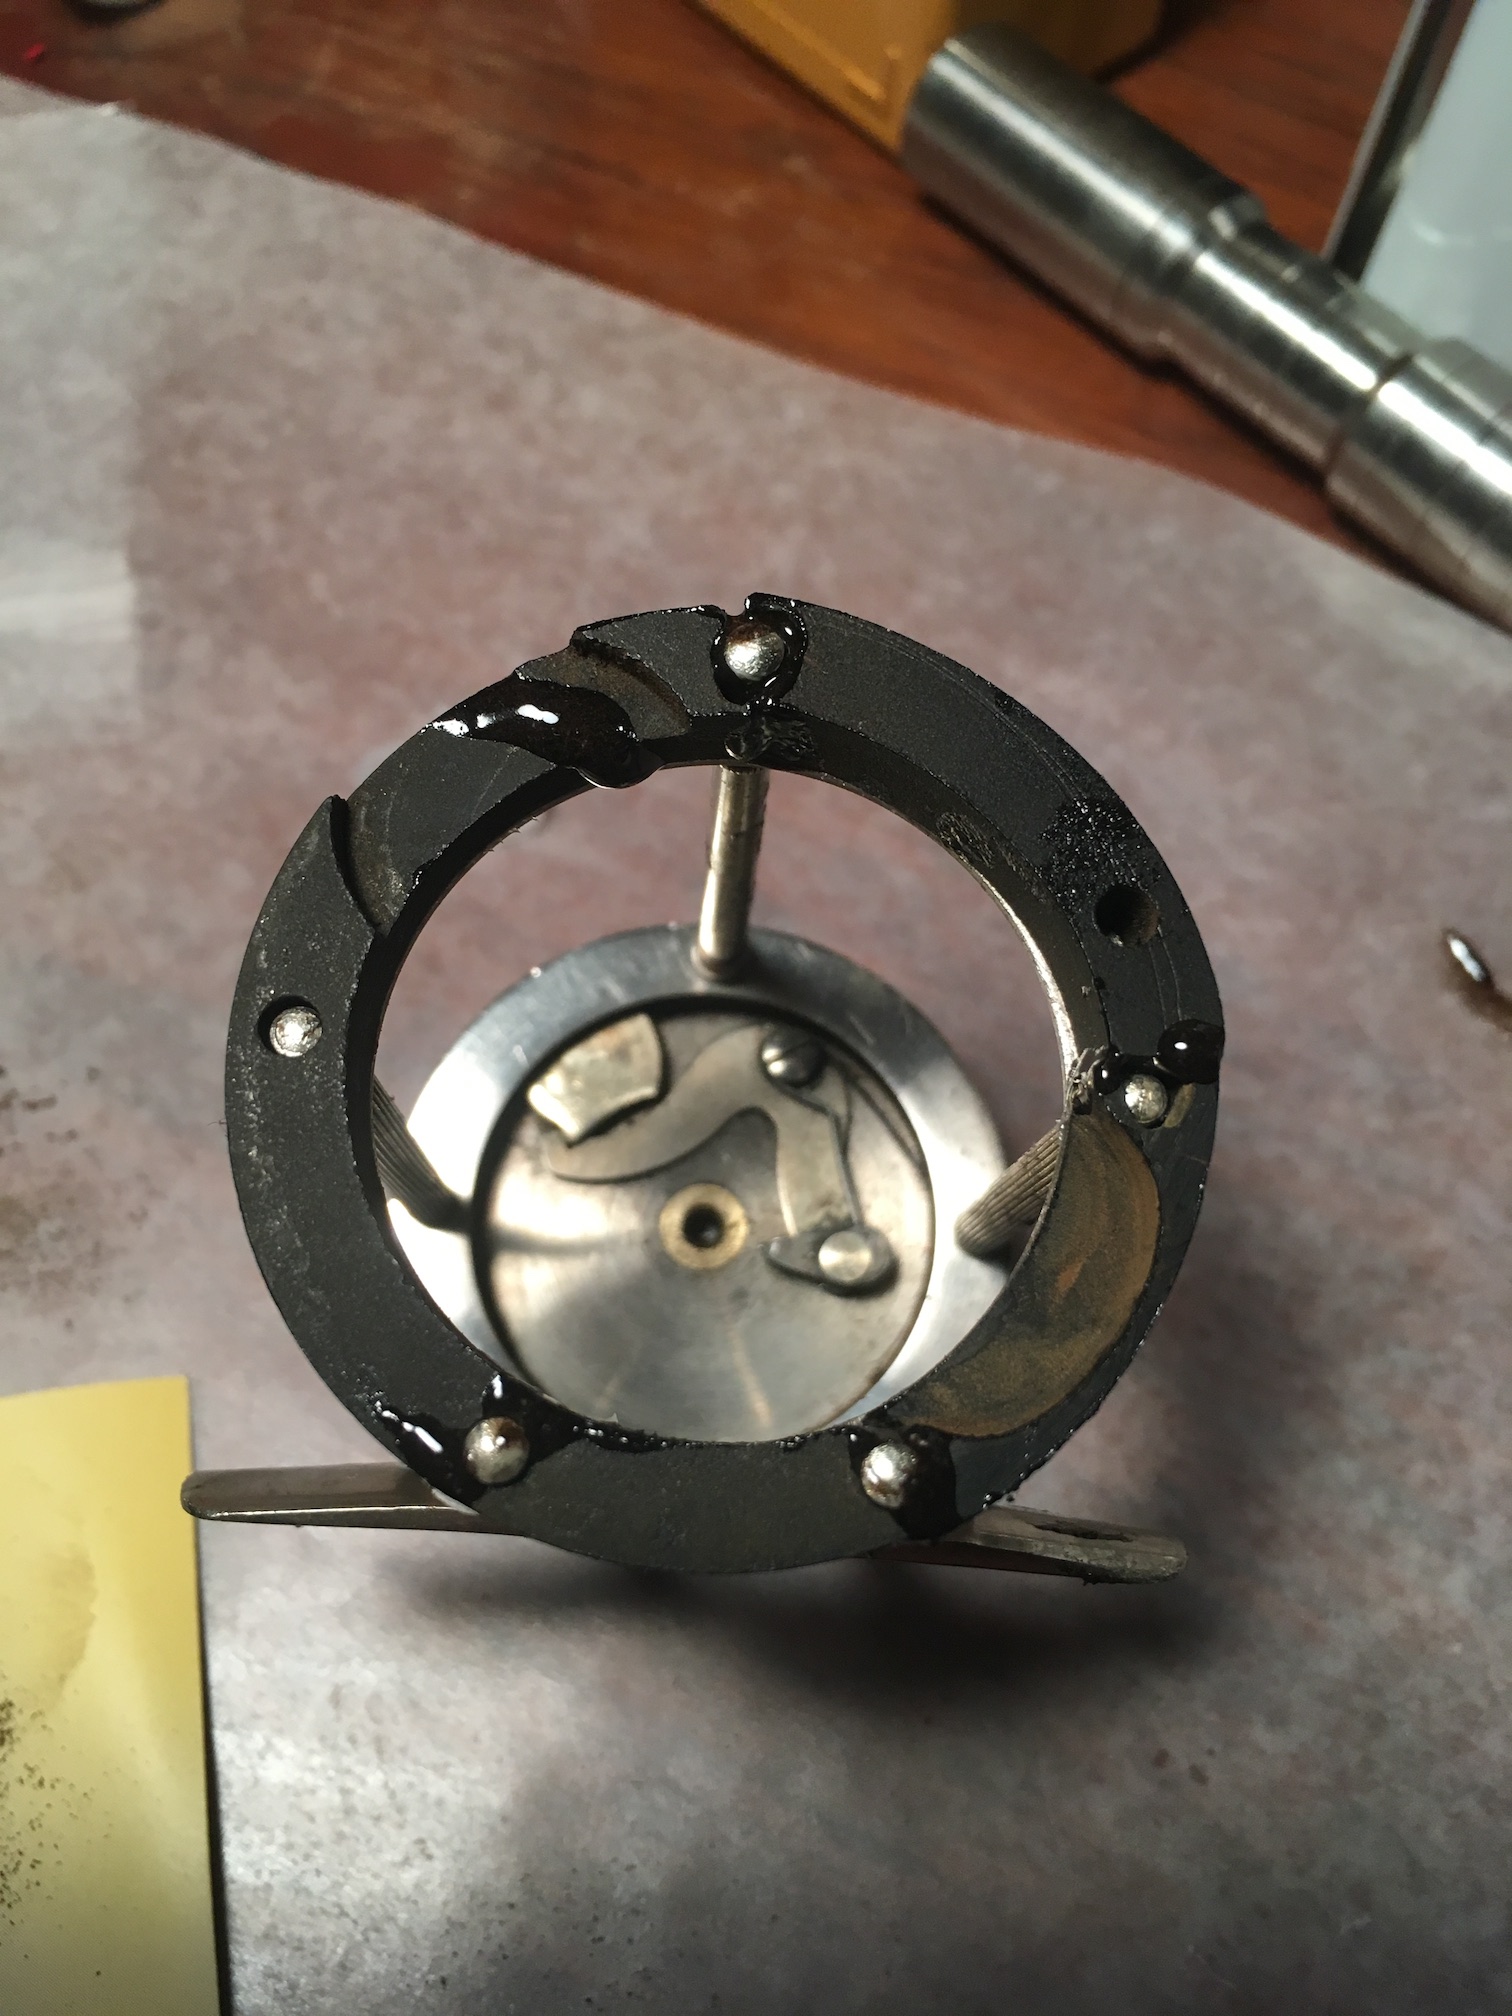
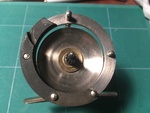
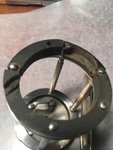
Shown below is the jigsaw puzzle of segments with preliminary shaping before epoxy and final shaping. Note the recess I had to create for the main gear at the top right of the spacer in this image. I did that free-hand using a Dremel tool. YOLO!
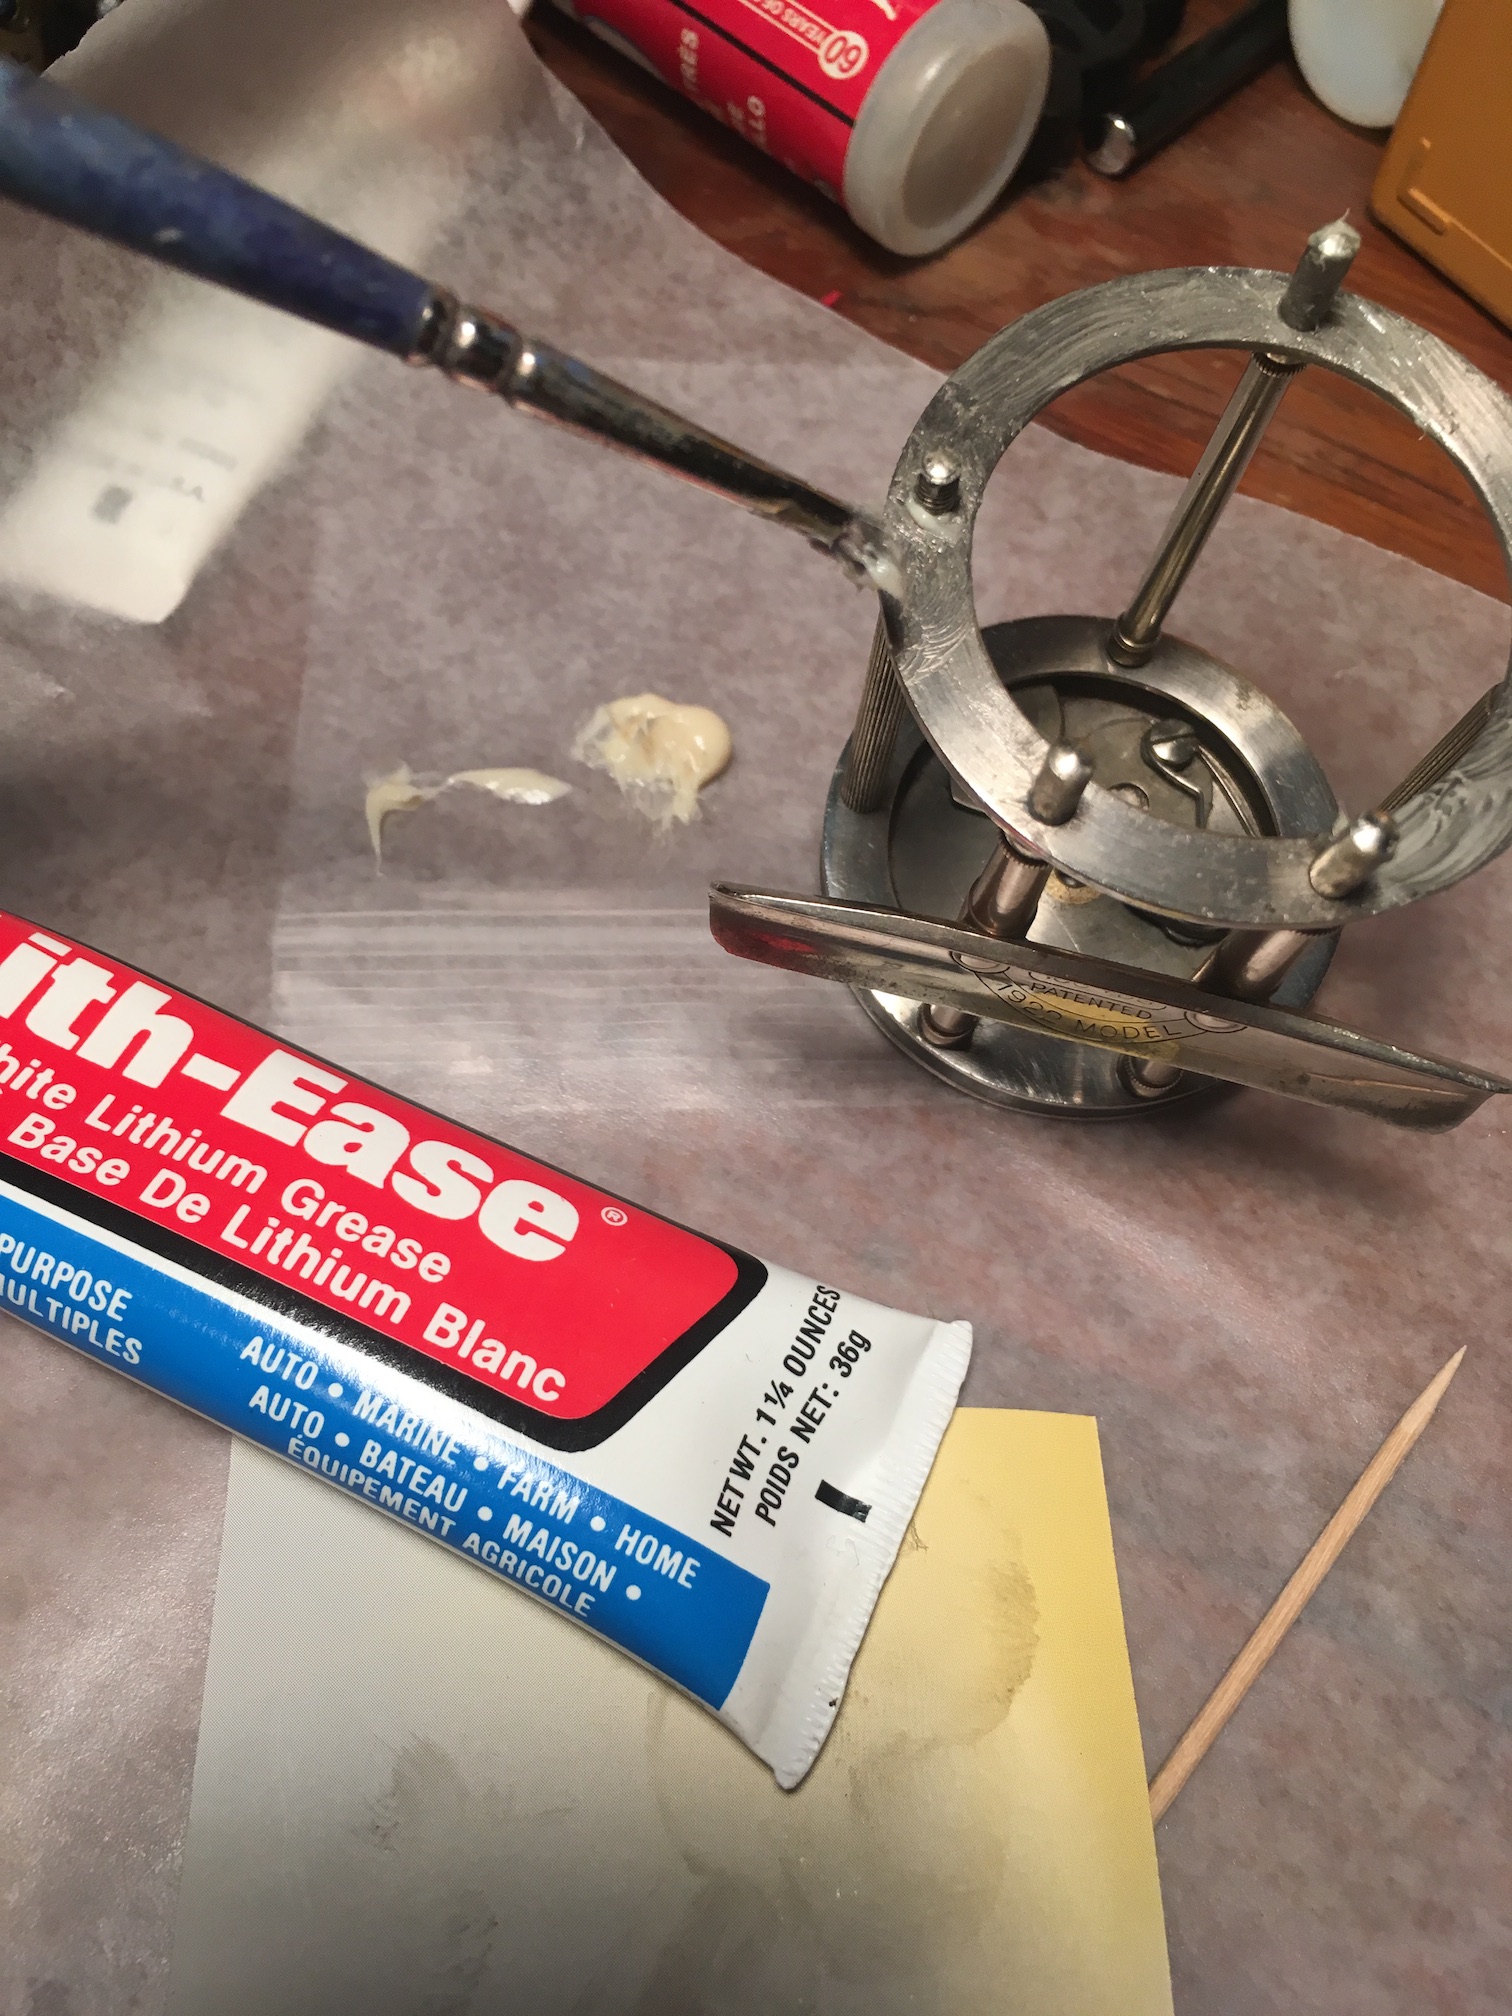
I wanted to avoid bonding the spacer to the faceplate inner ring so I first greased all surfaces that would come in contact with the spacer.

I captured all the rubber dust that was created when I cut and shaped the spacer and mixed the rubber dust into a fresh batch of 5 minute epoxy.
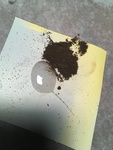
The brown epoxy mix was applied to bond adjacent sections and to fill gaps as best I could.
Something must have gone wrong with the ratio of resin and hardener when I made up the batch of epoxy because it had not set by the time I checked it some 10 hours later. It has to be rock hard in order to sand it smooth. The 2 part epoxy kit I bought came with 2 extra long mixing nozzles.

For me, it didn't work right the first time and once you use the second nozzle you have to throw out the remaining liquid. So it is a waste for a small job like this. I would rather judge and mix the 2 parts myself. (My solution to get the epoxy rock hard was to sit the piece under a gooseneck lamp for half an hour or so. The moderate heat from the lamp did the trick. I will call that my "goose-neck lamp trick".)

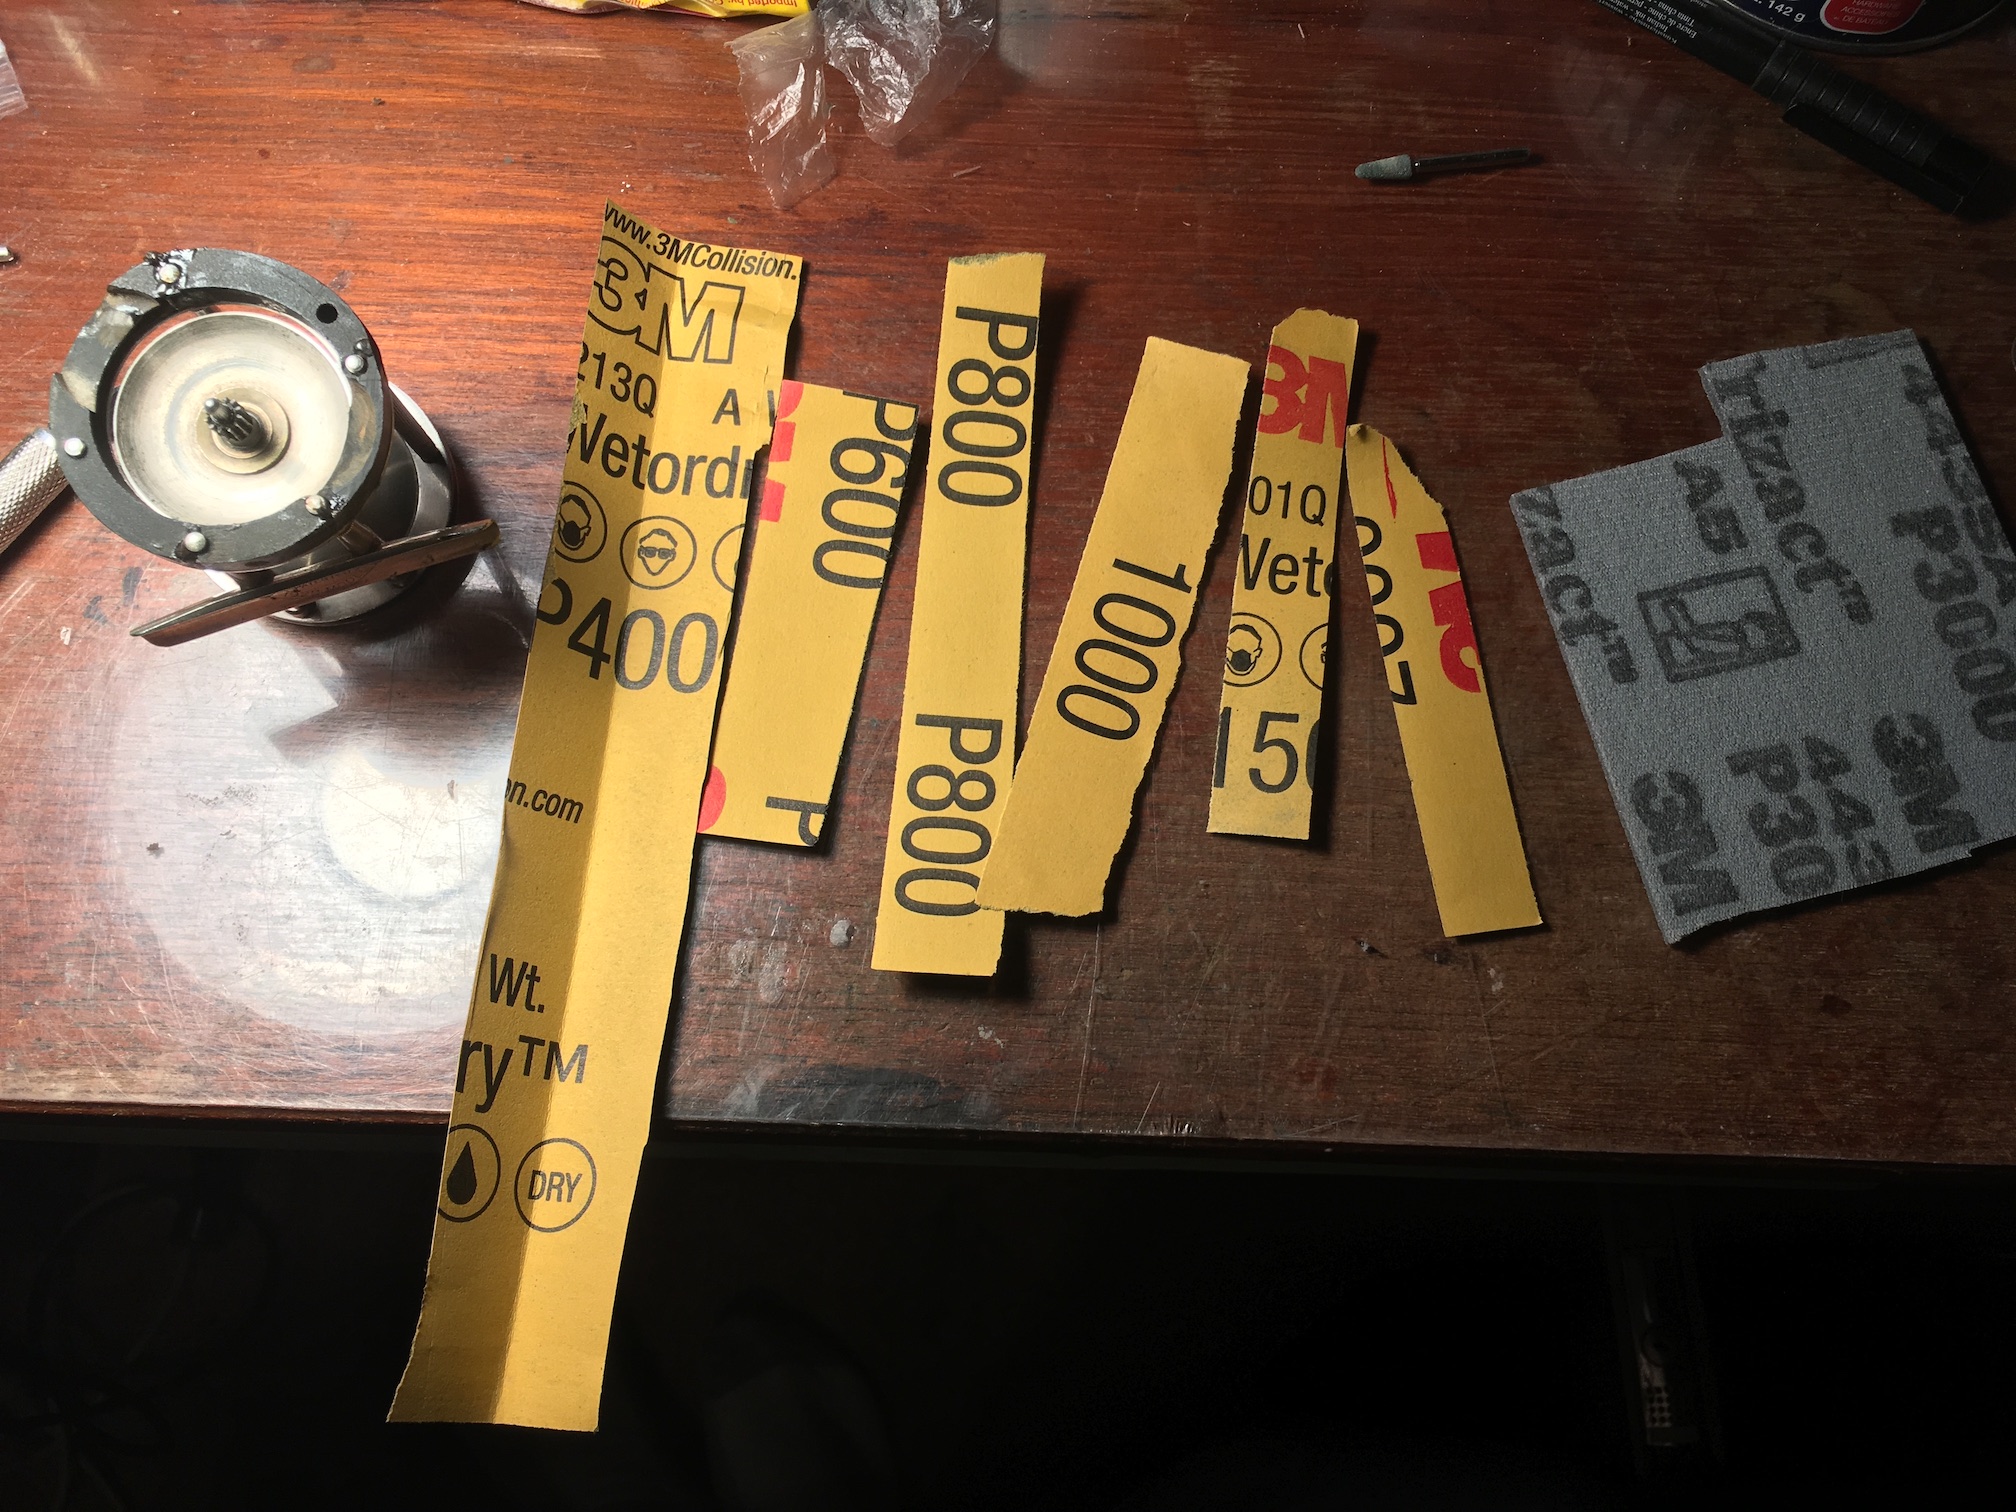
Once the epoxy became hard I was able to take off the excess lumps and sand it smooth using ever-reducing grit sizes of automotive finish sandpaper (wet), followed by Simichrome. [I have to admit I used a Dremel tool to speed up the process of removing the big lumps. That seemed less risky than using an x-acto knife.]

I did all this final sanding work while the spacer was installed on the reel to take advantage of the support provided by the cross pillars. In order to avoid contaminating the inside of the rear plate with rubber dust and undoing all my prior cleaning, I temporarily covered it in painters tape.
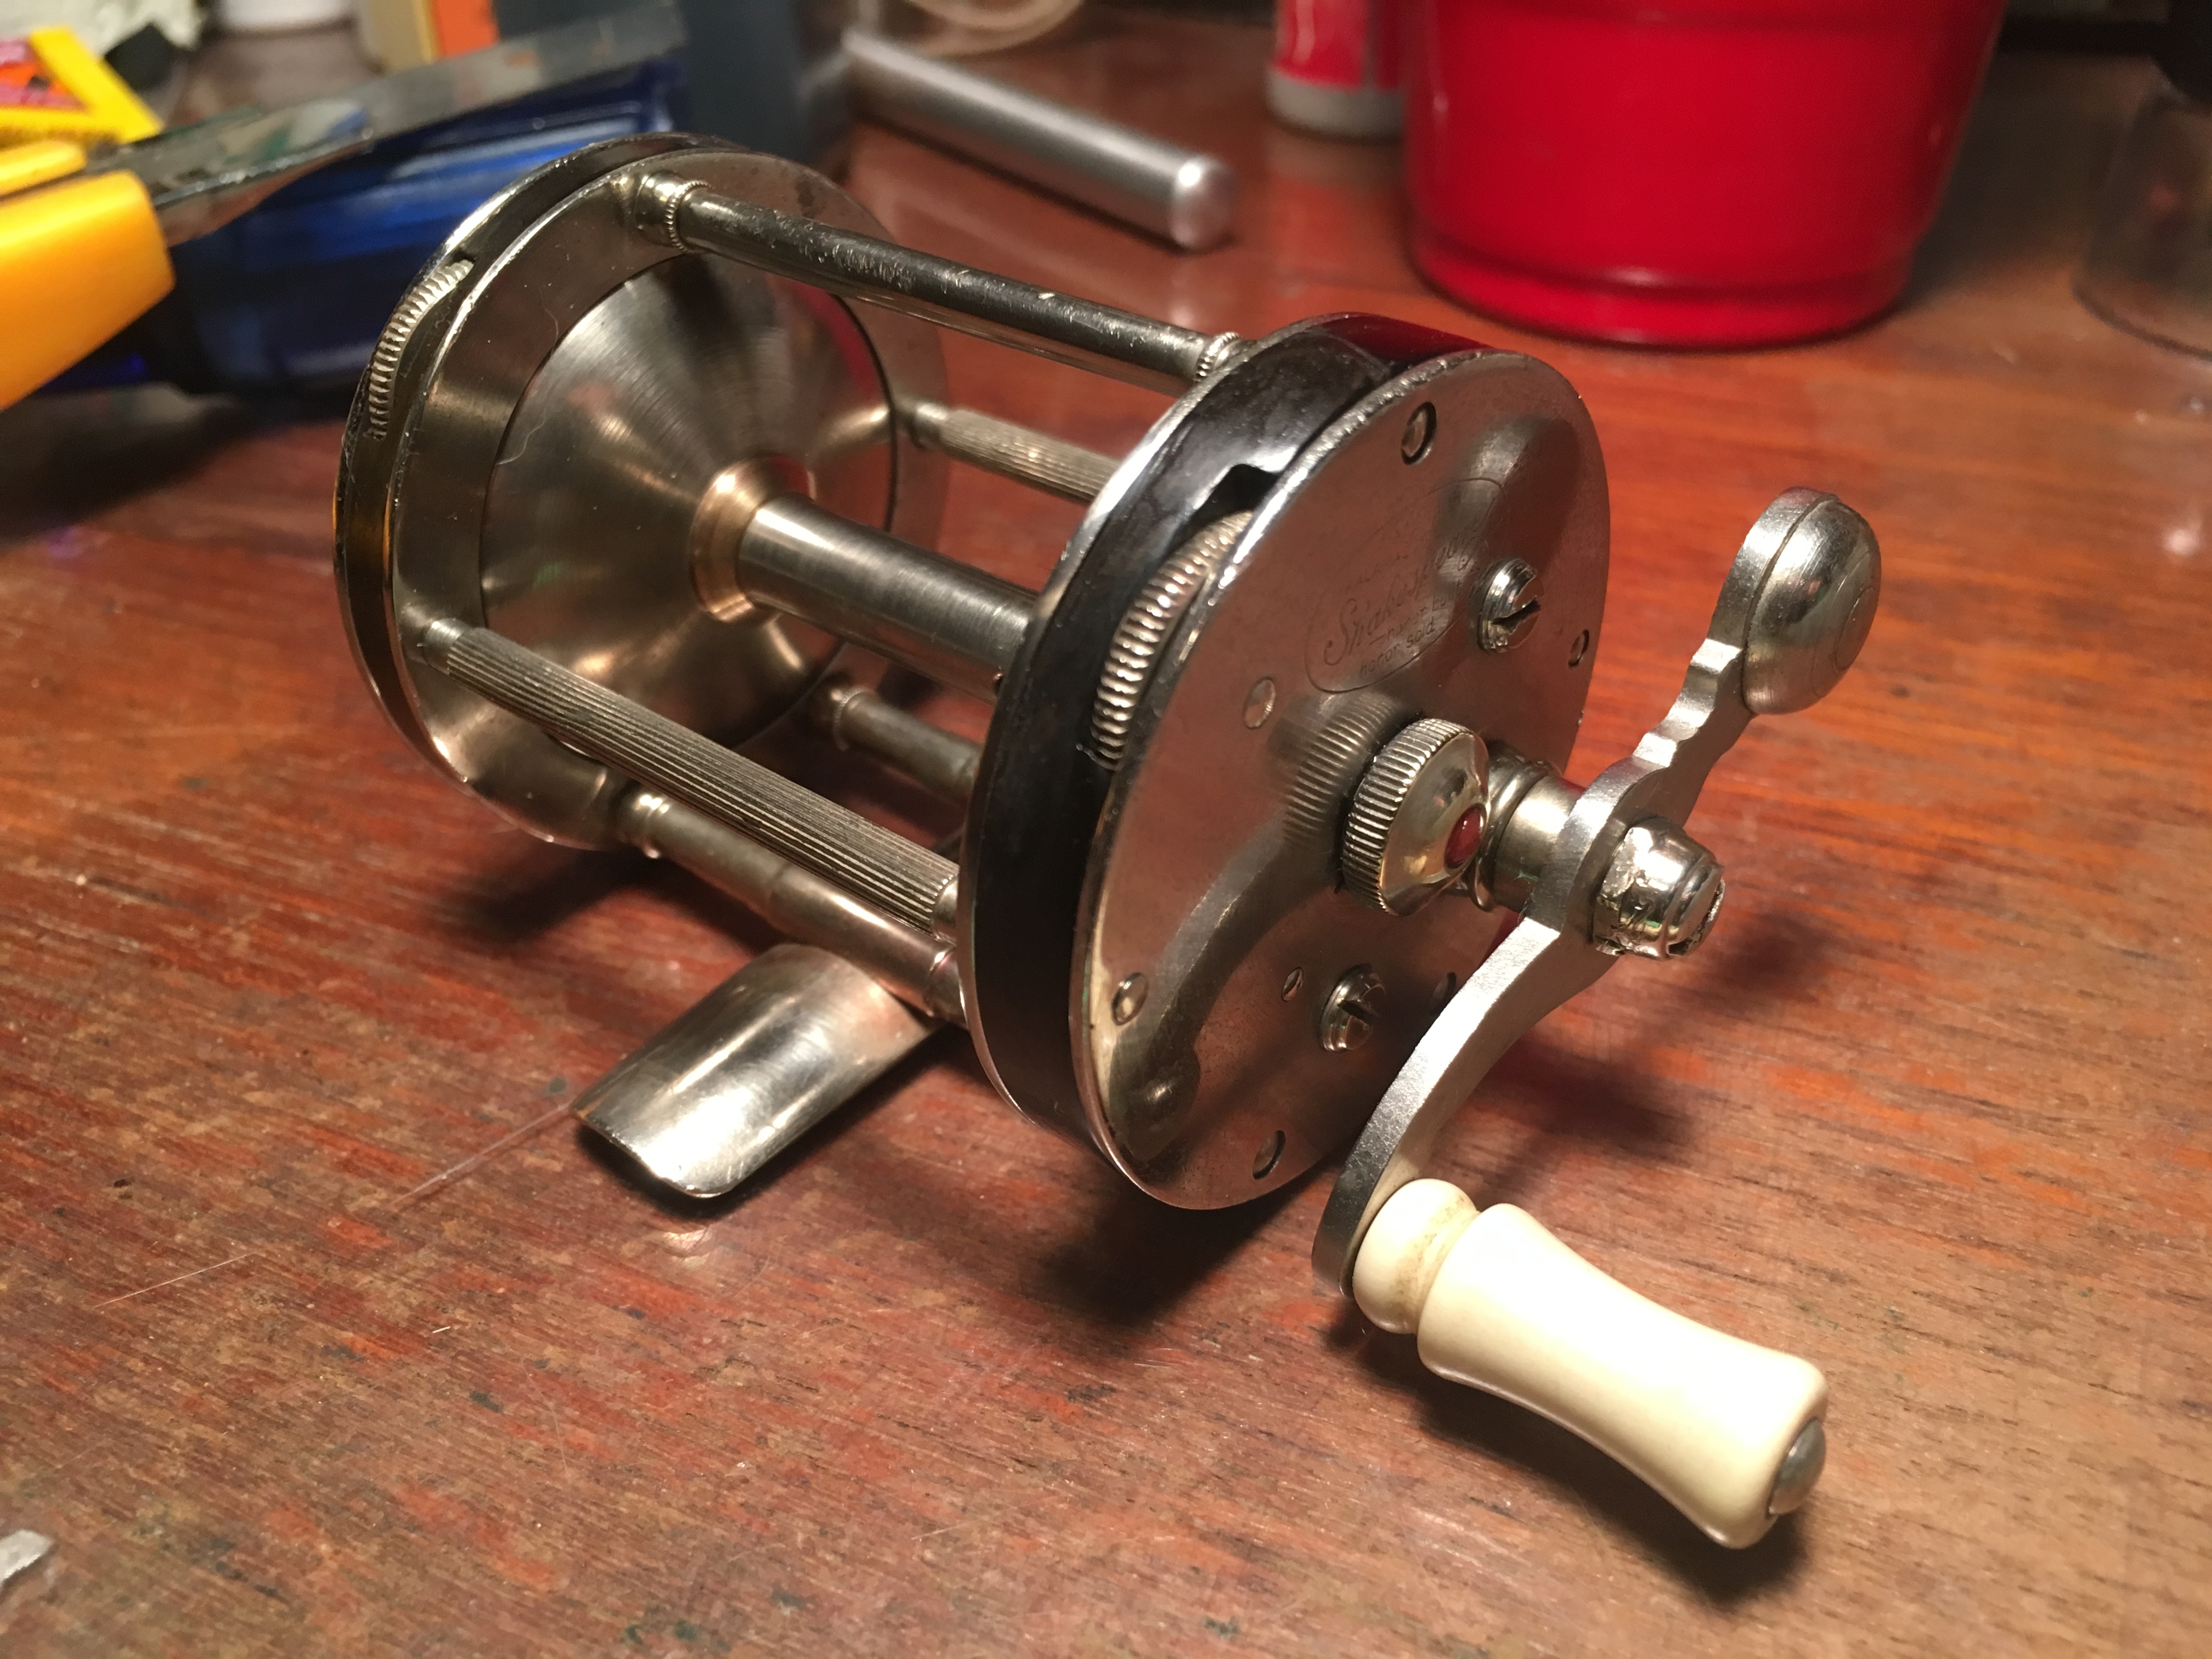
Once this was done I felt that some of the seams in the reconstructed rubber spacer were a bit too obvious, so I tried filling the seams using the lacquer in an automobile scratch repair stick. The shiny lacquer in discrete spots created an unappealing look, so I then "painted" the visible surface of the entire spacer with the lacquer. That came out fairly even but made the spacer too shiny like patent leather. So I took most of the shine off with 2000 grit paper but I think the seams were less noticeable after this process.
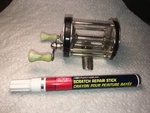
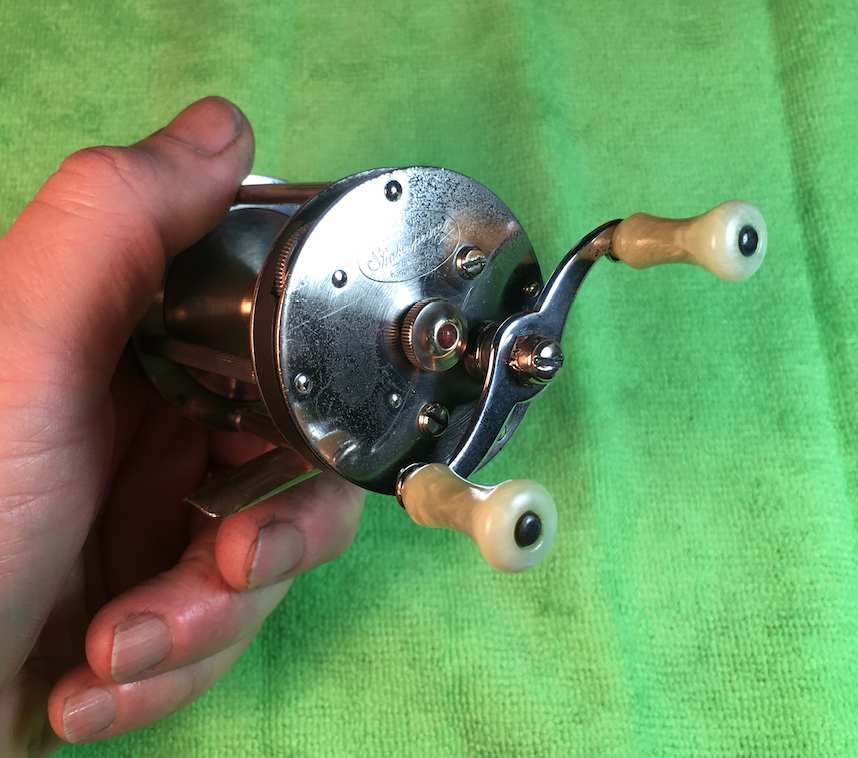
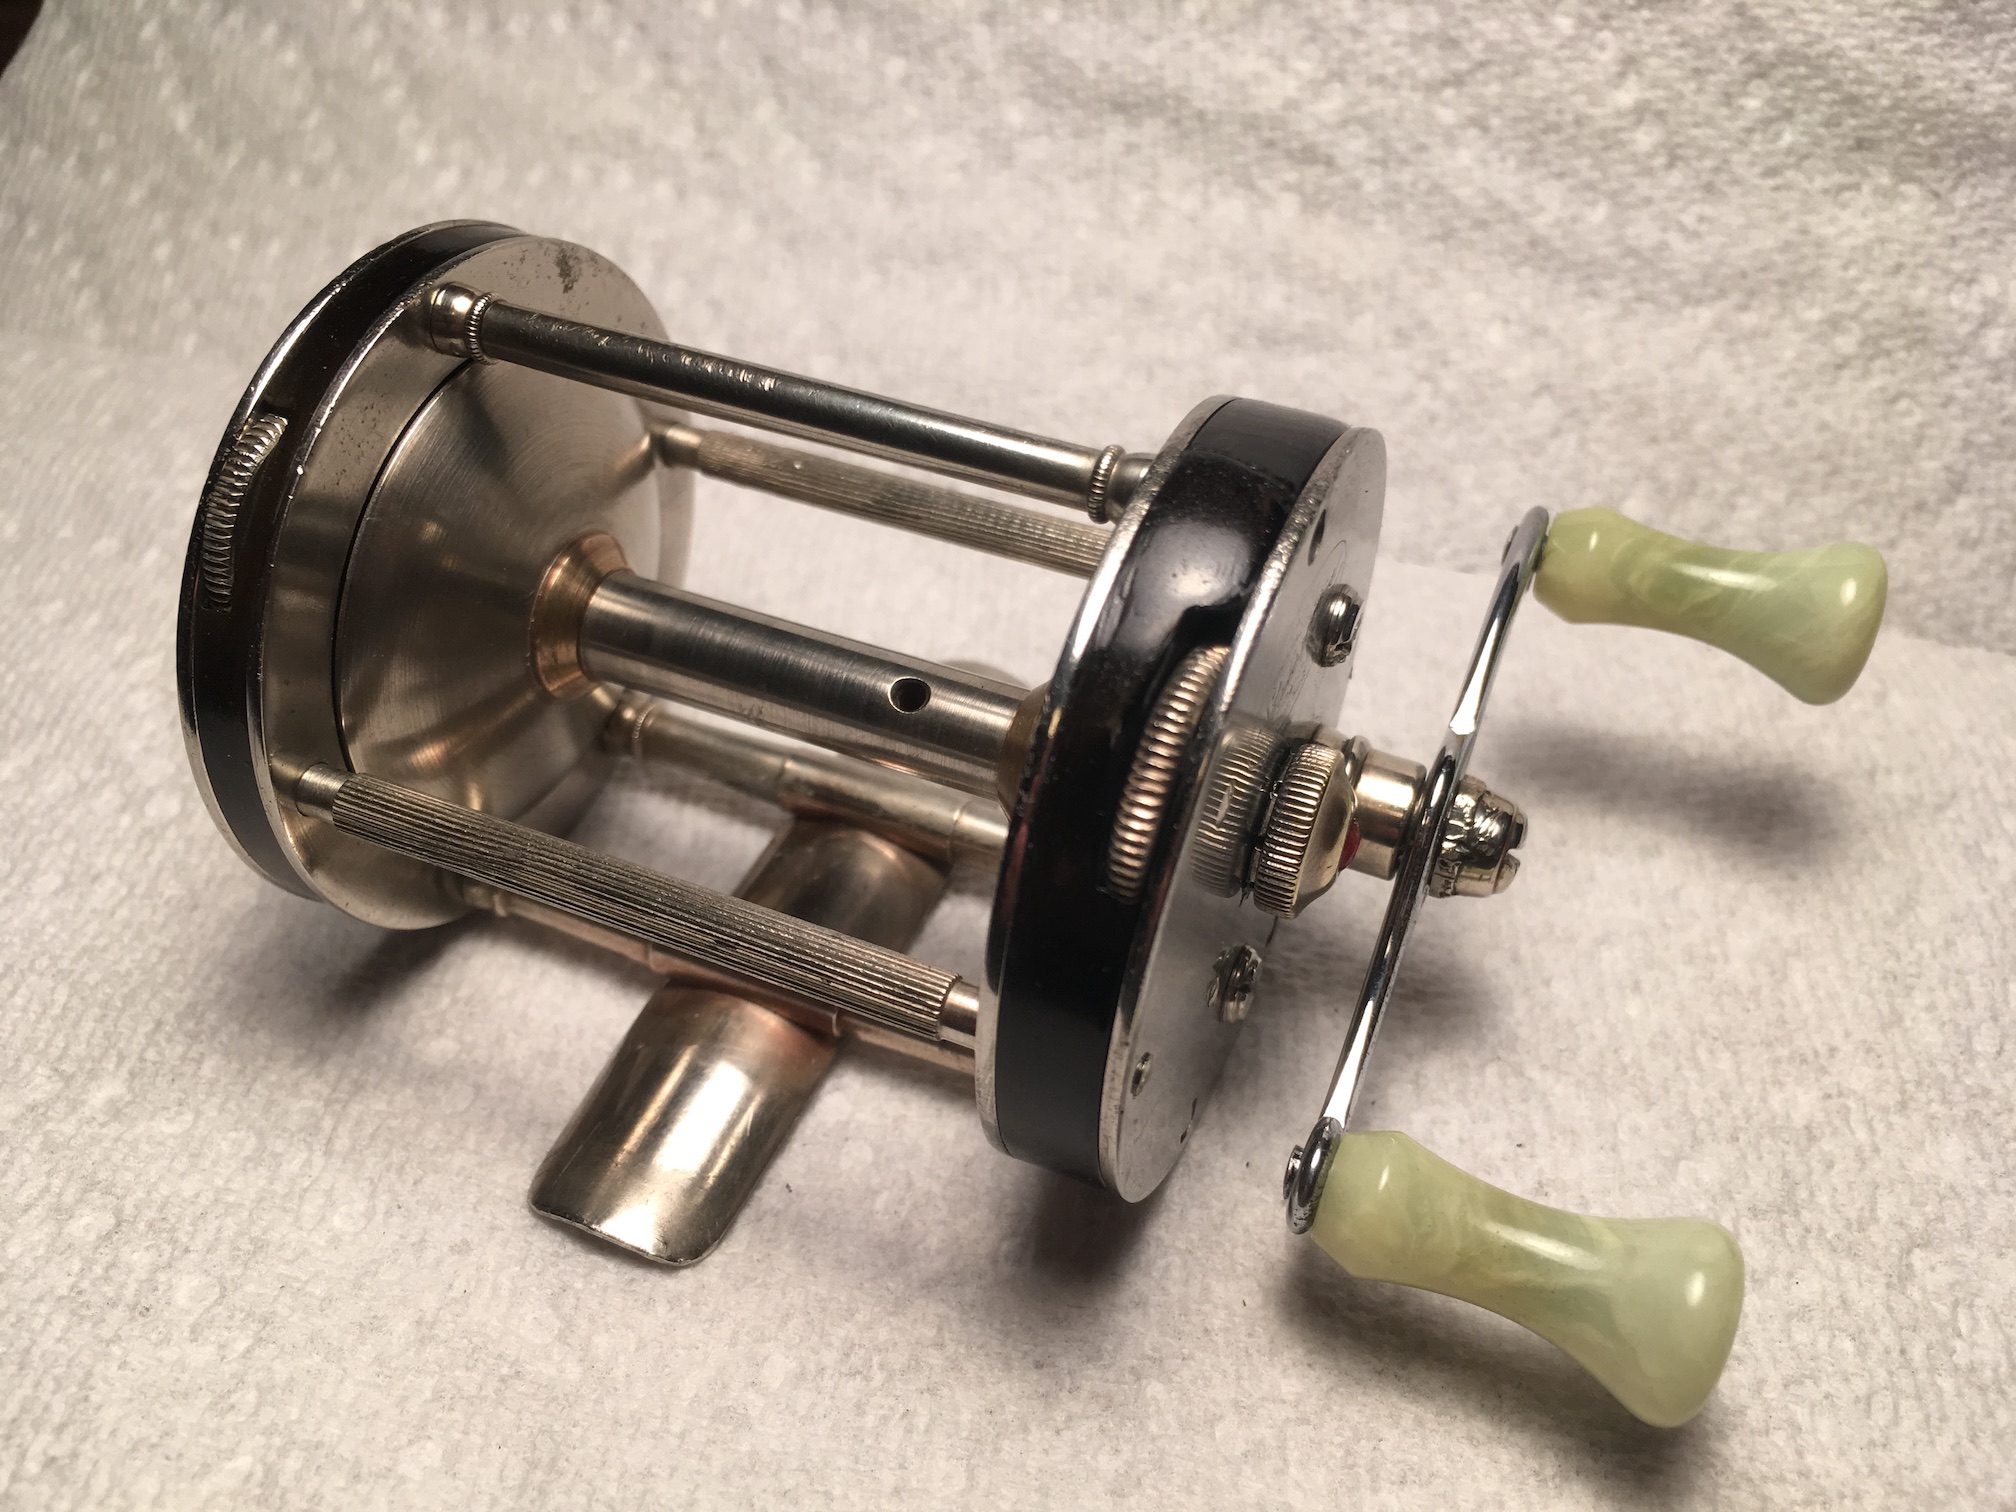
This picture shows the spacer as painted with lacquer. The following video shows the spacer after the shine was knocked down. I only noticed after I took the video that one of the cross-pillars is not sitting correctly. It looks like I added a bit of thickness to the spacer that needs to be sanded down so that the pillar sits correctly. If I can do that this reel will be as good as I can get it and if the correct spacer ever becomes available, it is easy to replace my placeholder.

I will make arrangements to get this back to ORCA member Greg McGaw. I hope he likes it better than it was.