Yes, my intention. When it lands I'll do some before pics, then follow along the way. A lot of wet sanding ahead as previous owners just had to scratch their initals on the plates, the crank included, and I'm not sure I can remove them.
Hardware is brass so easy cleanup/screw replacement. I'll likely loose the faint abbey&imbrie stamp.
The game is afoot.
OK, here's what I believe I have.
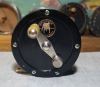
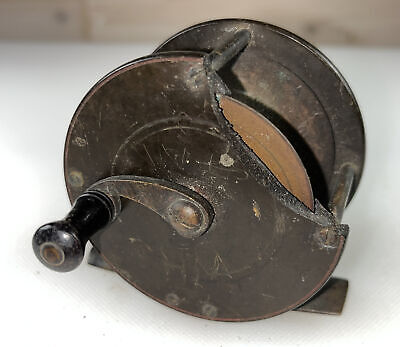
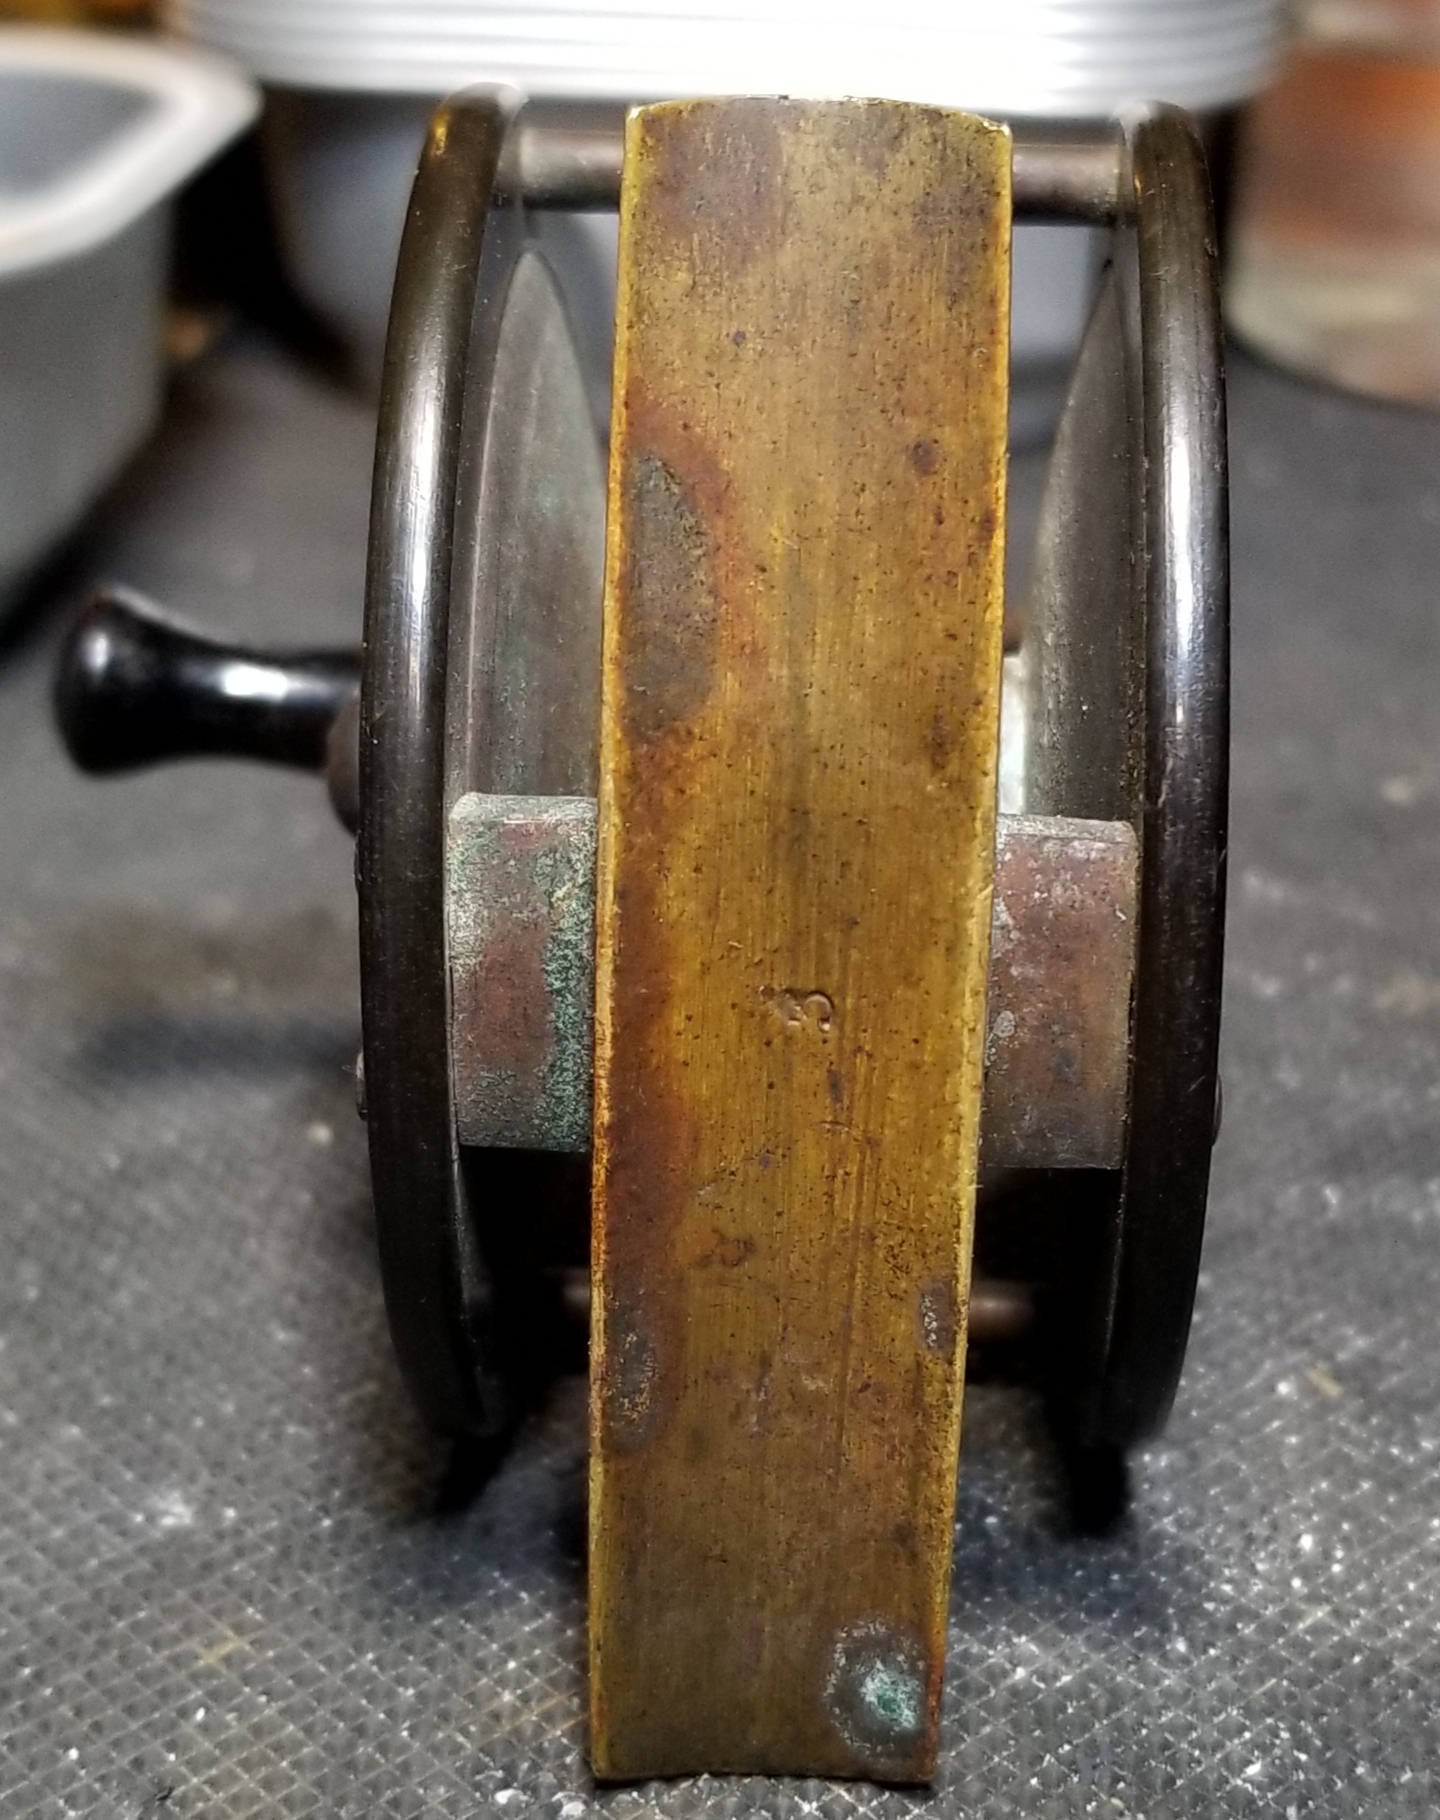
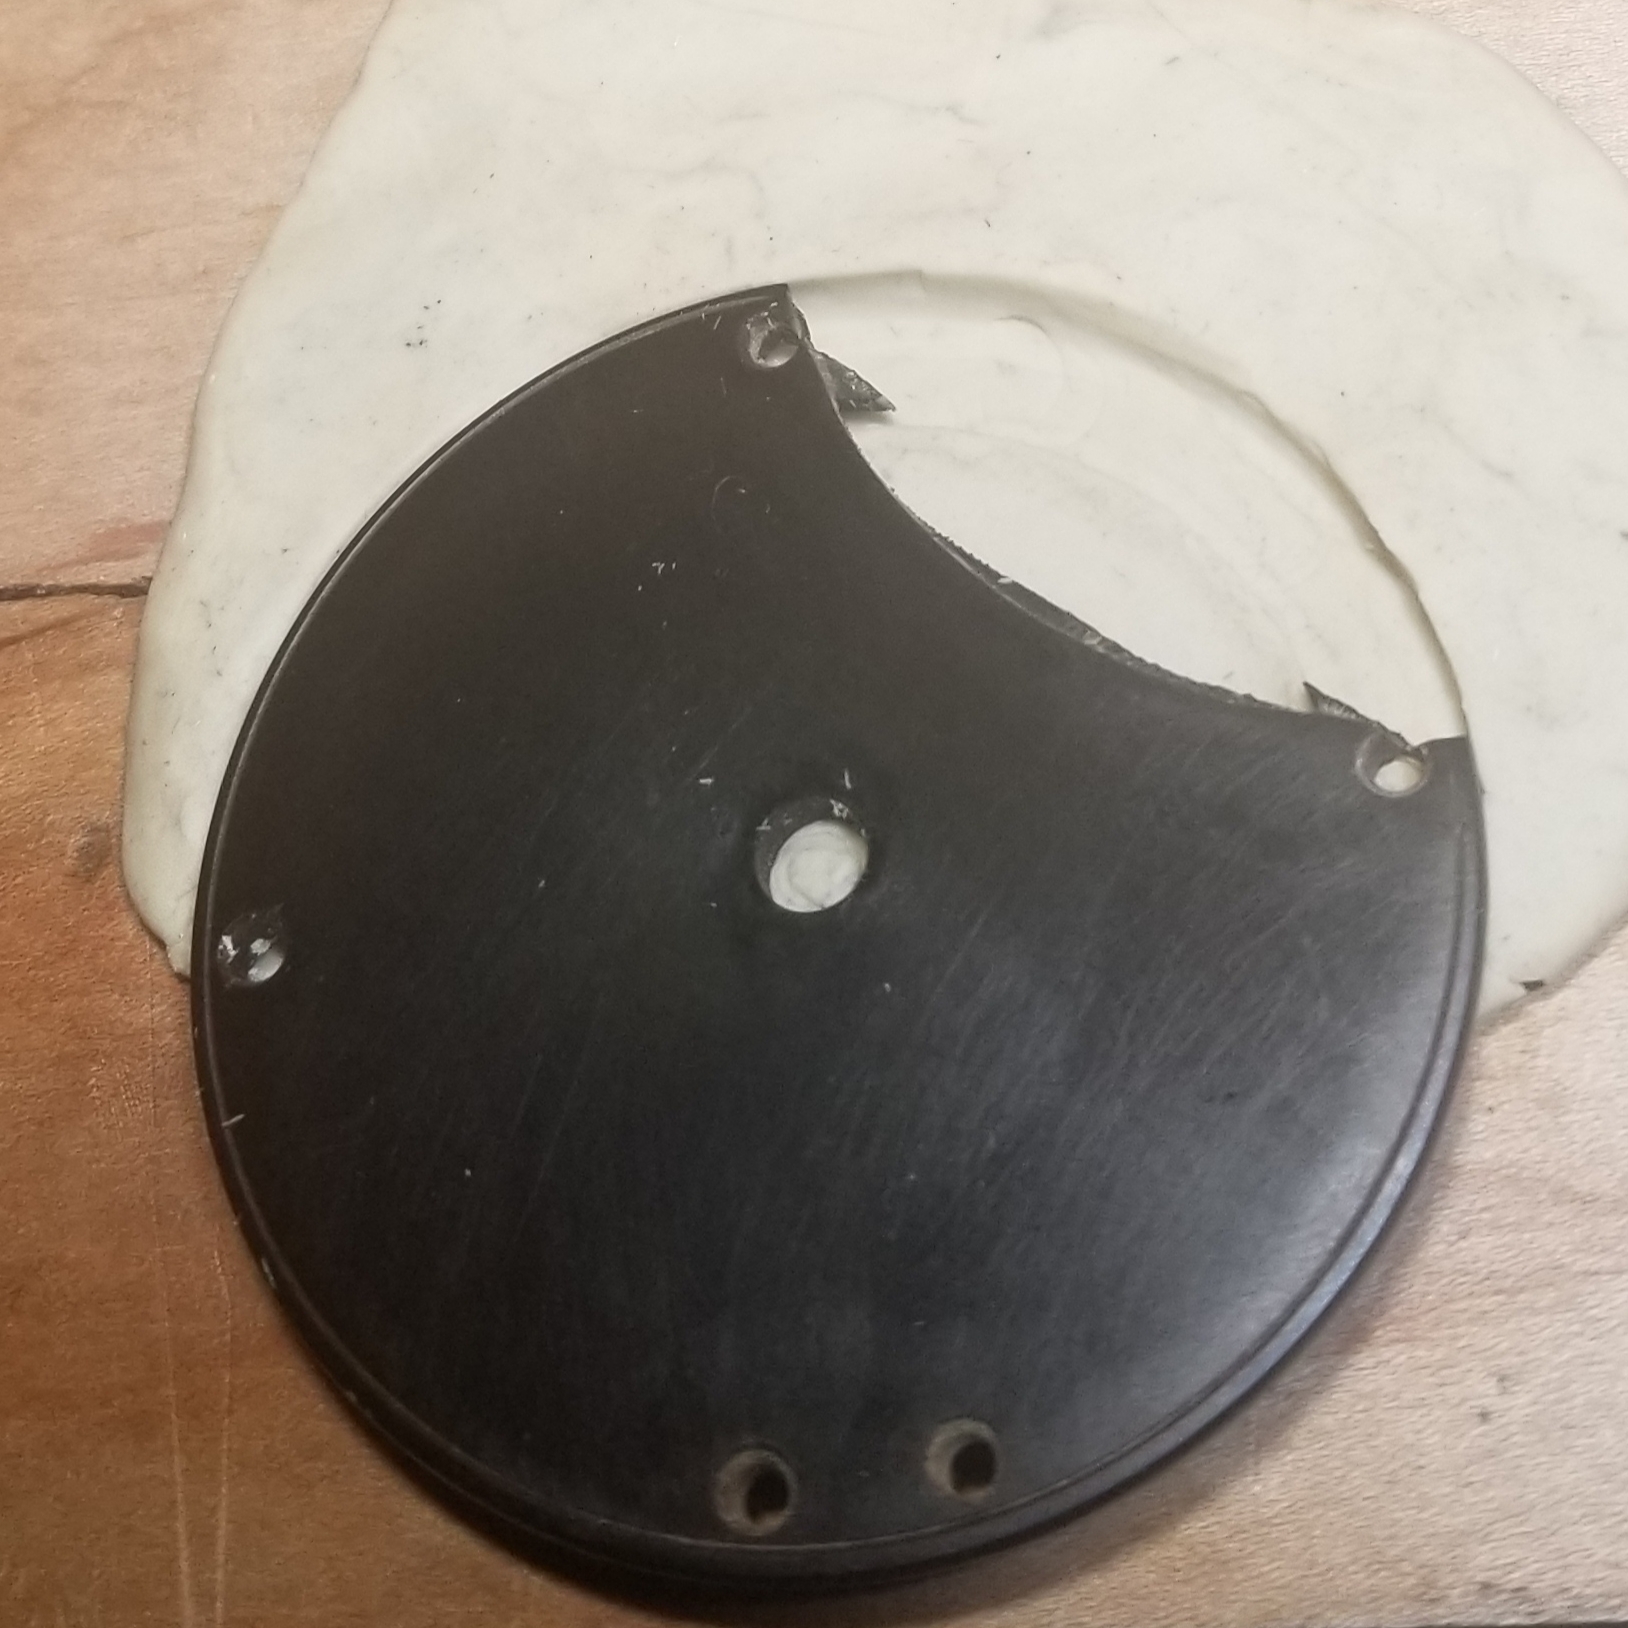
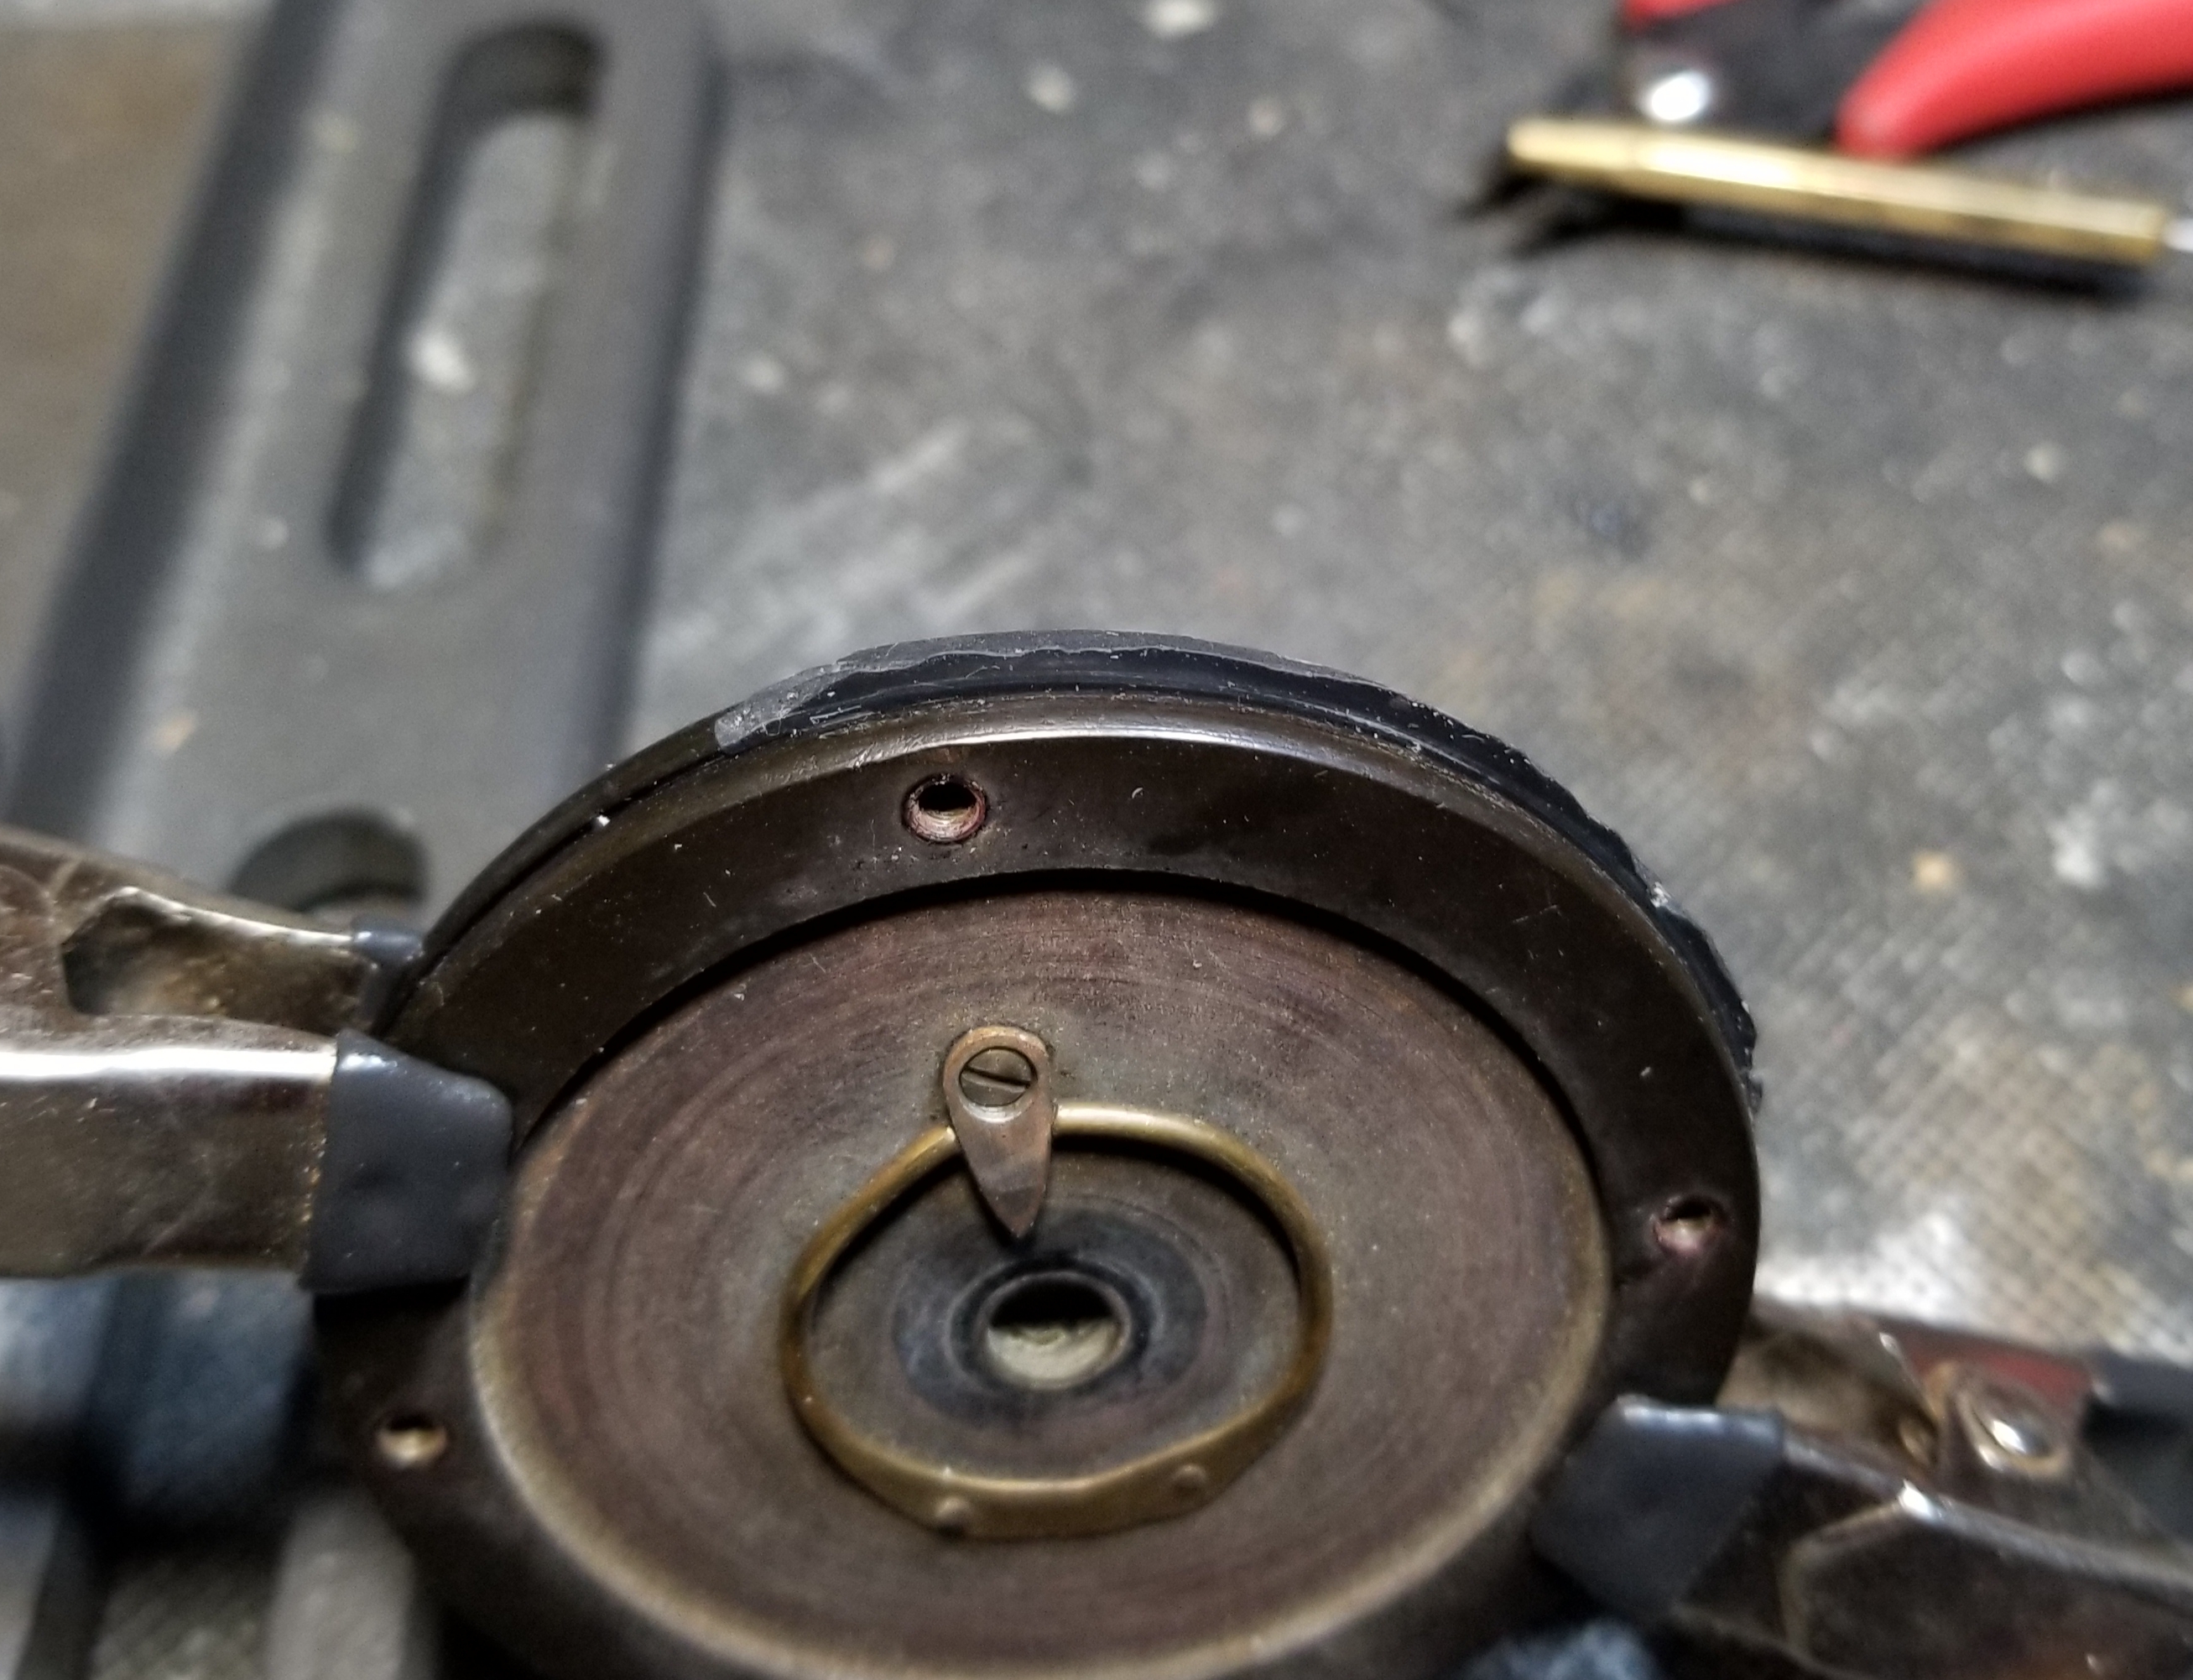
A JVH hard rubber and brass single action reel built for the trade and marked for A & I, very similar to A & I's # 287 as shown in their 1892 cat with the early foot and bulbous grasp but without the bands.
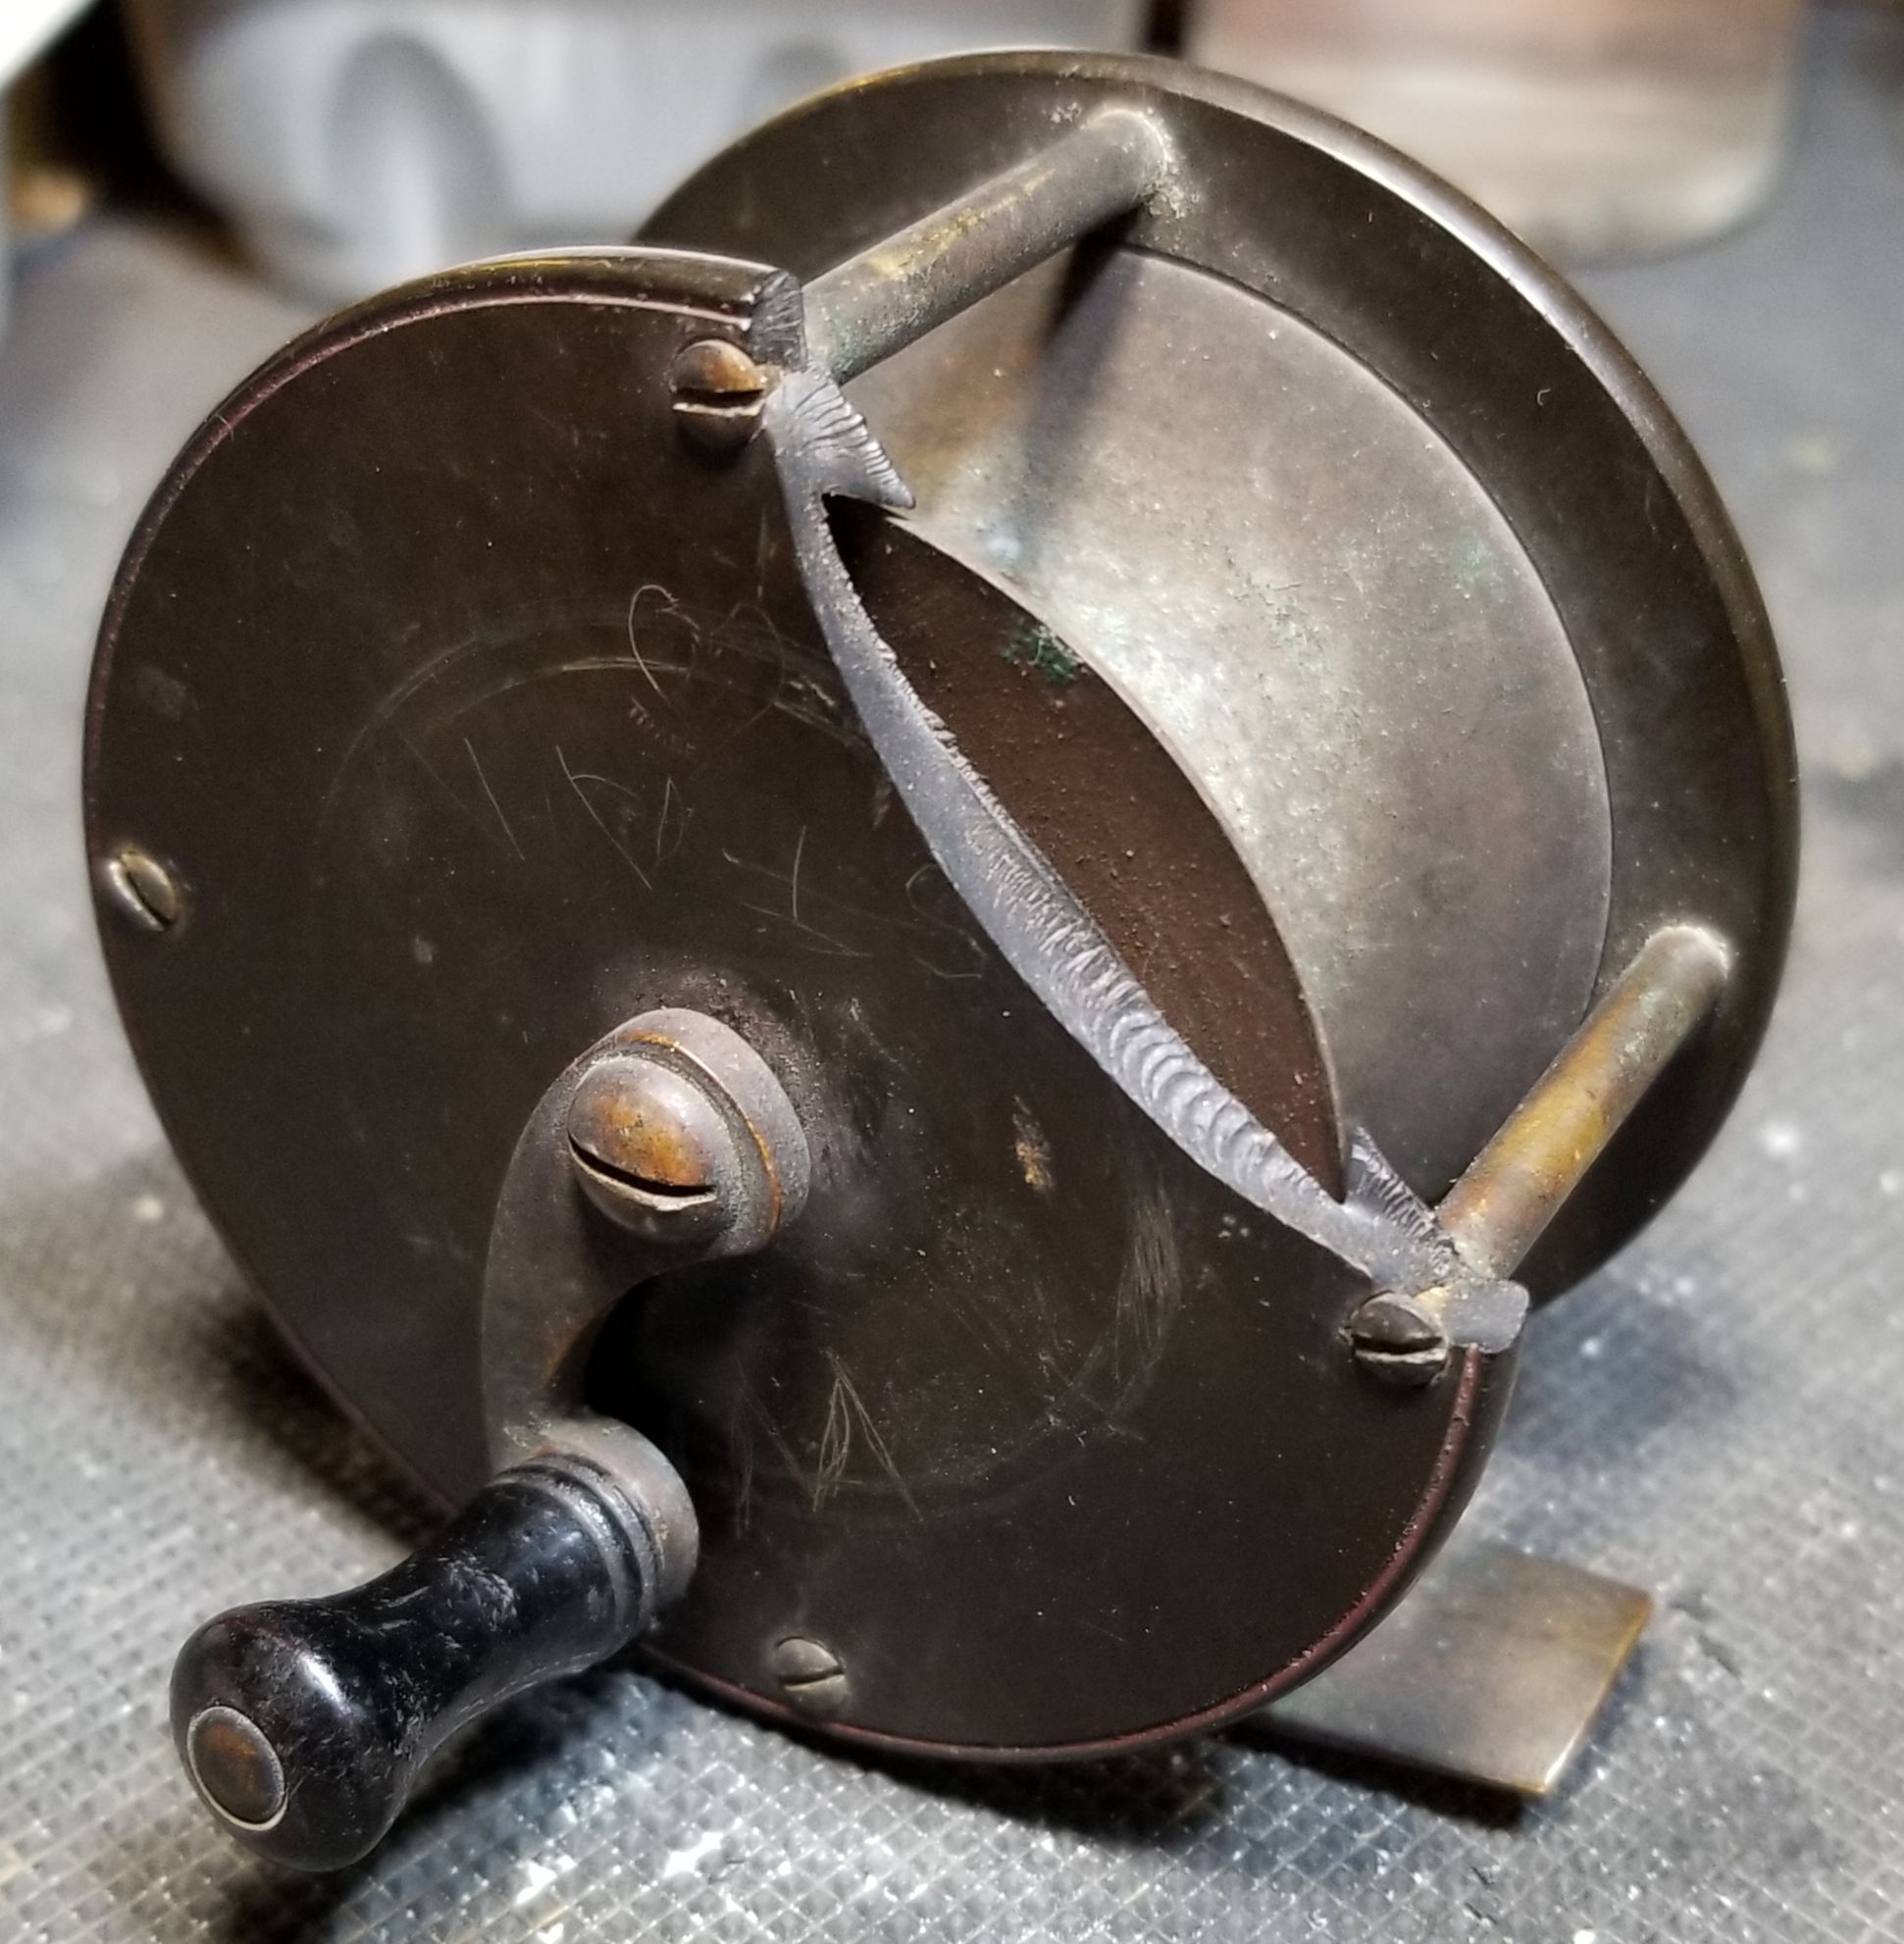
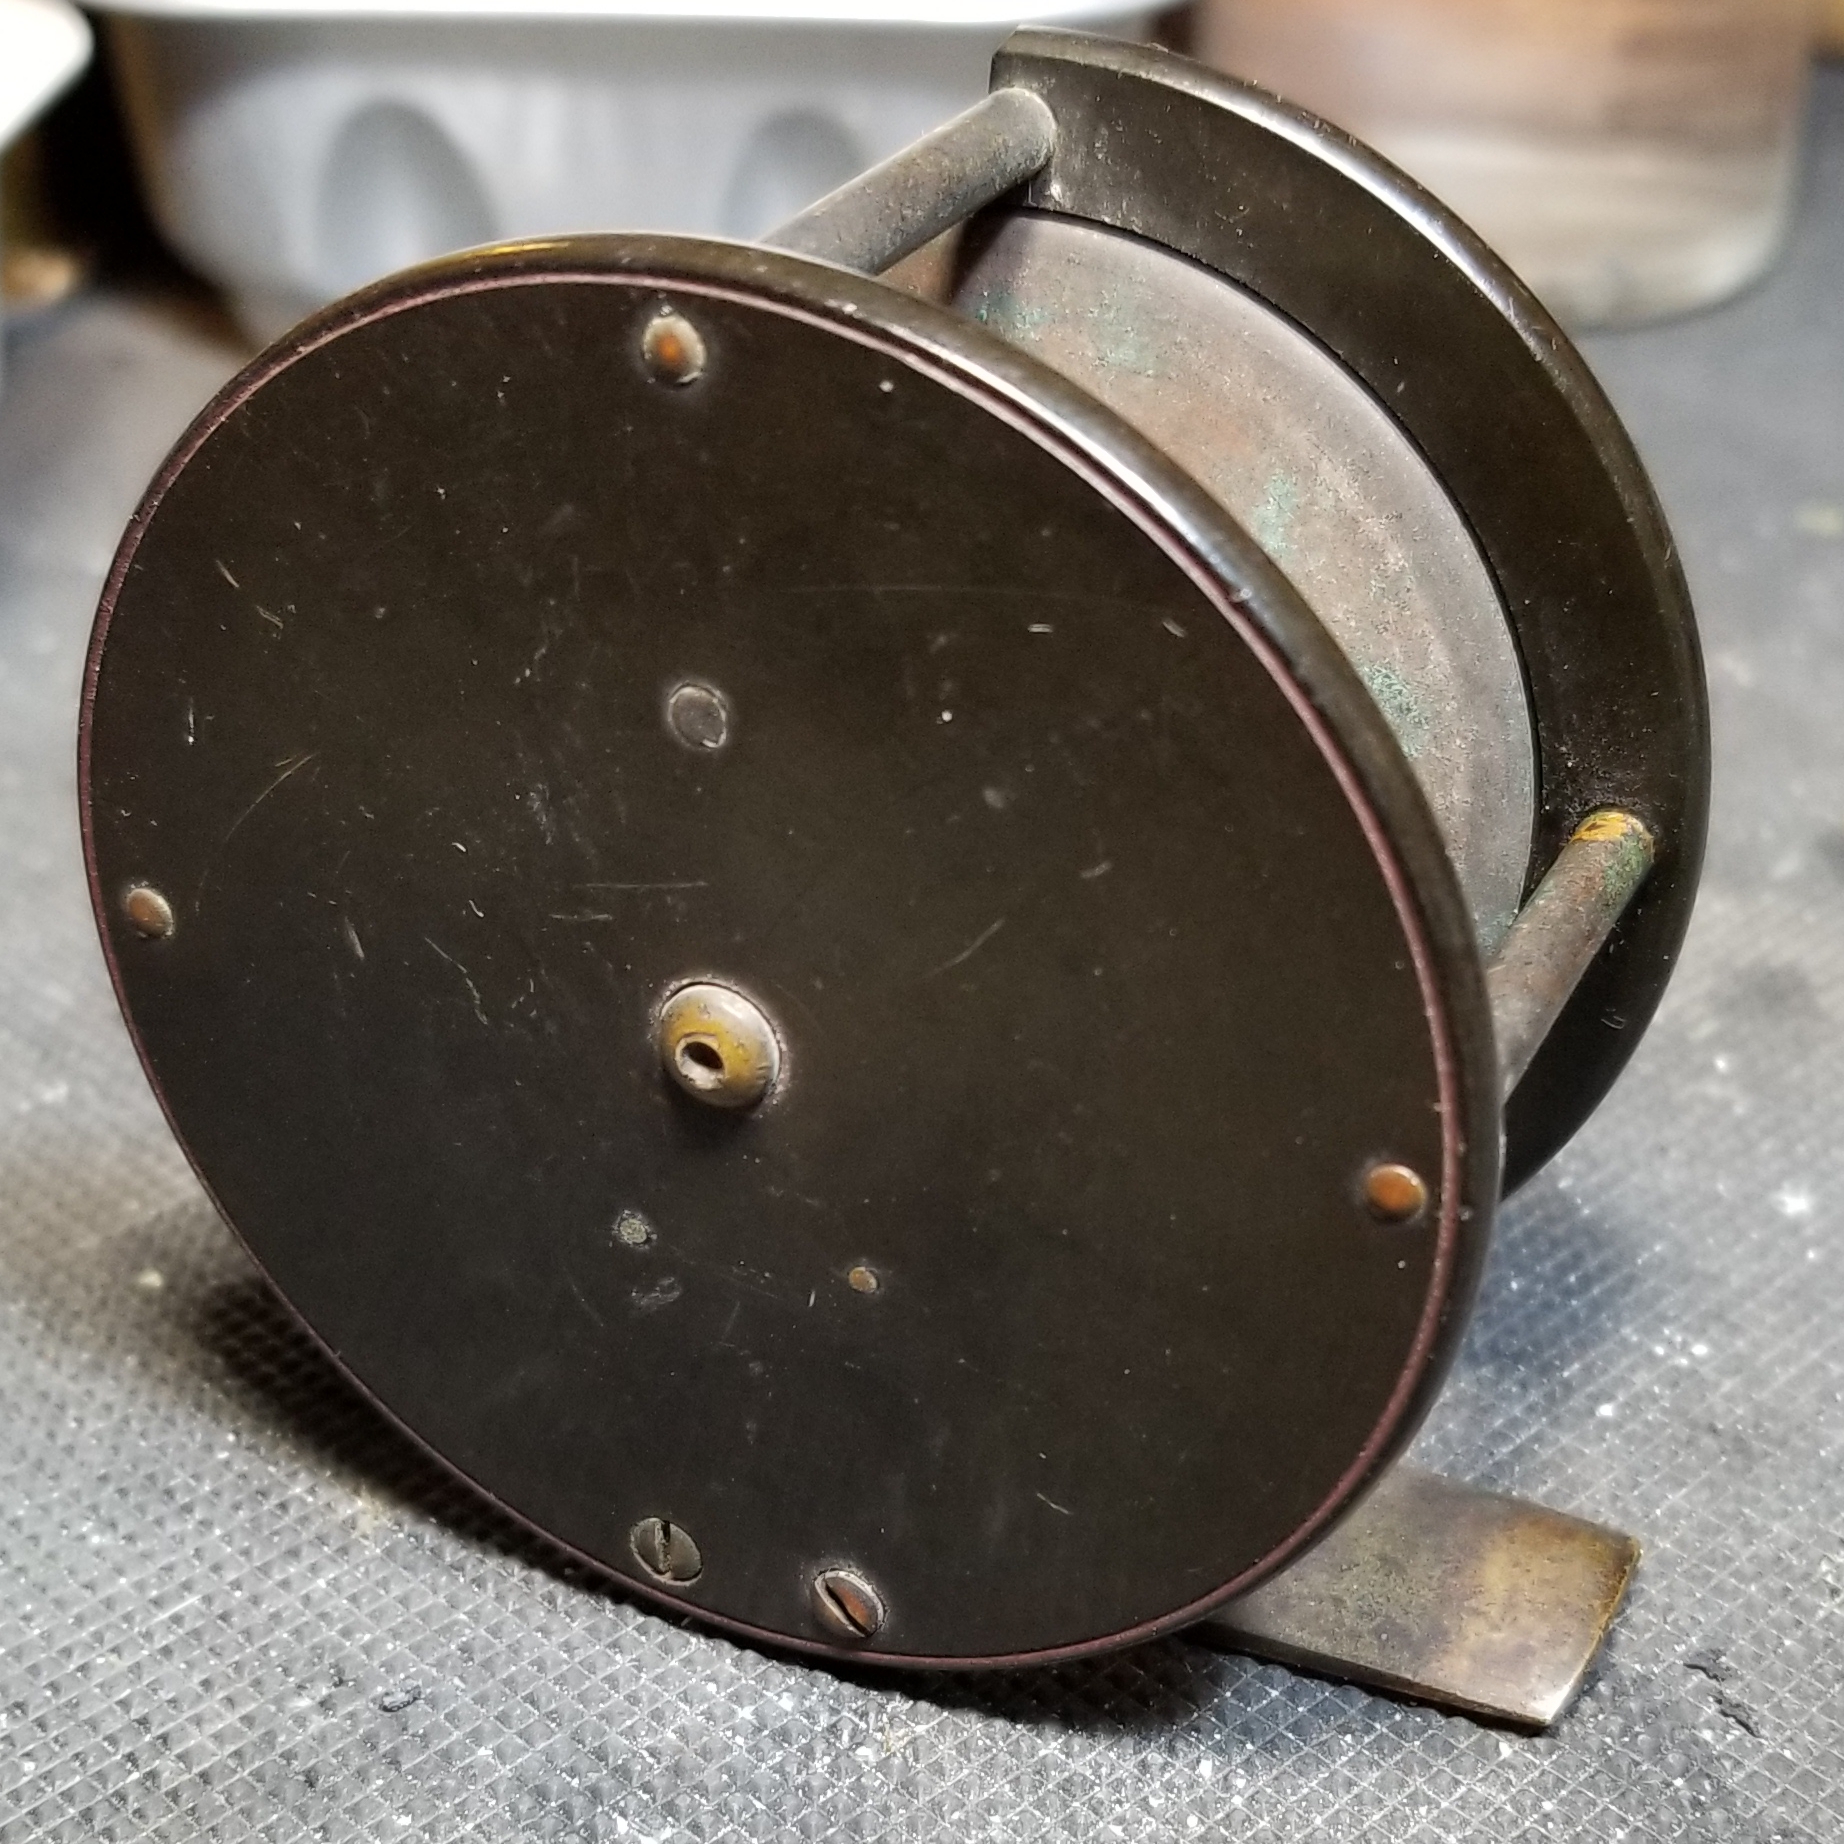
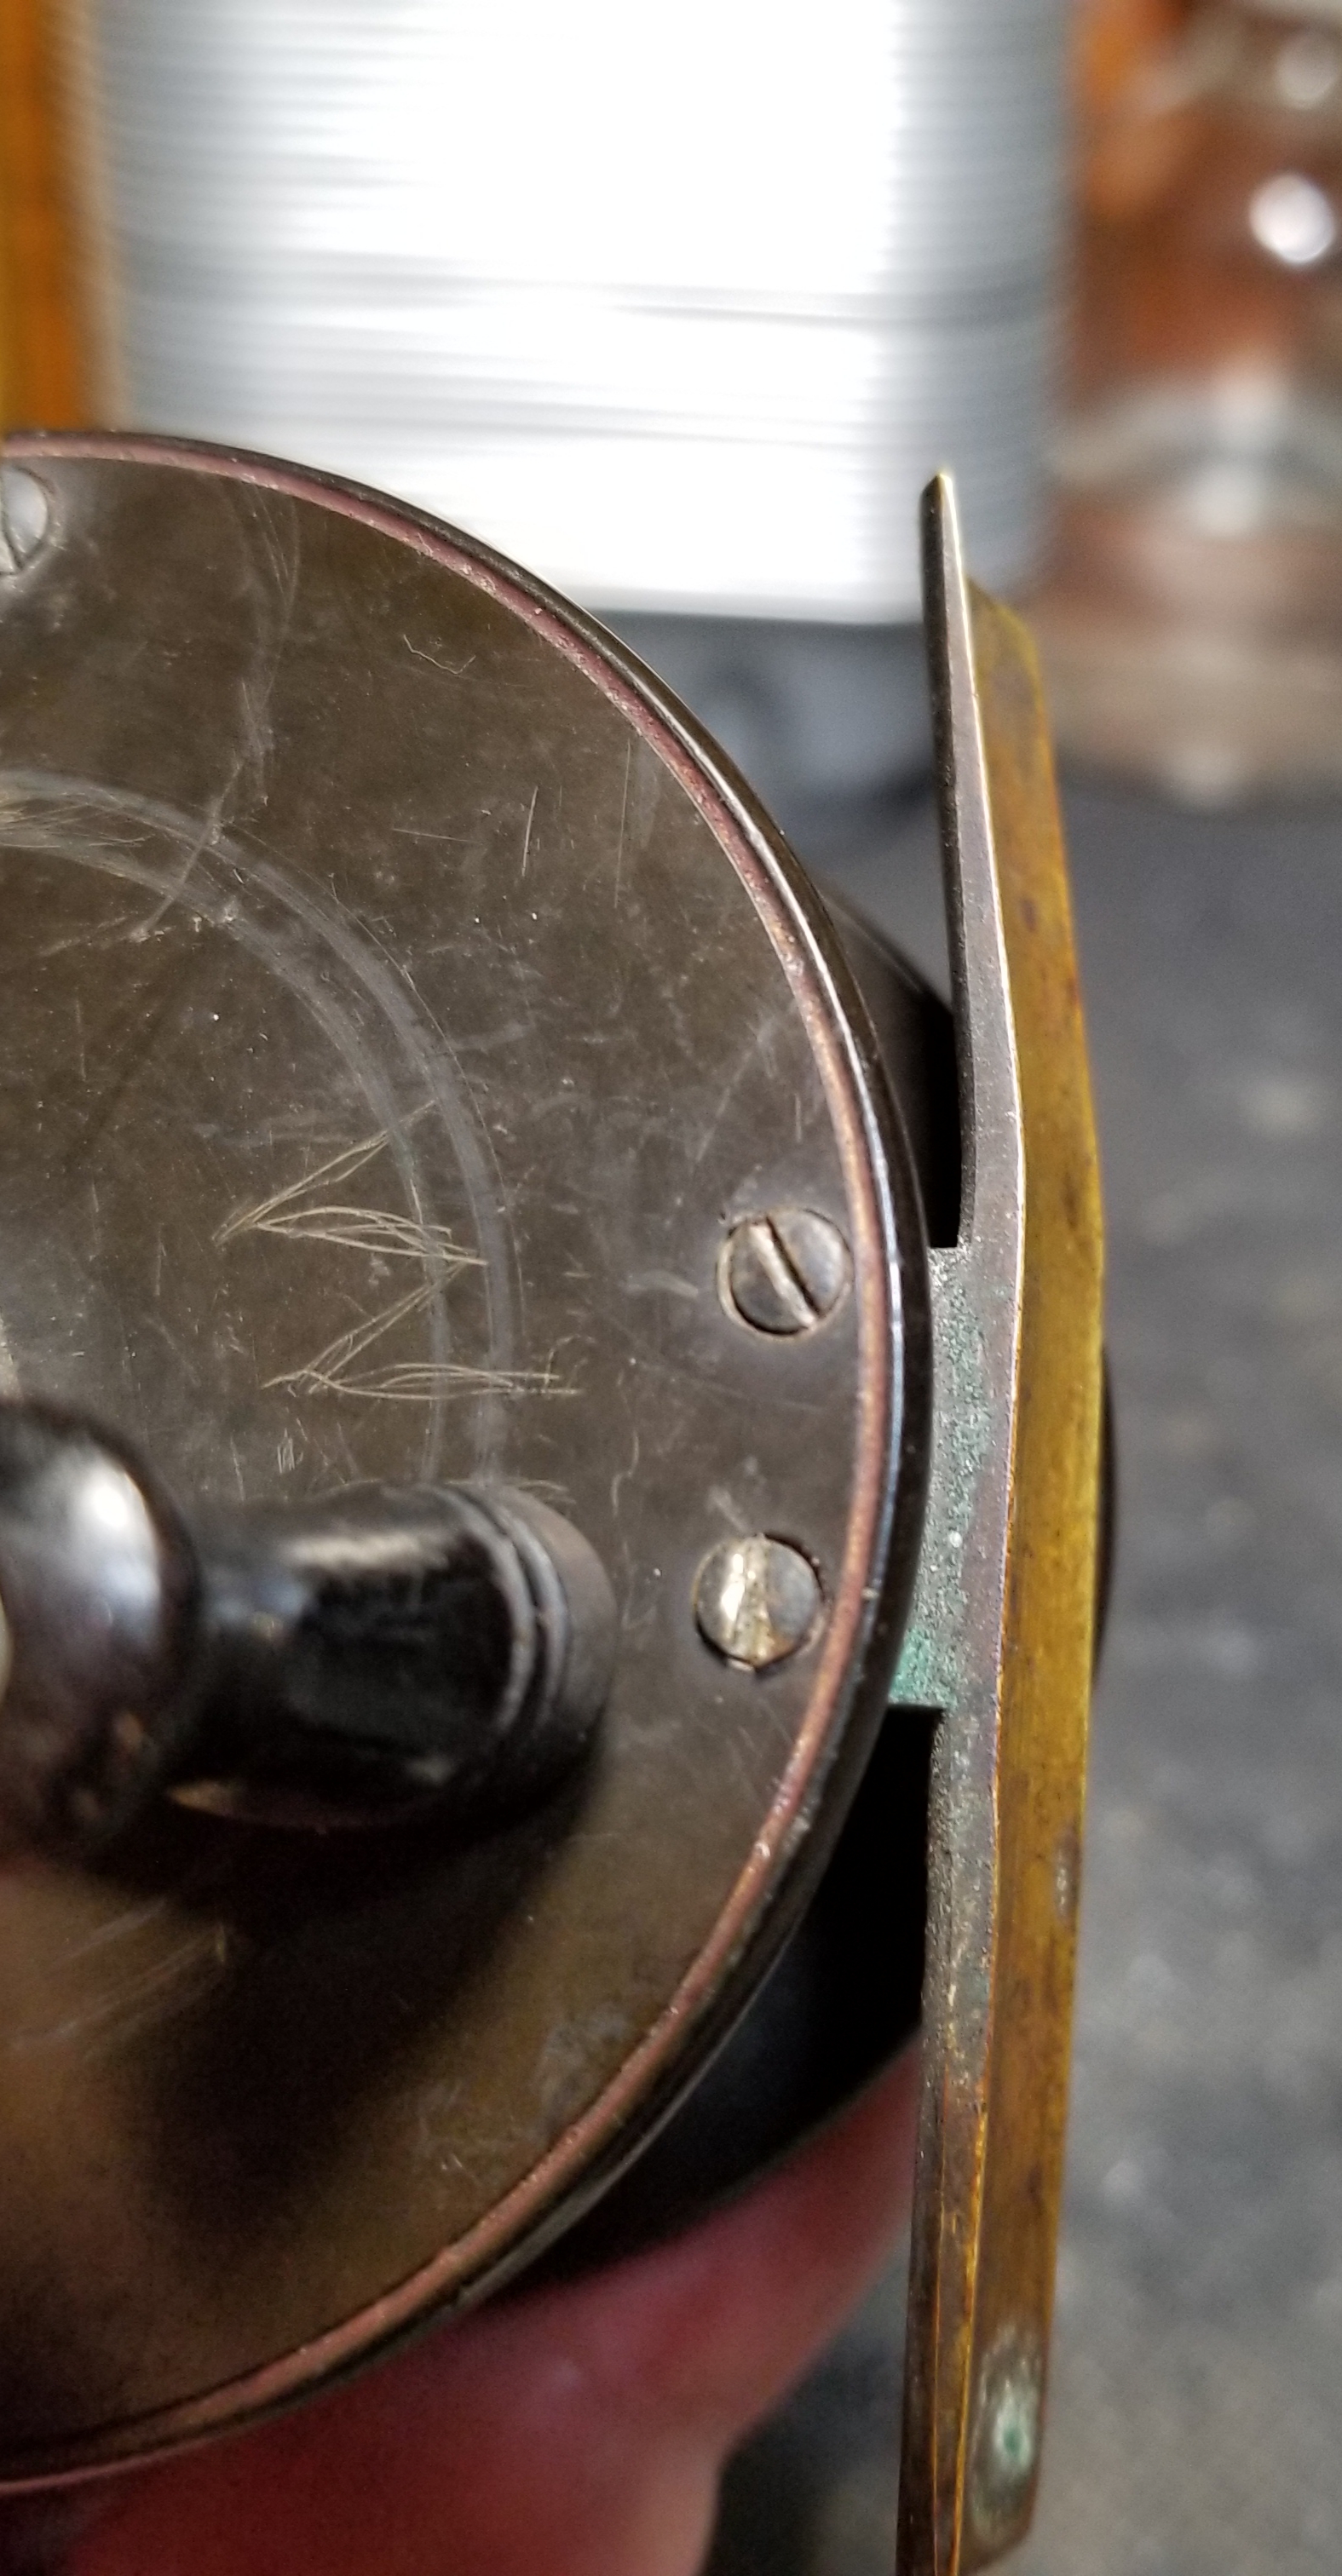
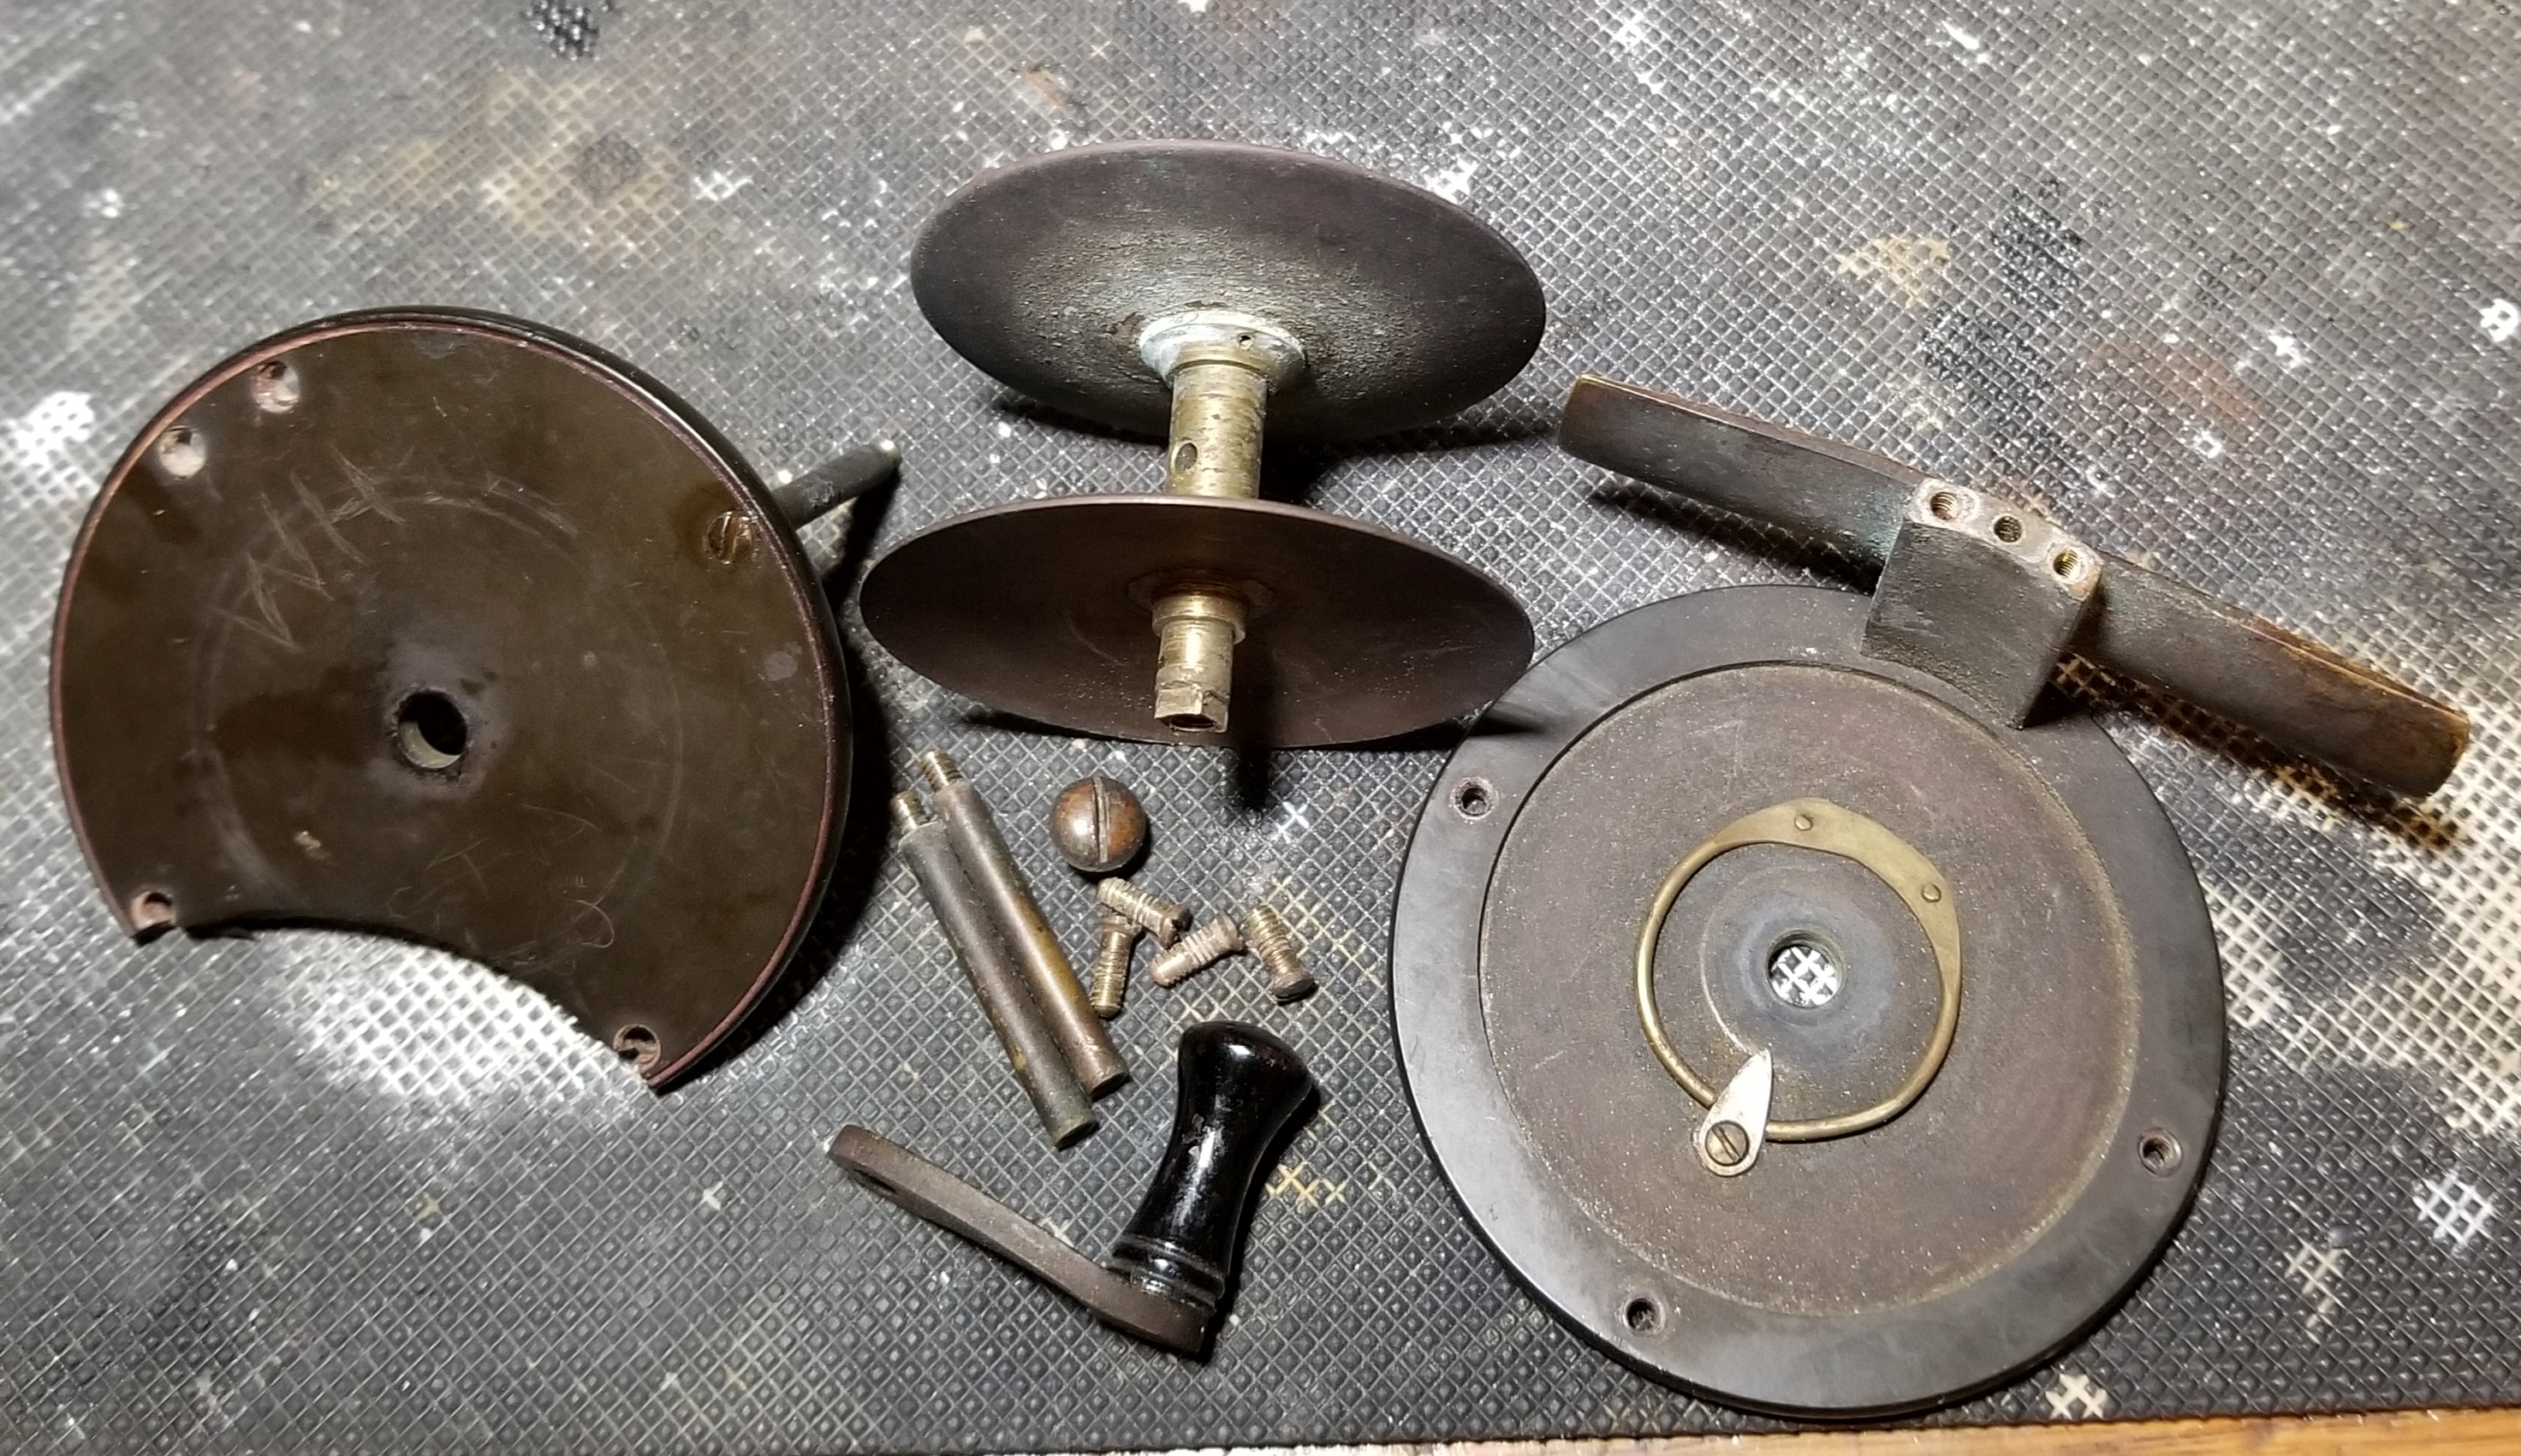
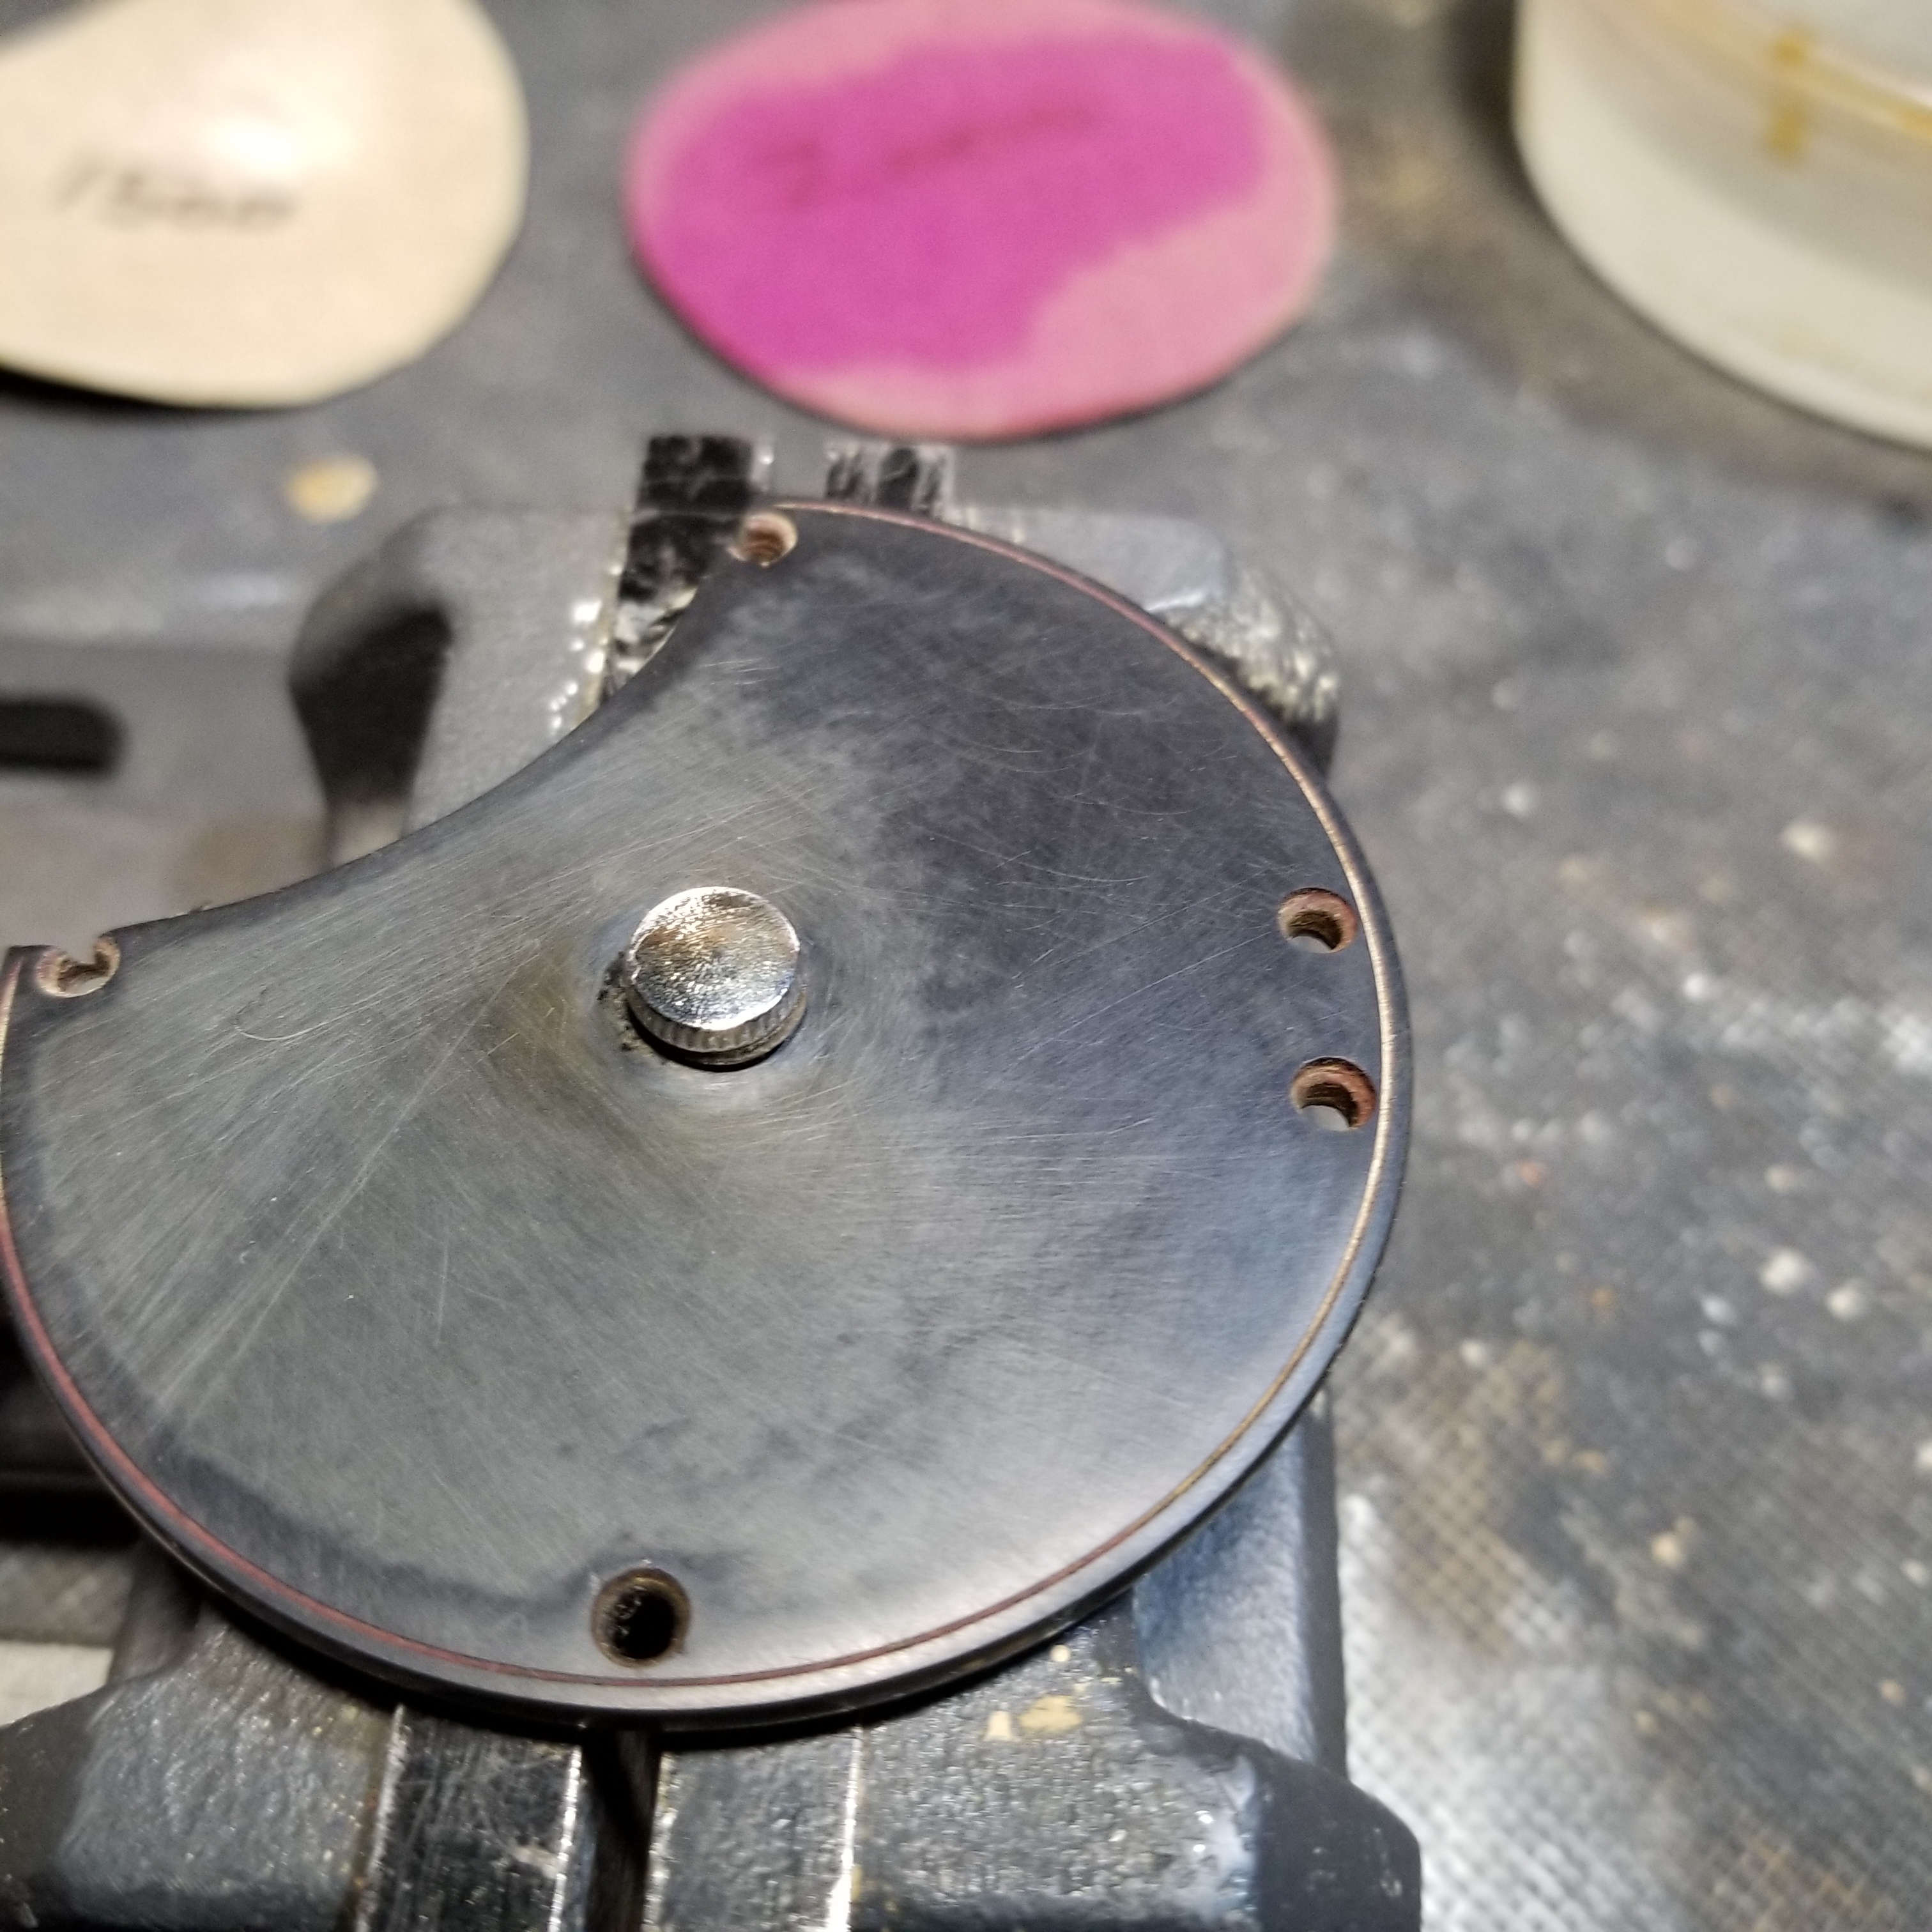
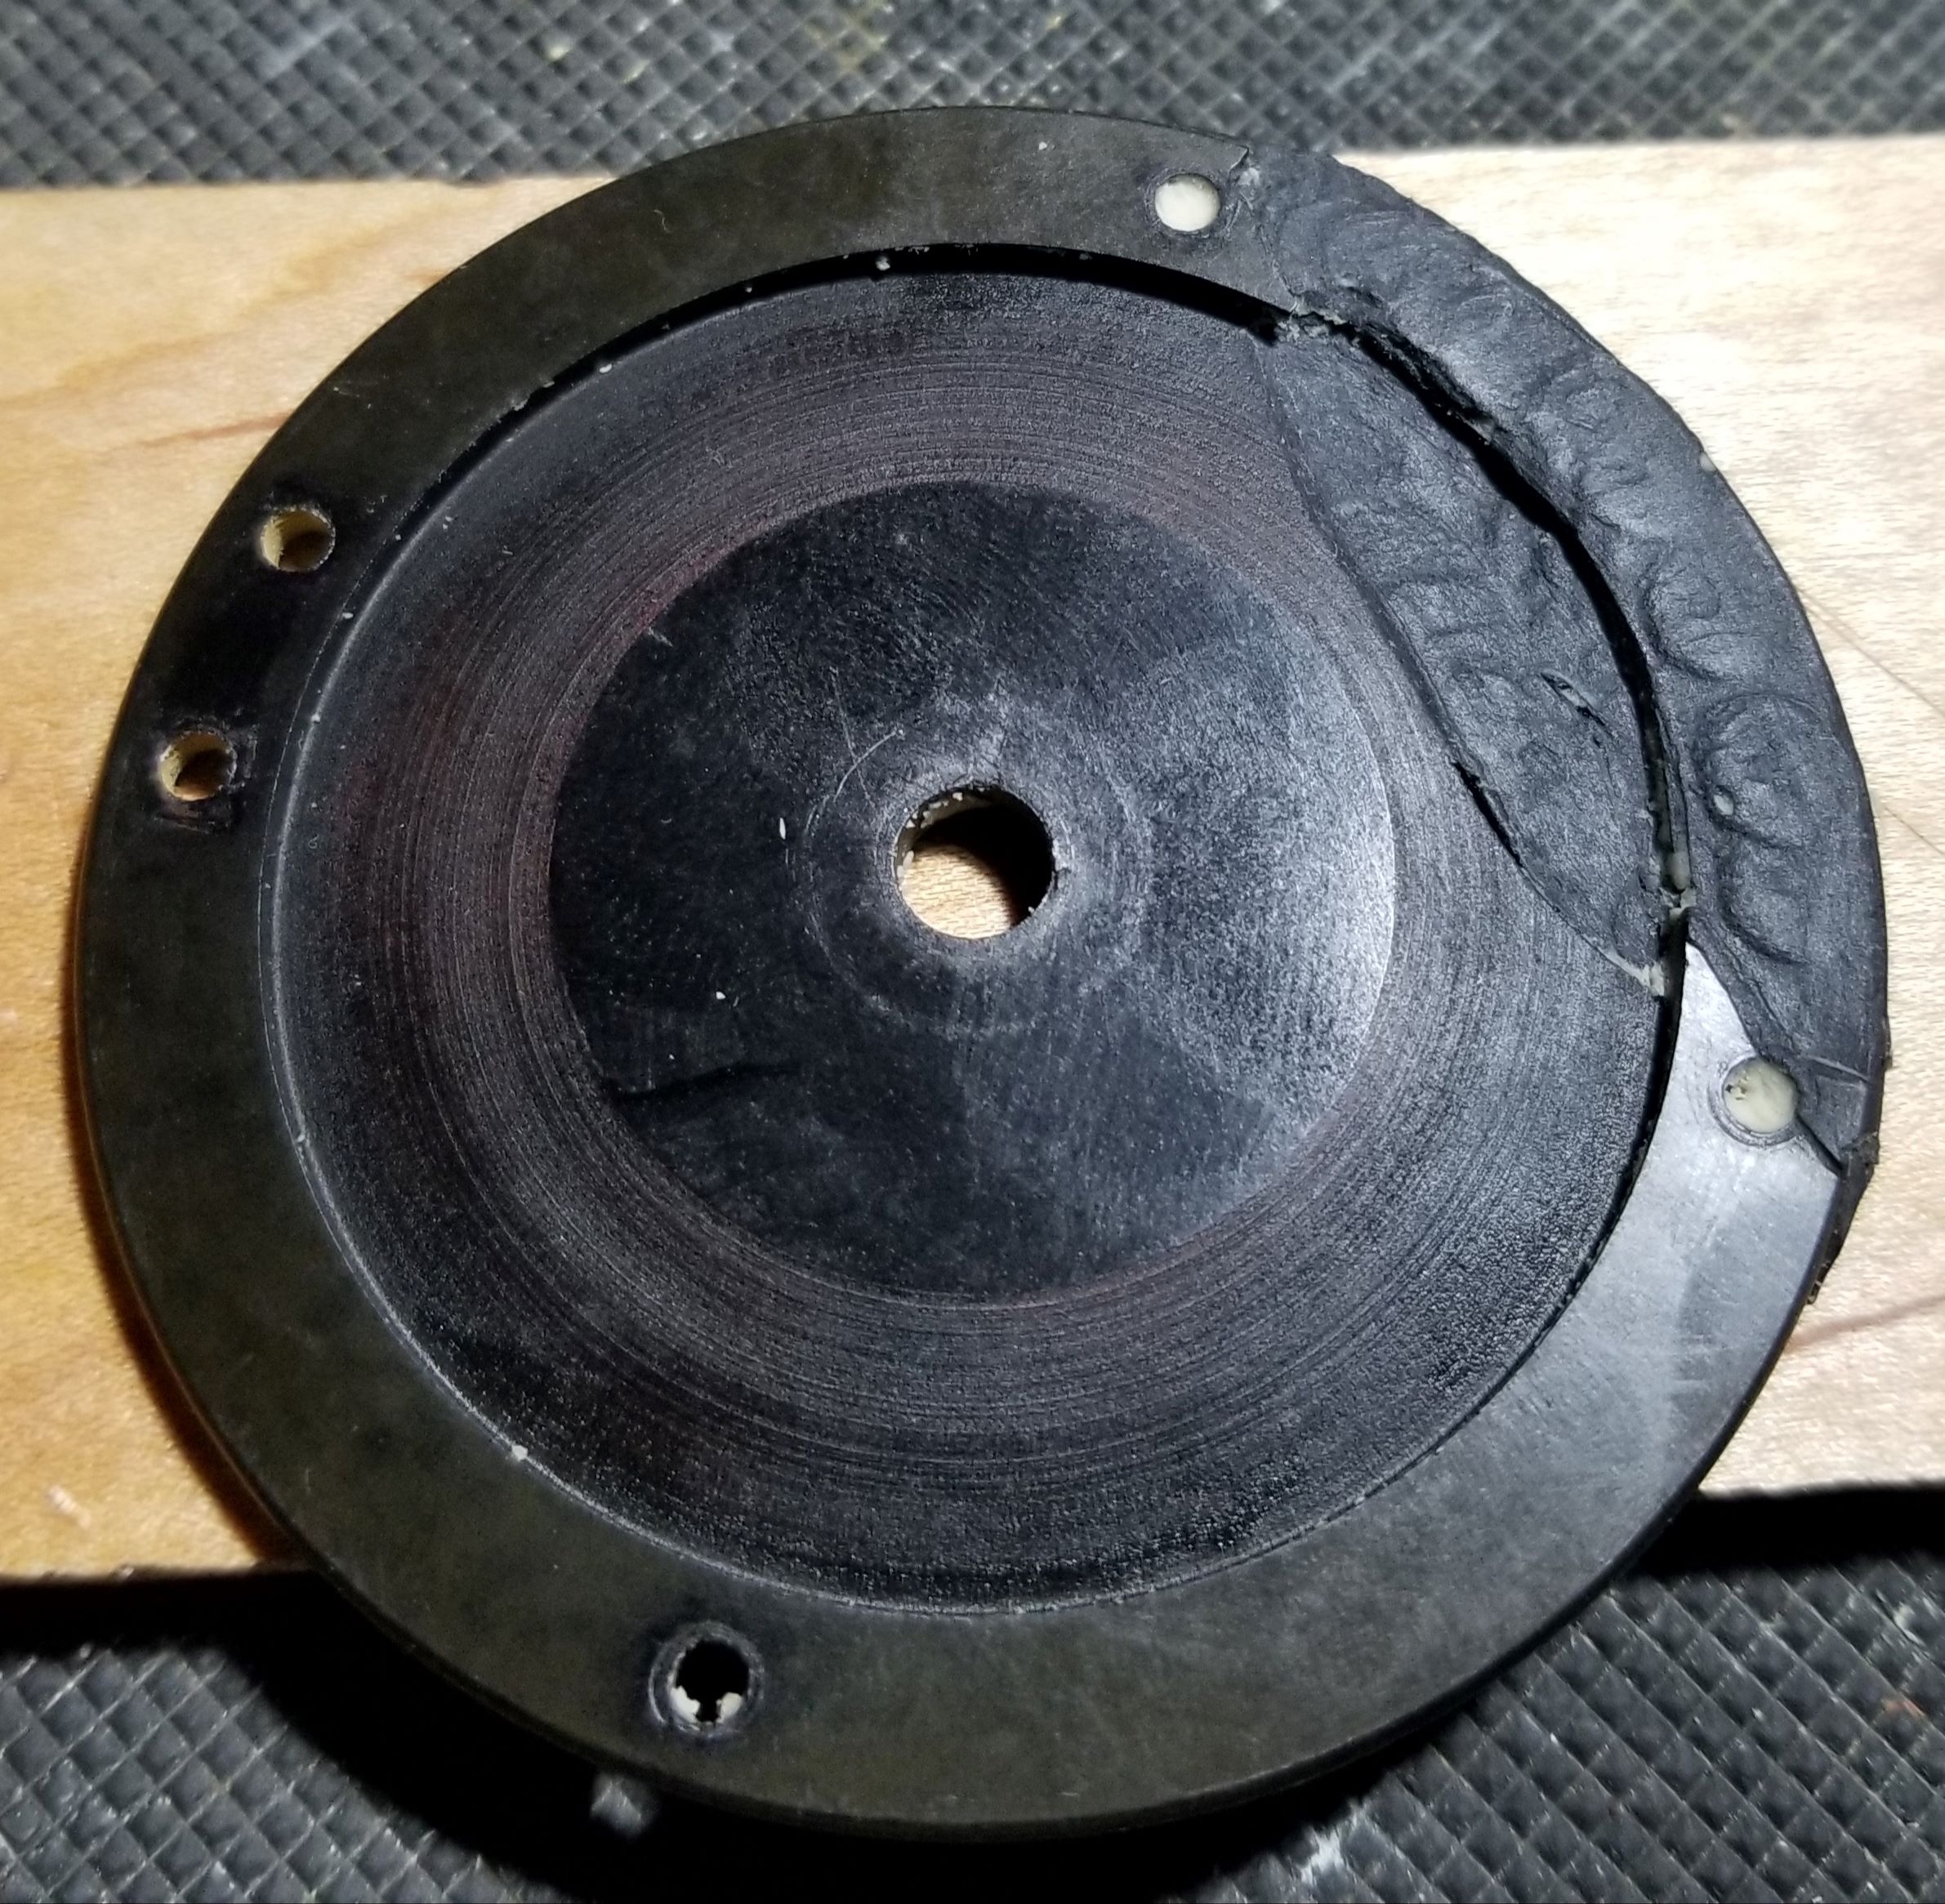
Came with a bit of the head plate missing and added initials/crank scratches, one buggered plate screw, one frozen post screw and a bent crank/foot. A veteran to be sure!
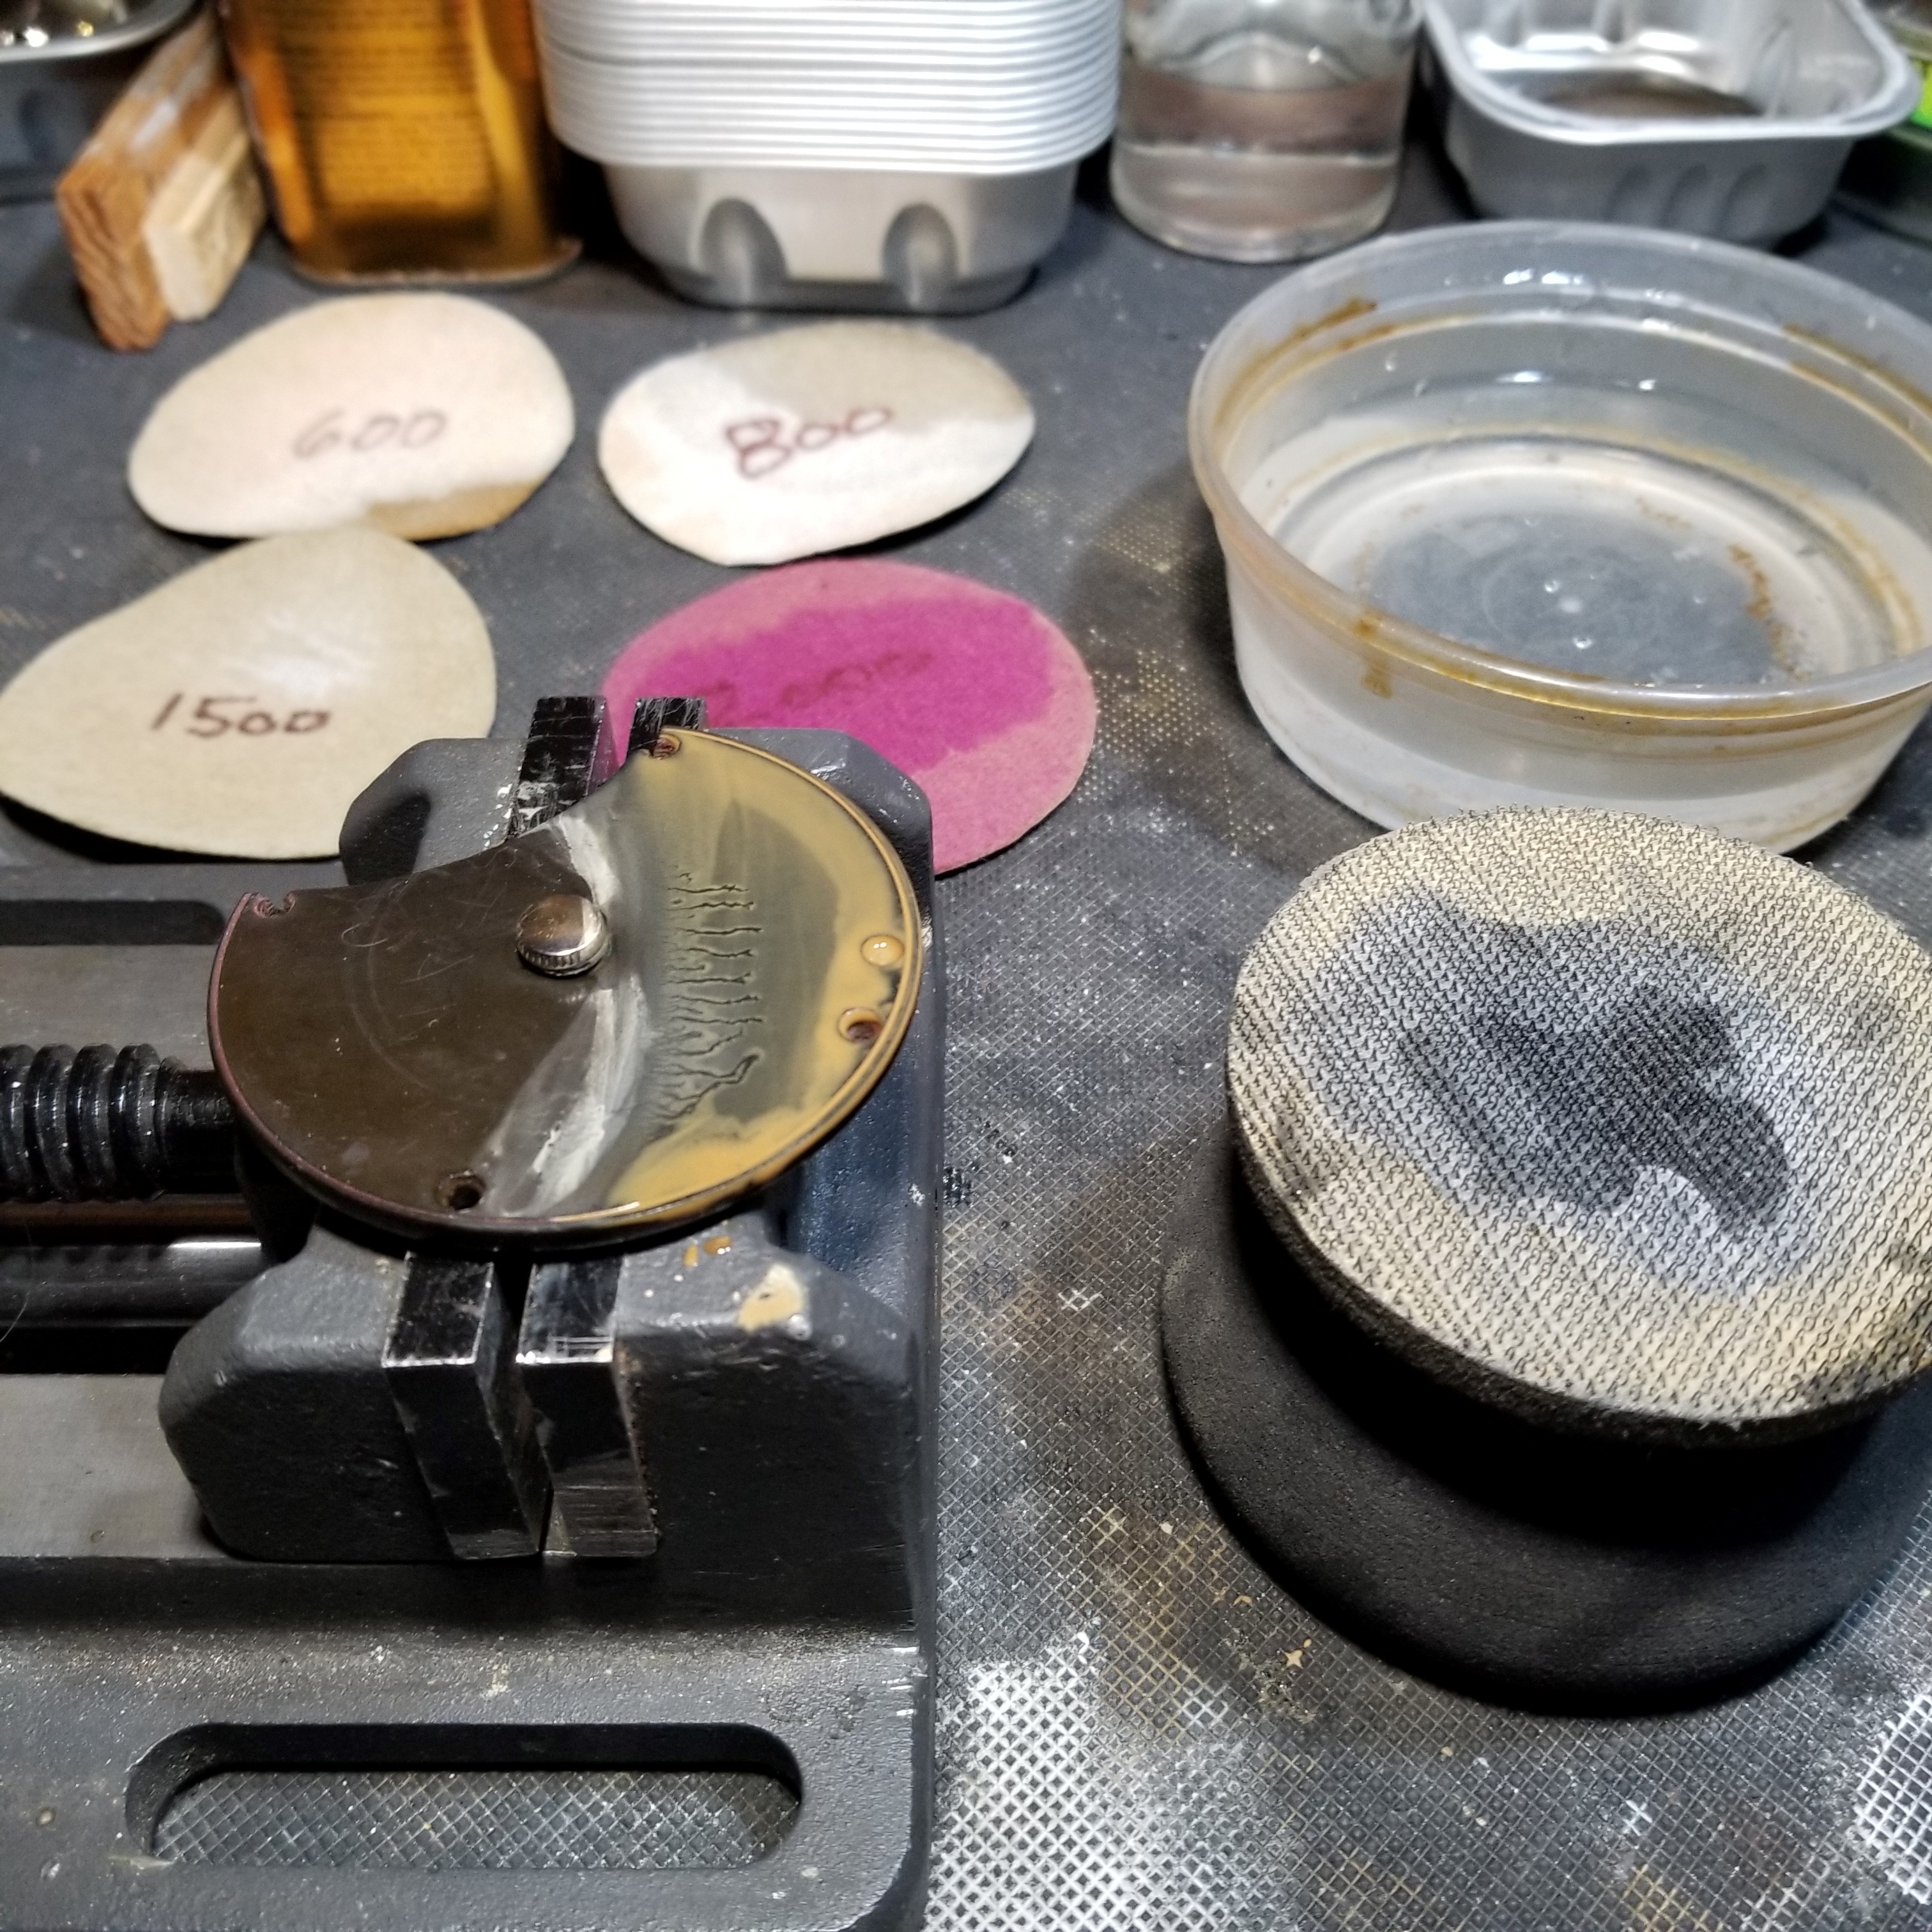
I'll start with the hardware minus the handle(painted wood ?) in a vinegar bath and start with the wet sanding.
Great job so far! I may be in the minority, but I say you’ve come this far so you might as well polish it up. Looking forward to seeing how you tackle that missing corner.
-James-
New to reel collecting so bear with me please. I like reel deals!
Thanks James. You are correct and I will polish.
Being unsure of this reel's pedigree I went poking around and found another possibility.
1890 CHUBB cat. pg.44, reel #17 offered in brass. Same single line incised plates, posts and foot, but again, different handle and a slight variation in the spool flange.
Of course, any suggestions as to maker are welcomed.
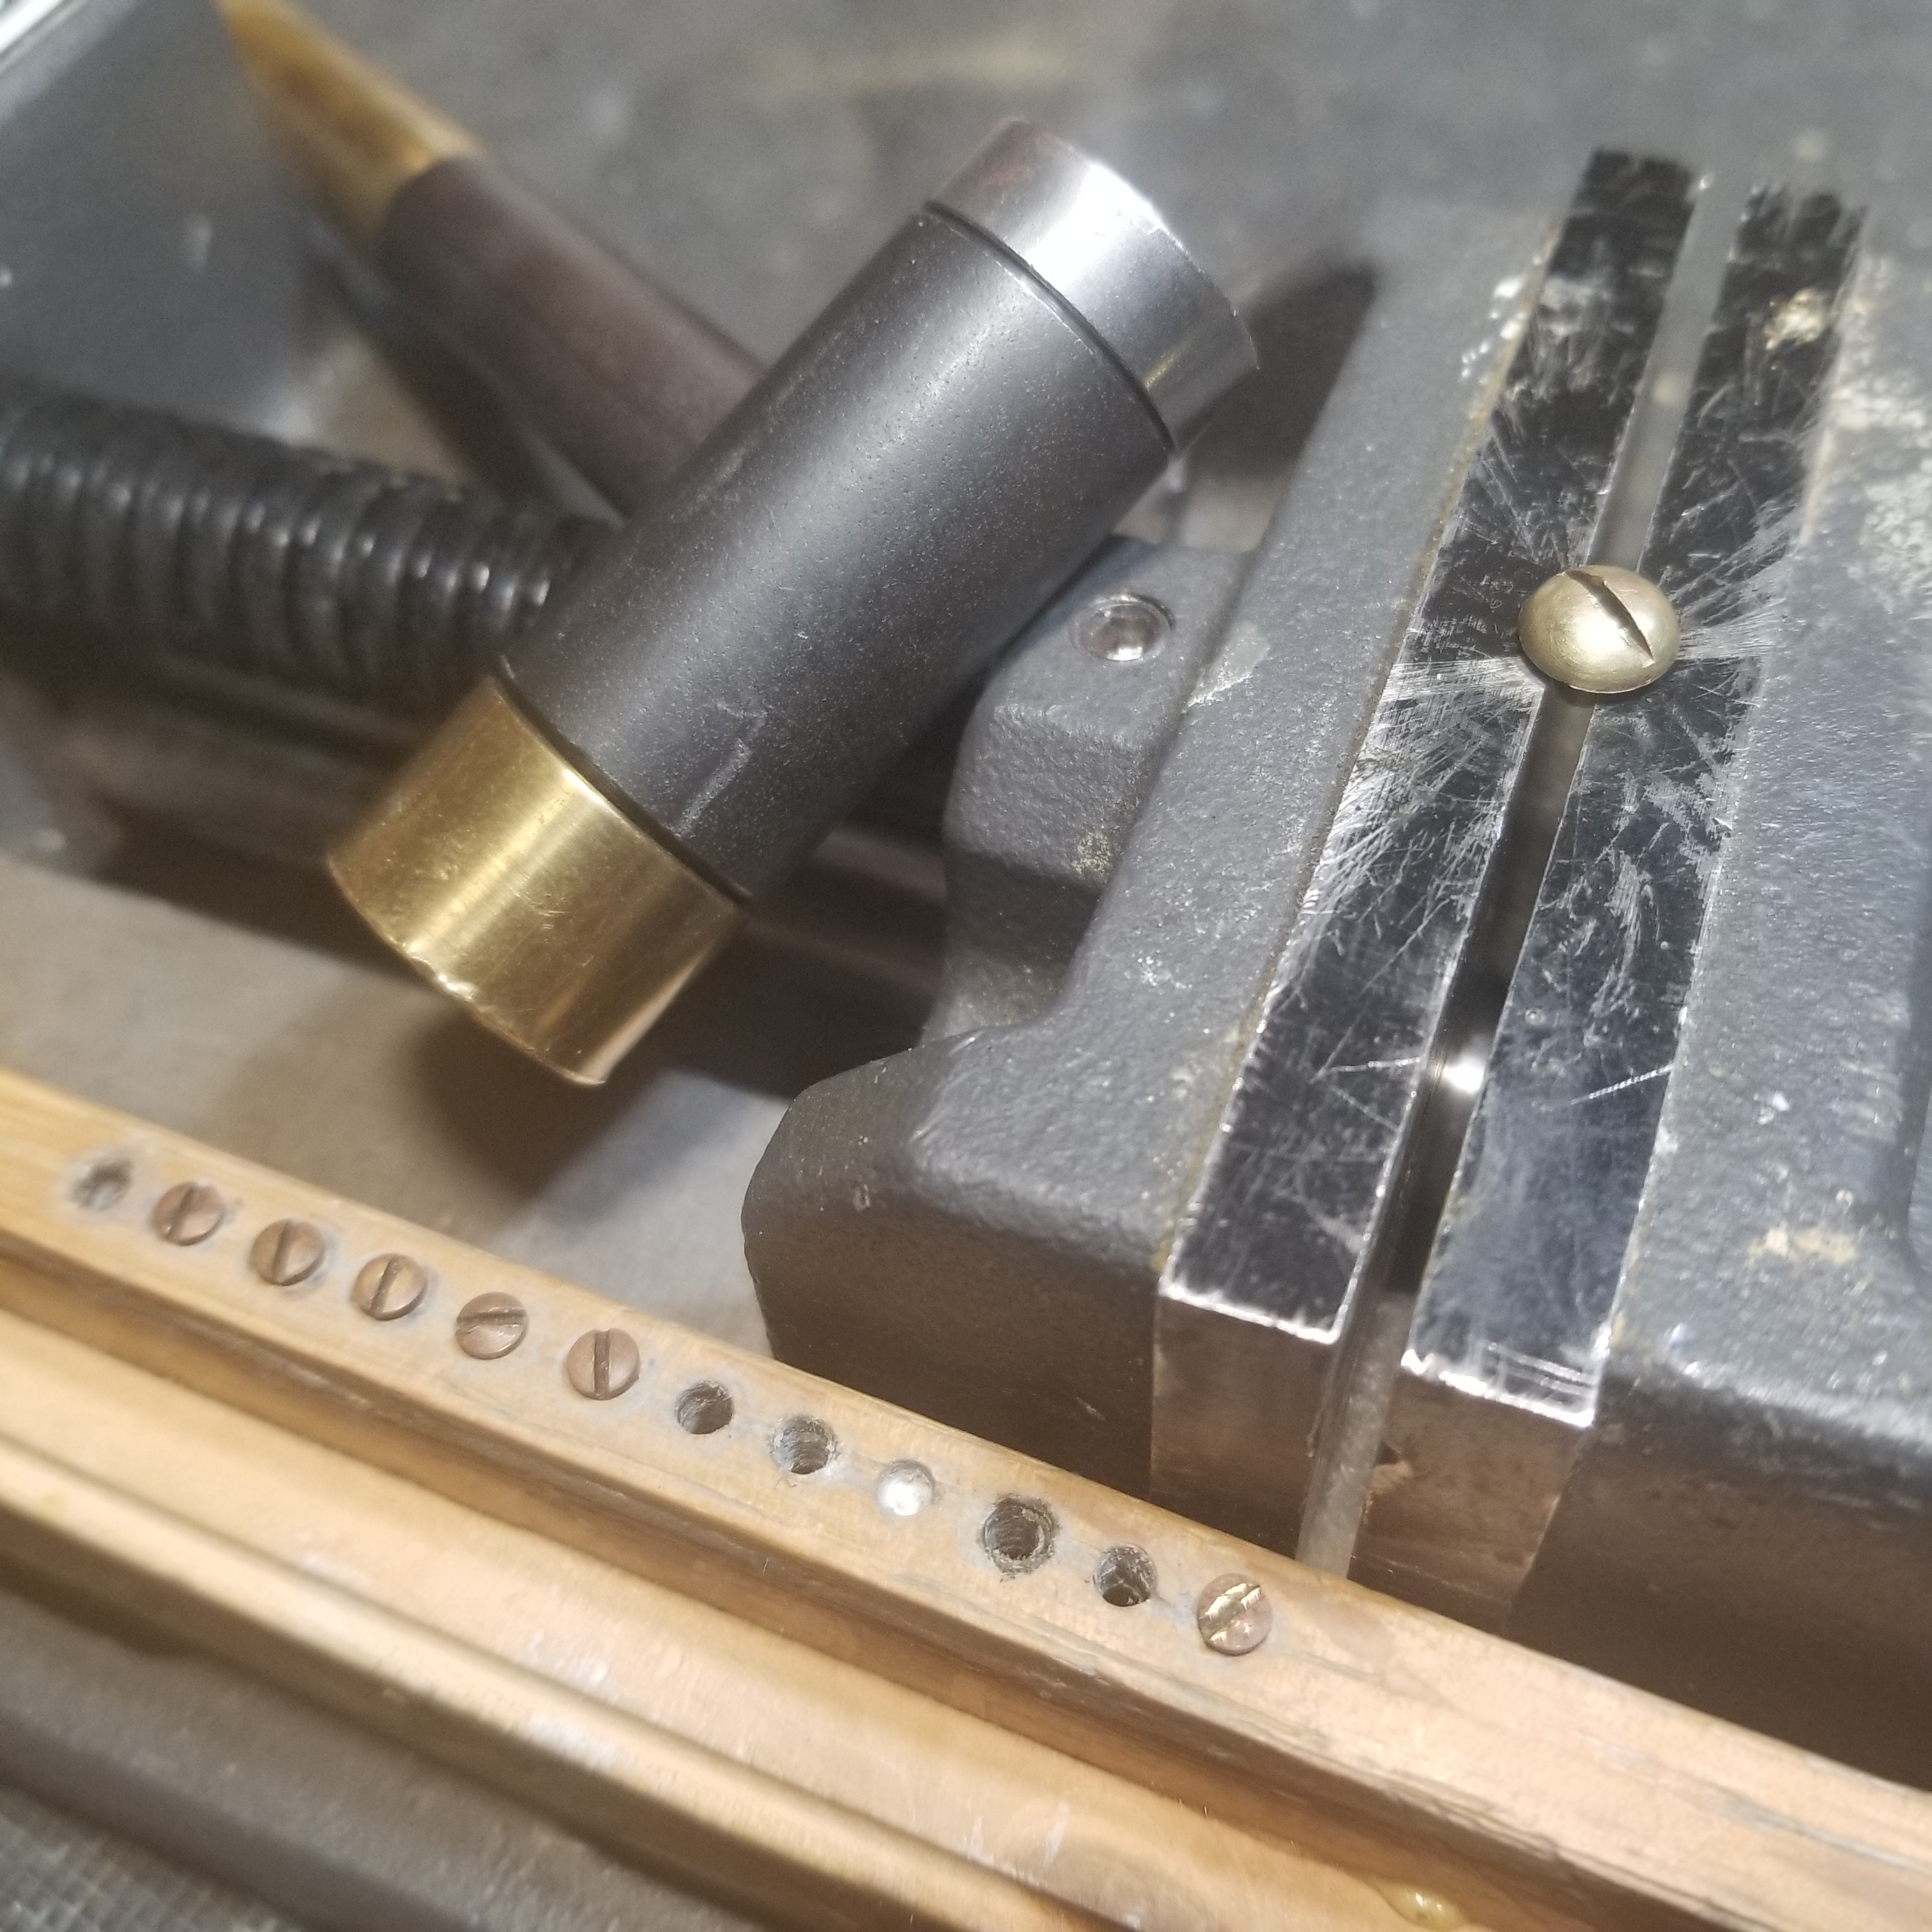
A couple of screws to dress, then polish all.
All polished up and ready for reassembly.
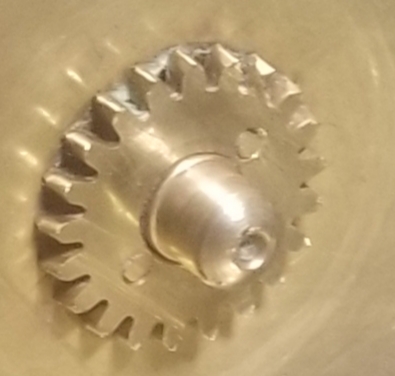
A click gear attachment style with pins maybe help with a definitive id?
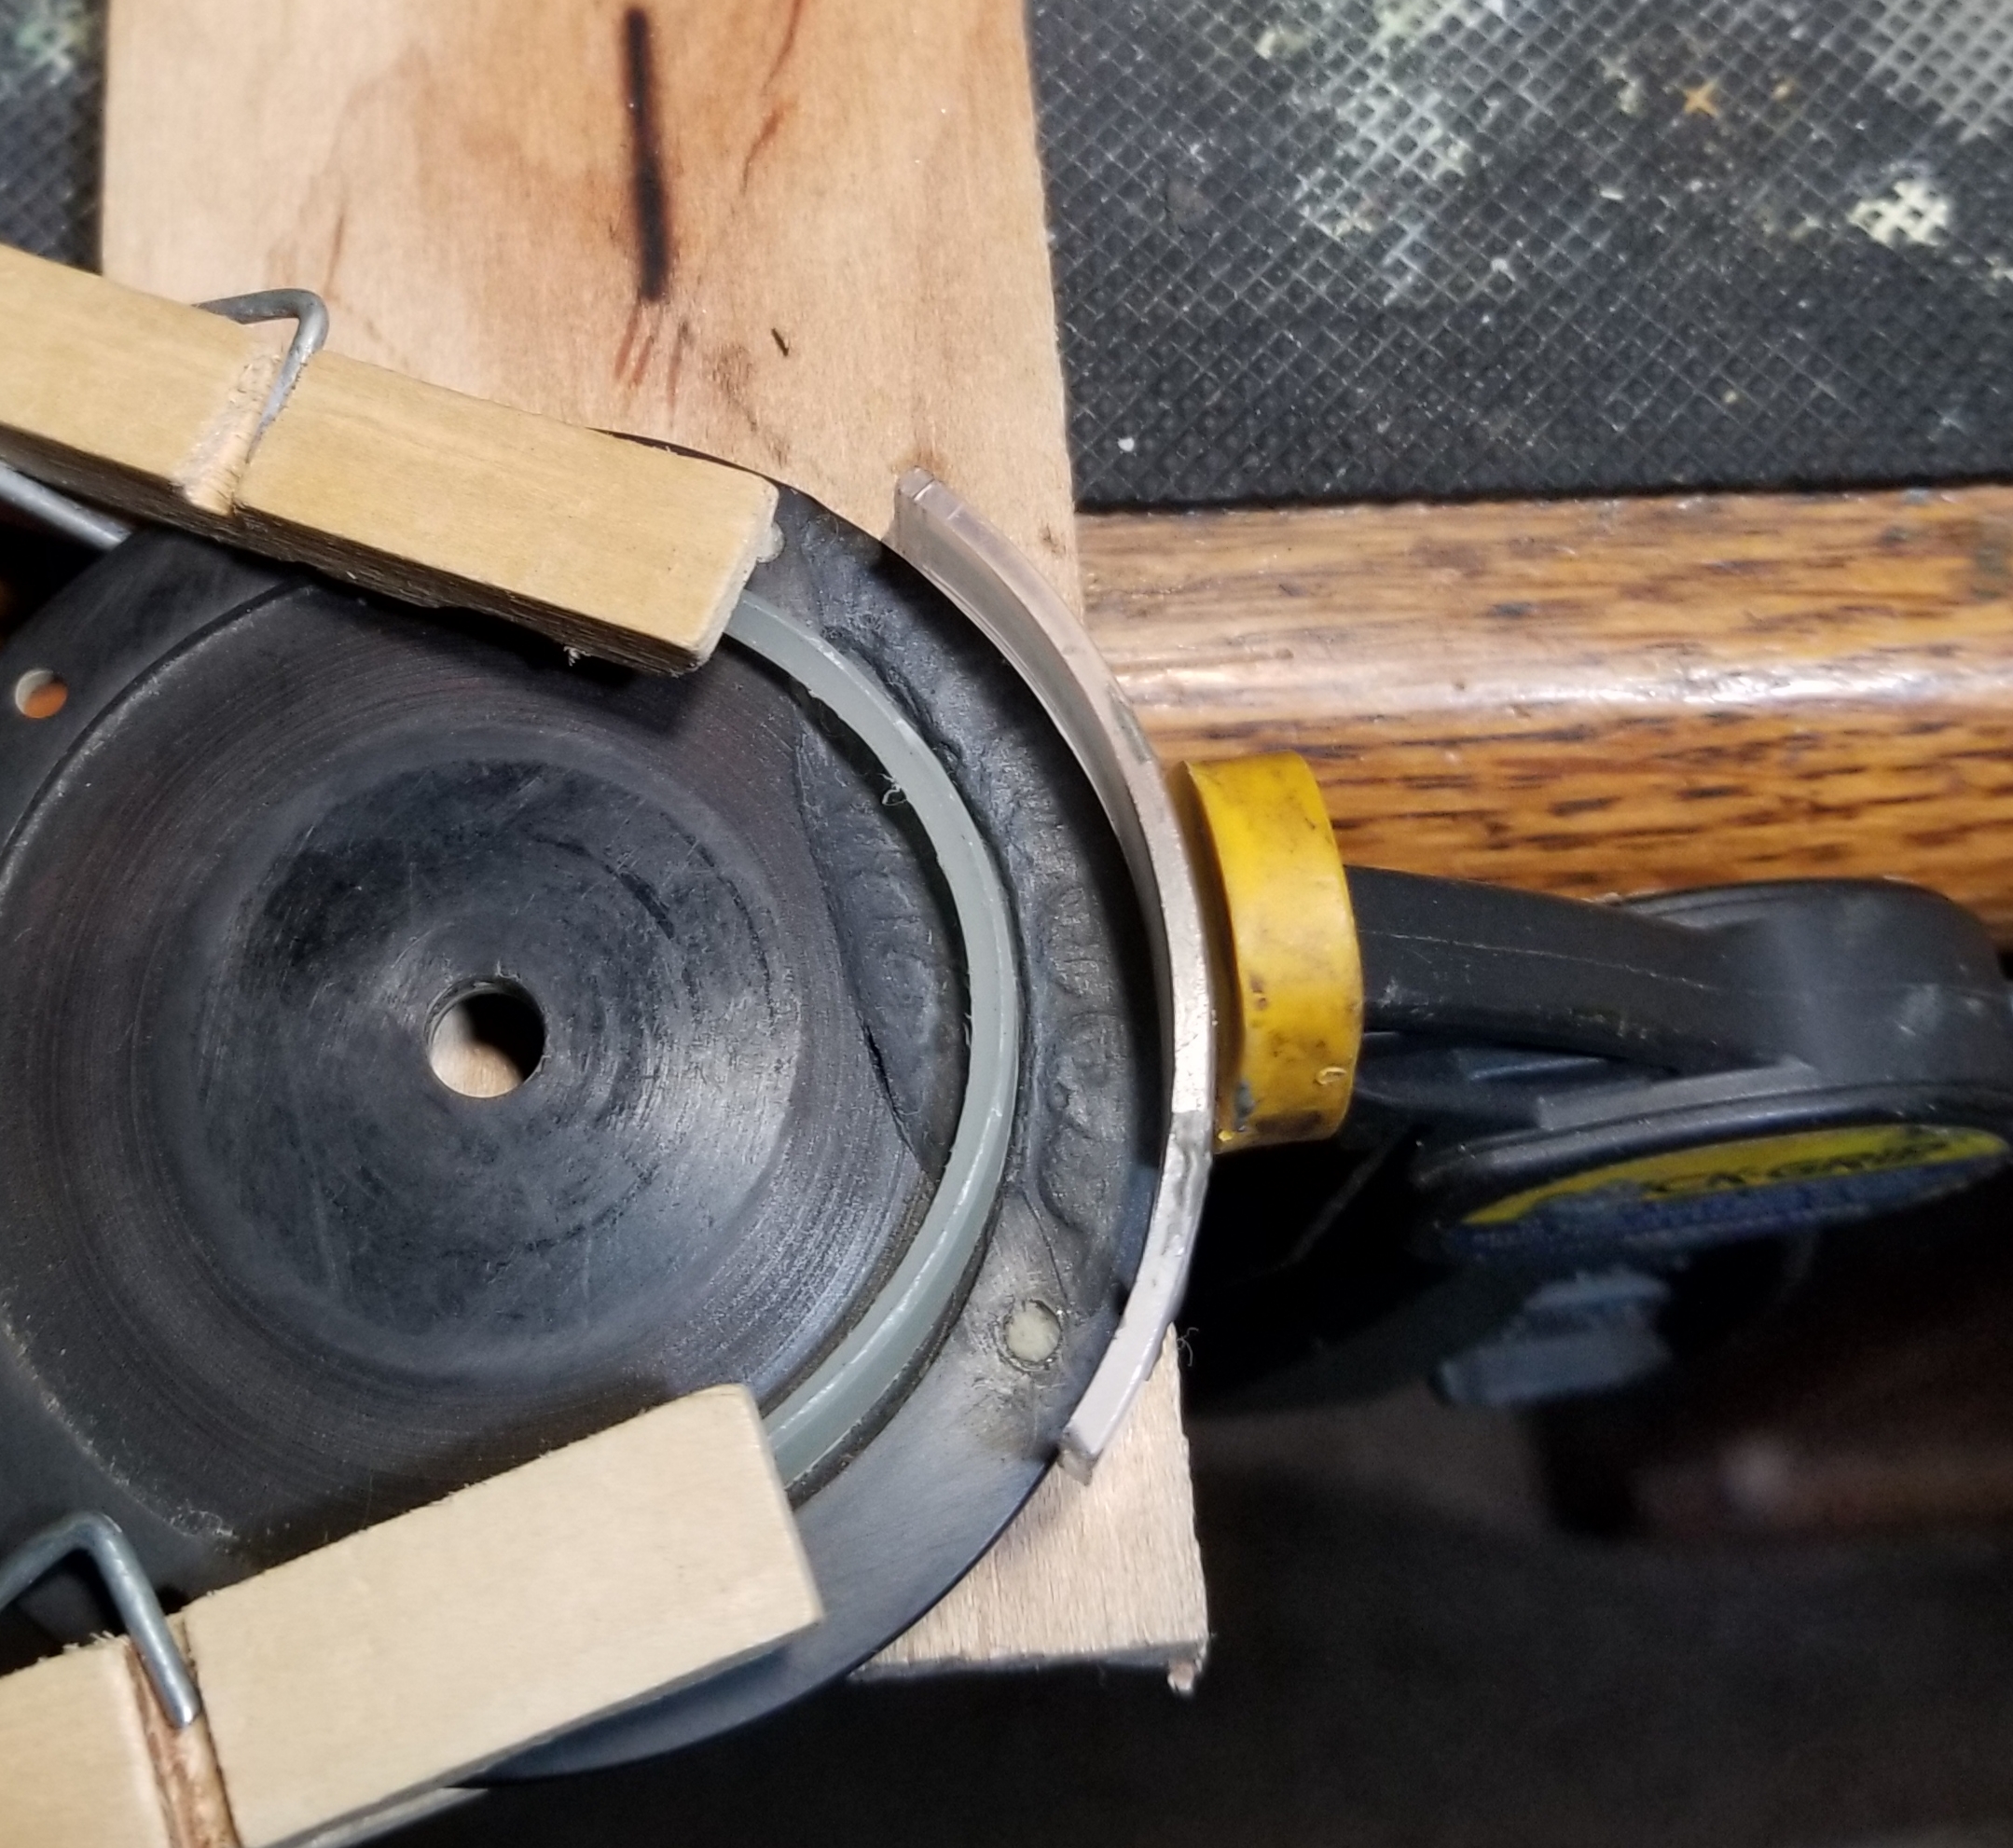
I've had good luck in the past dealing with missing plate thusly.
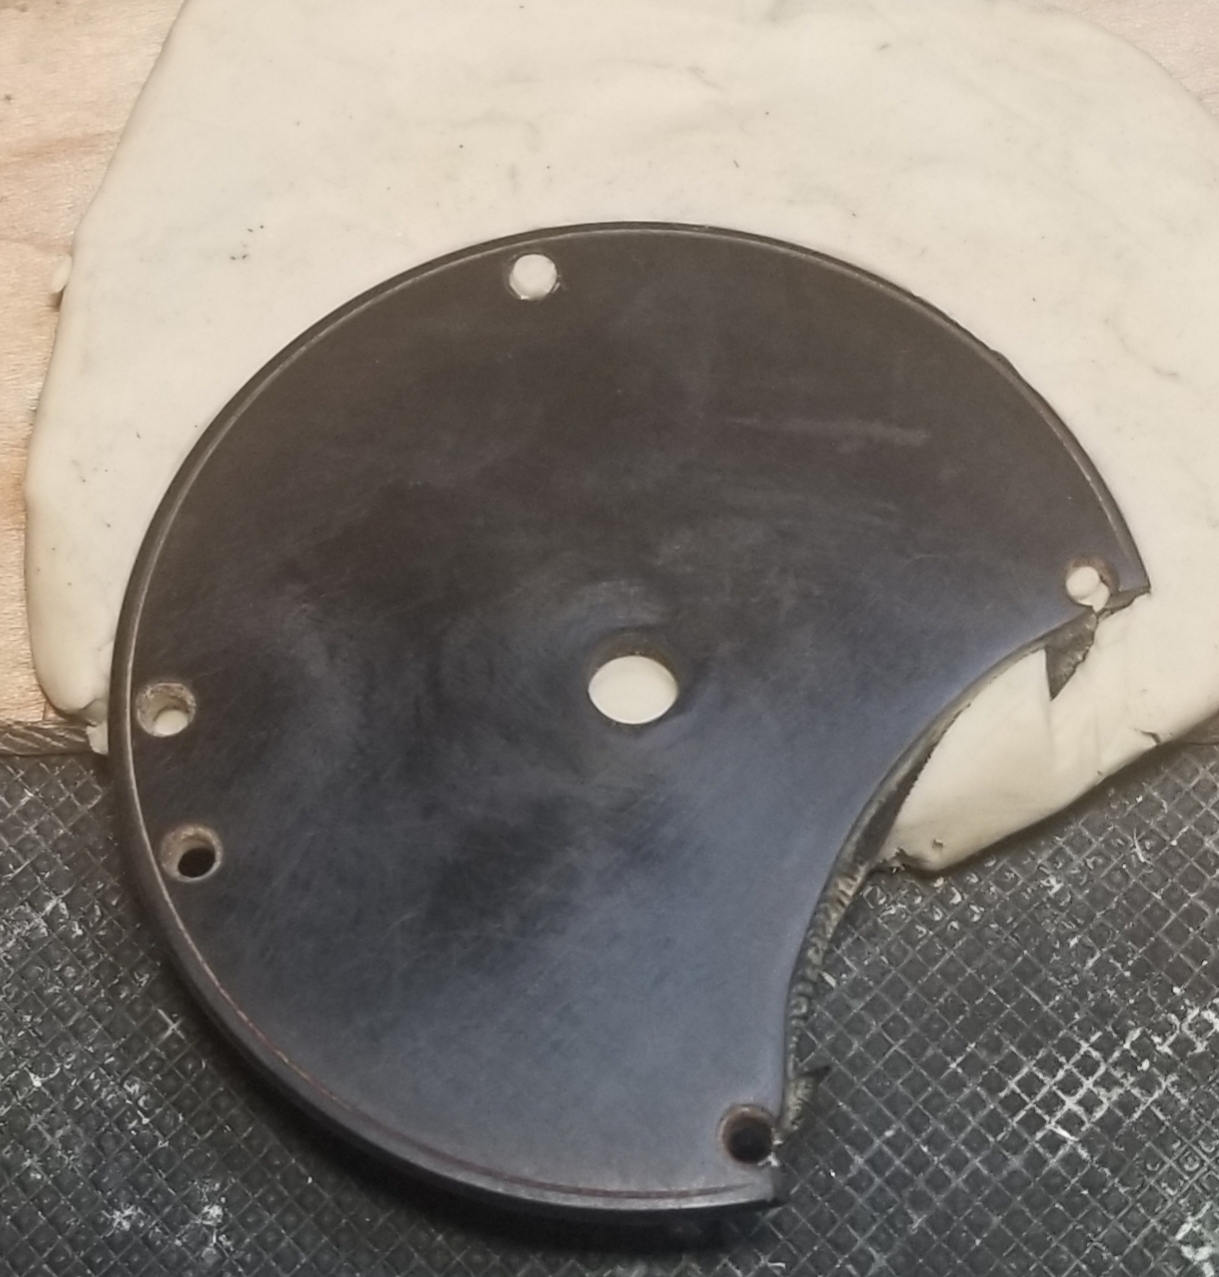
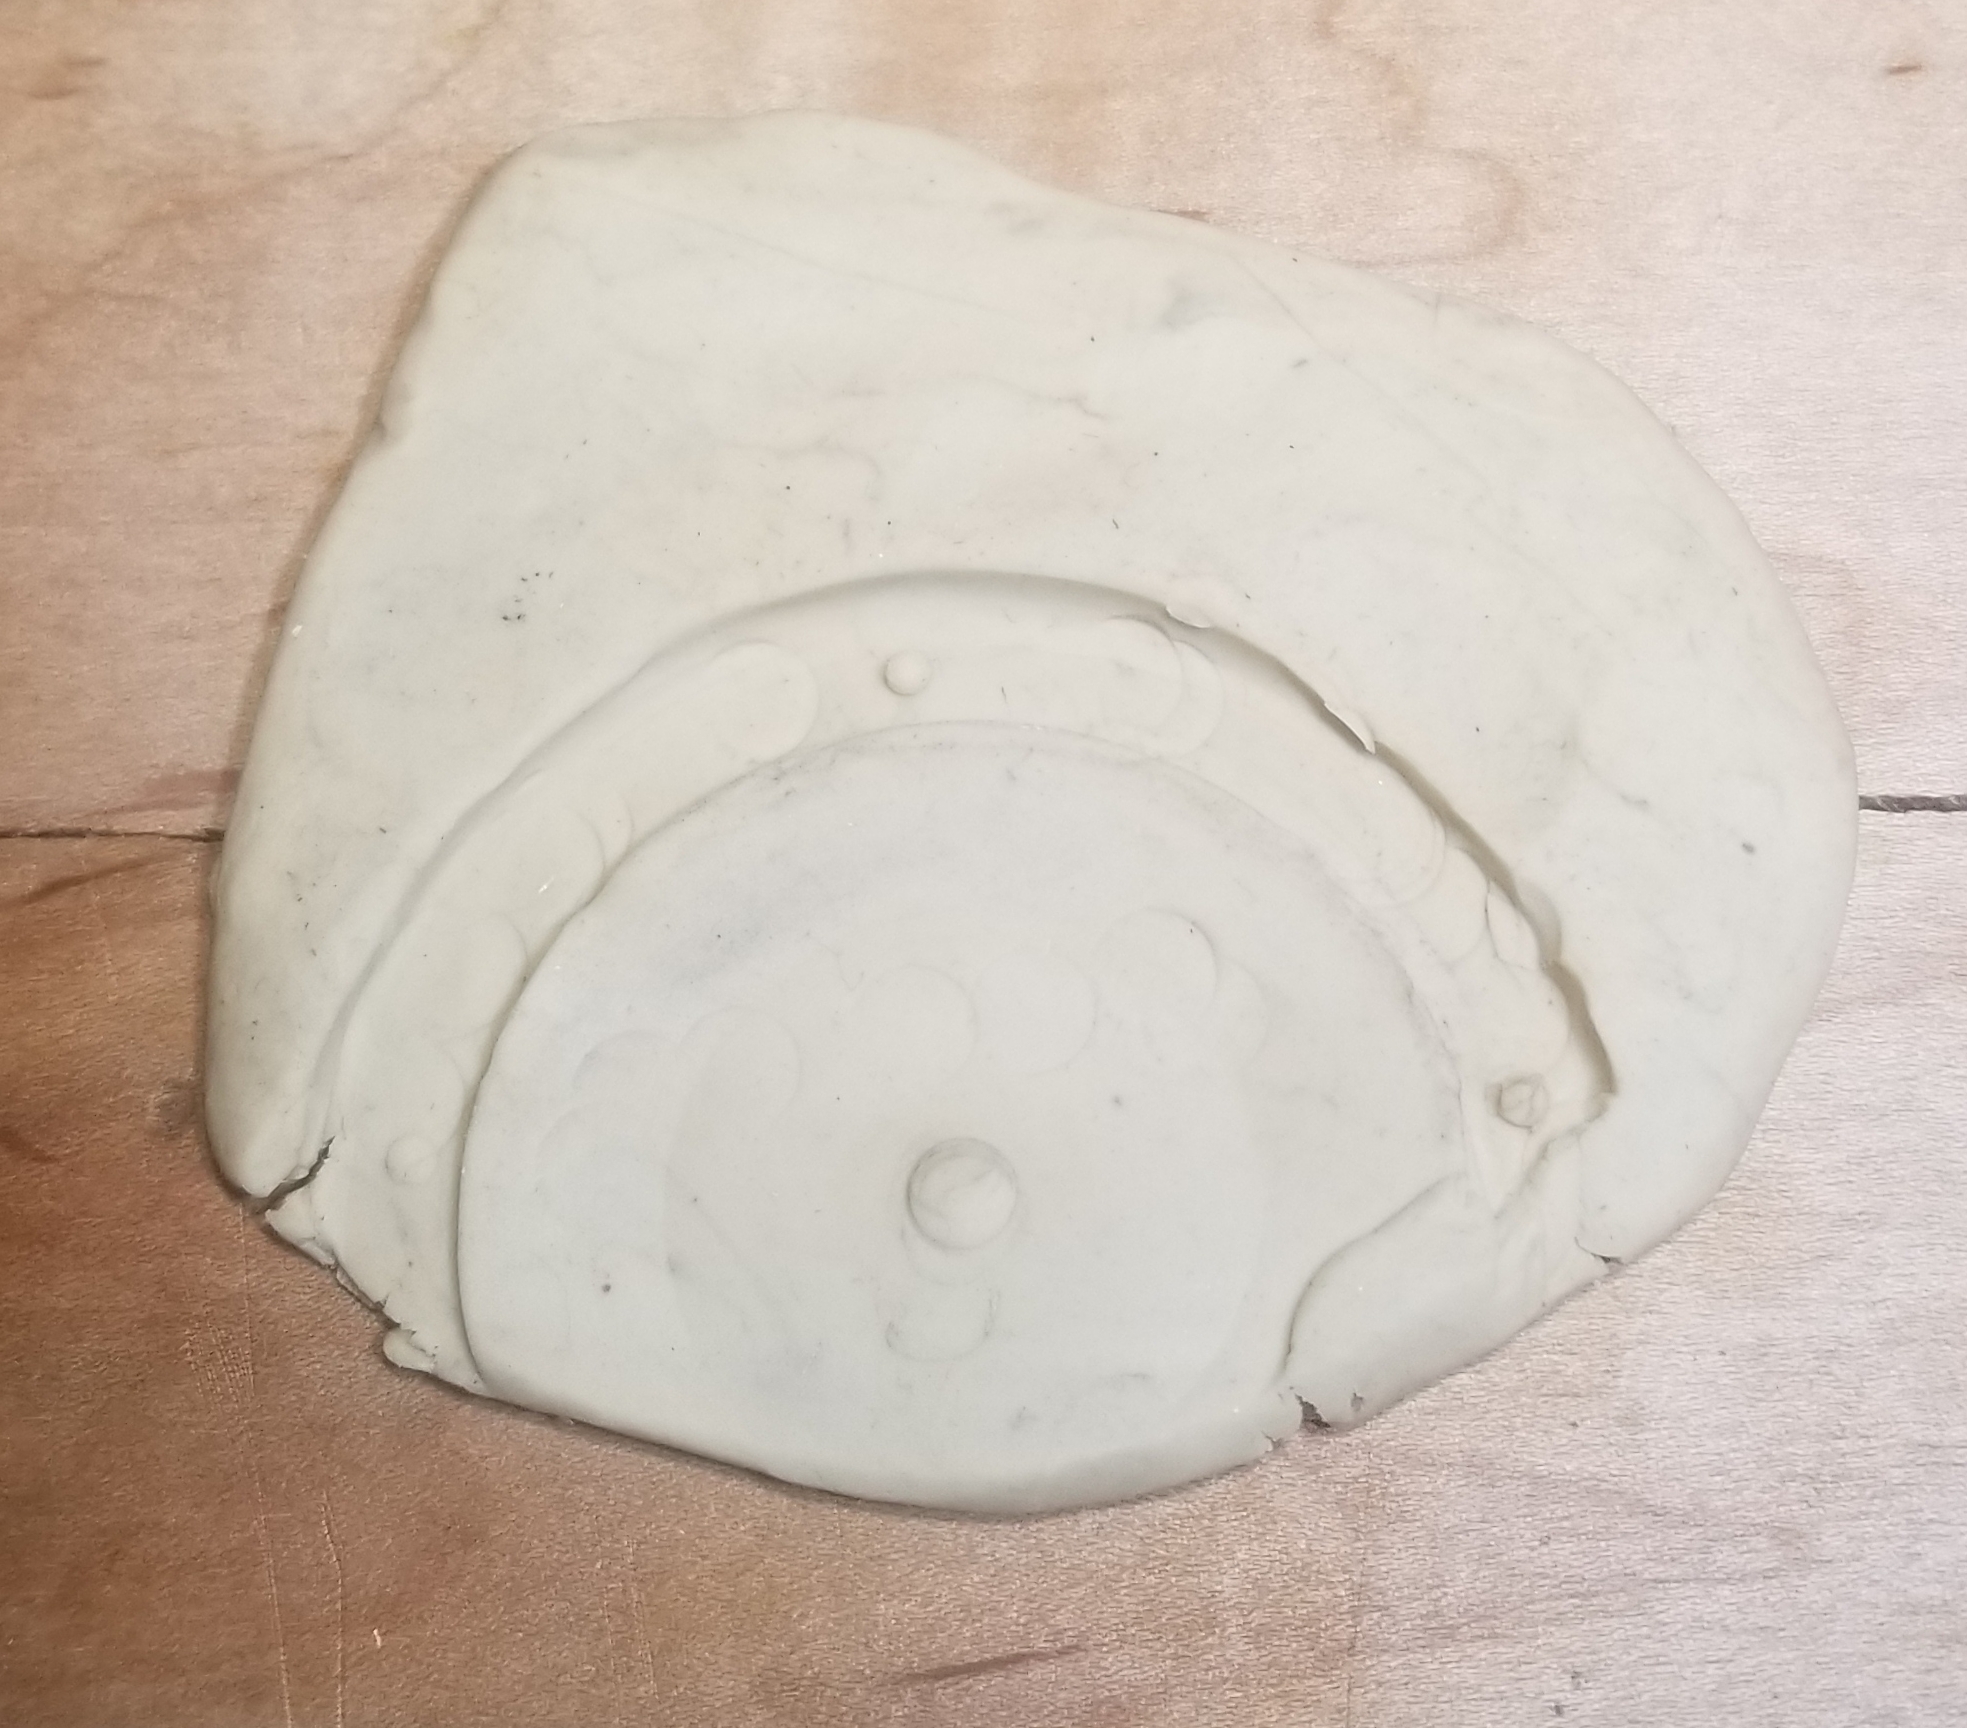
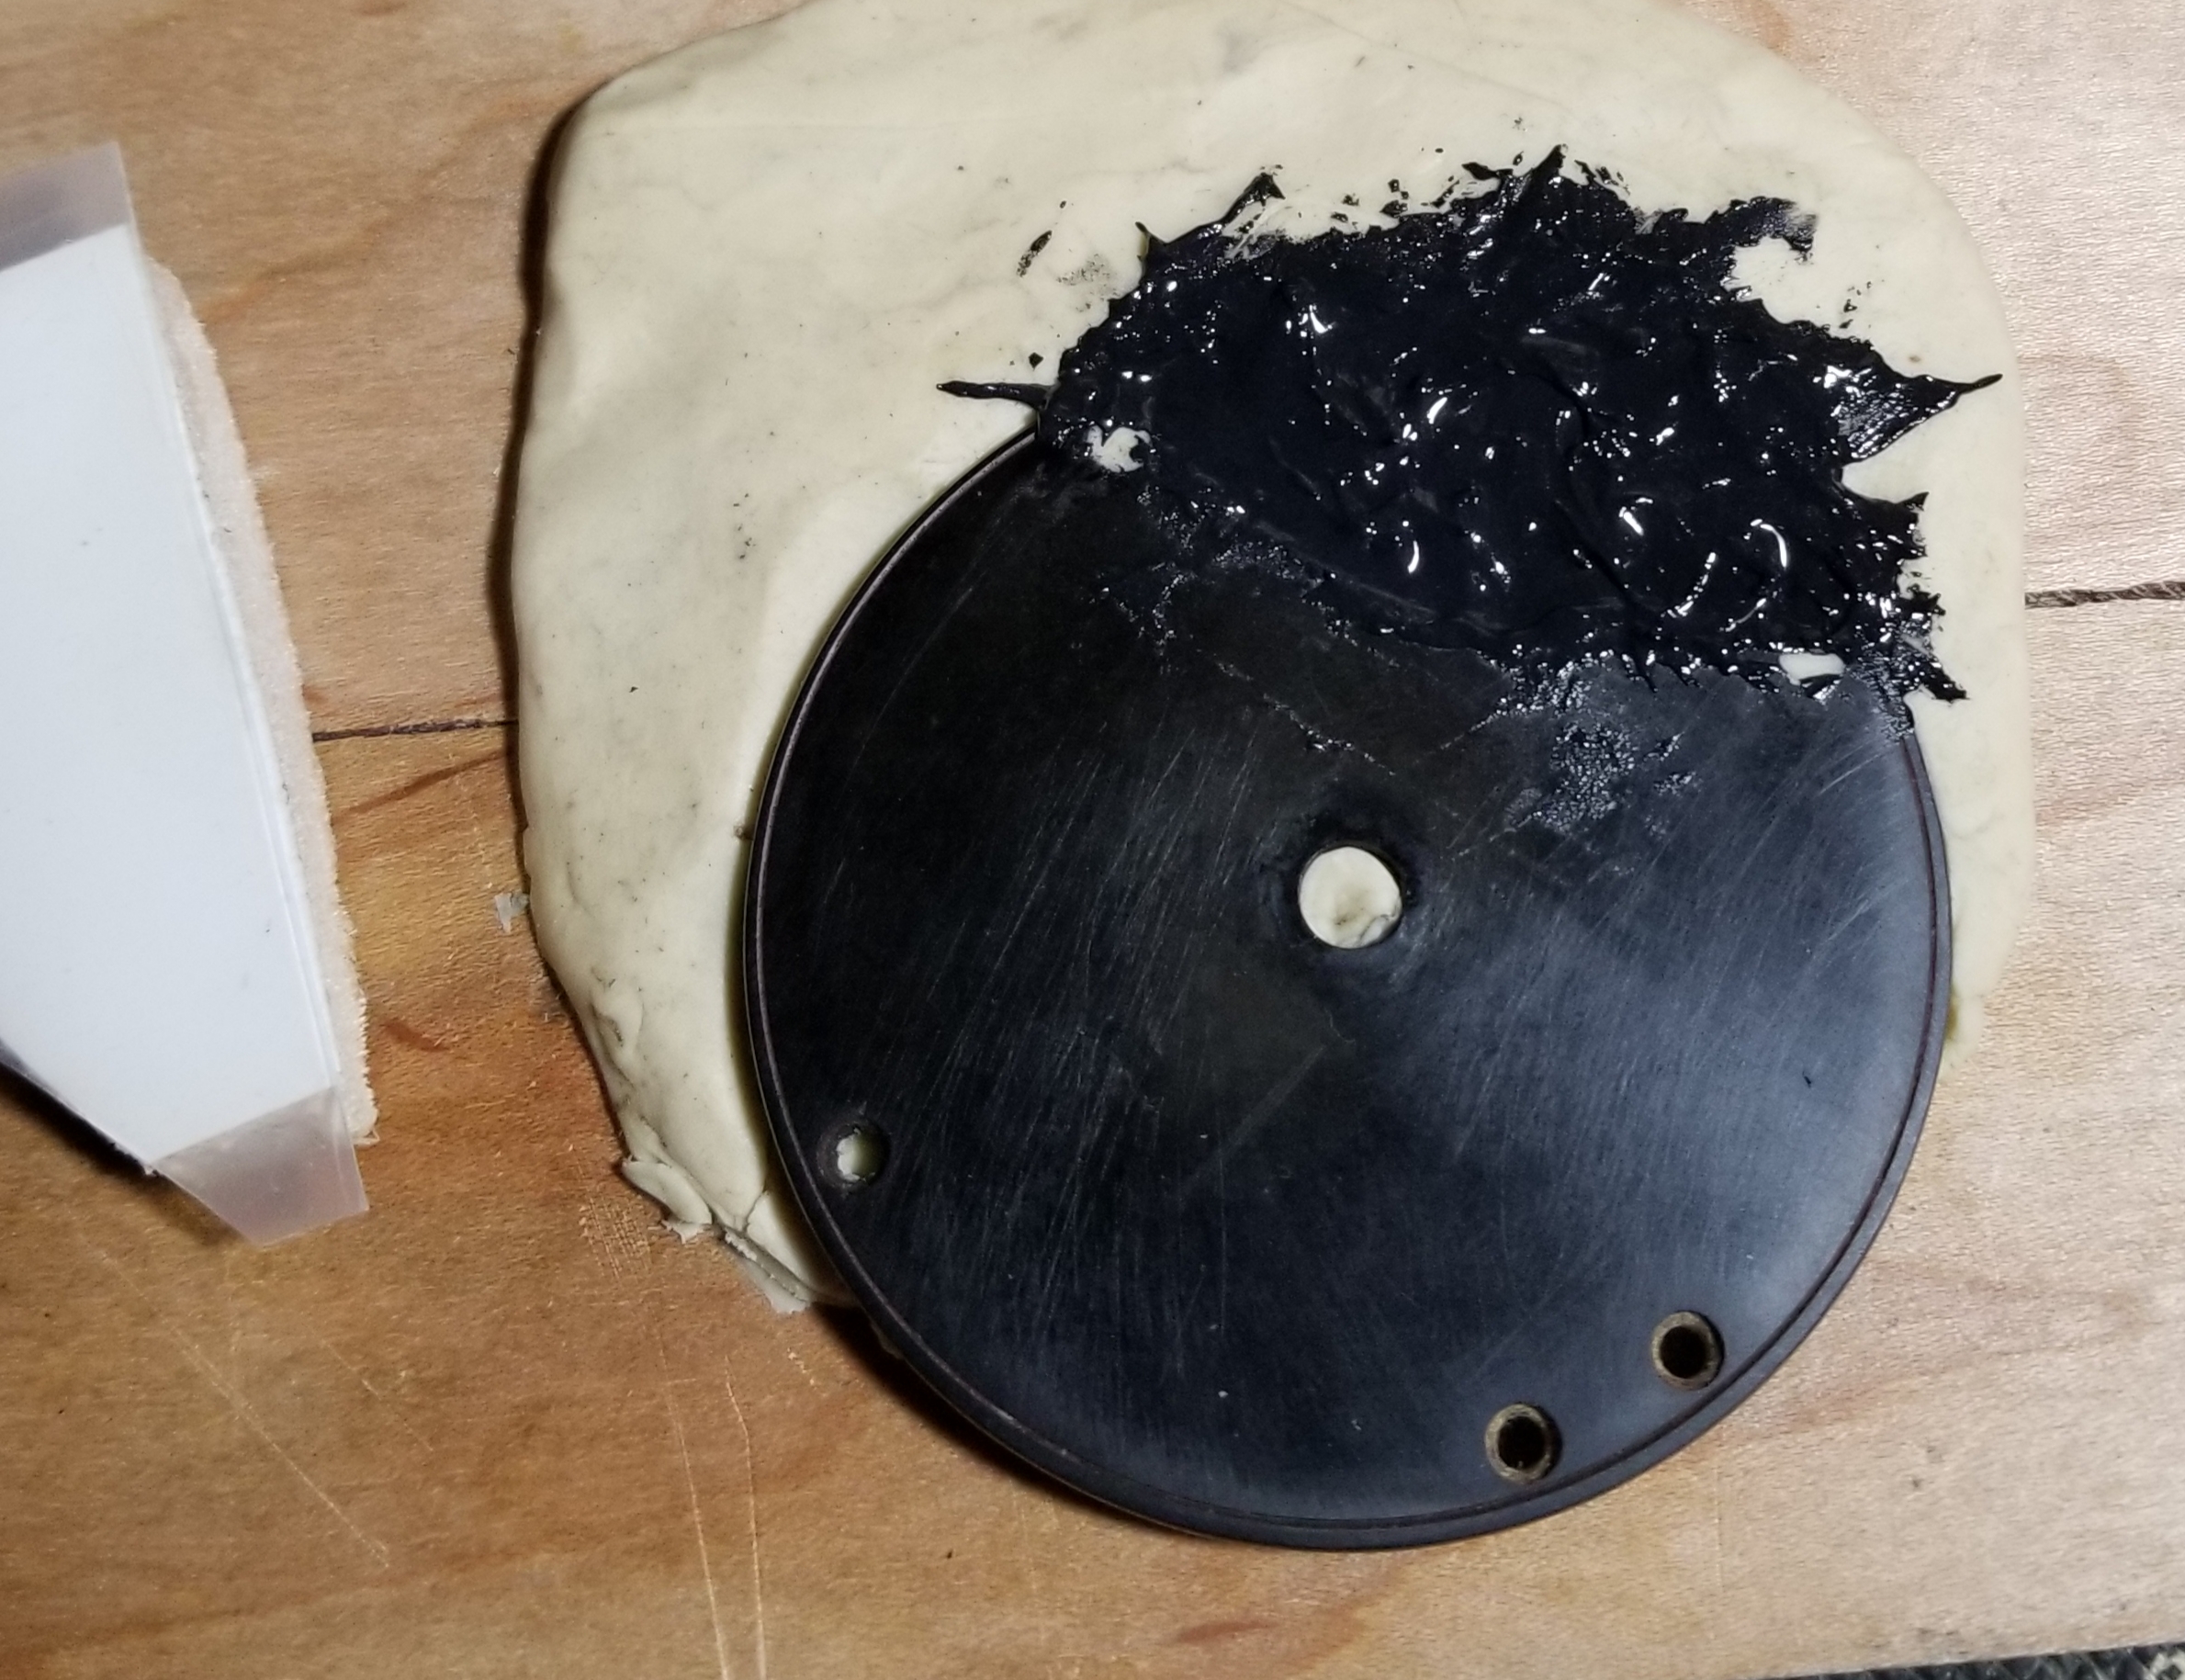
Whip out the molding clay and make a mold so as to match the machined out part of the back of the plate.
Reorient and align the plate and lightly press into the mold.
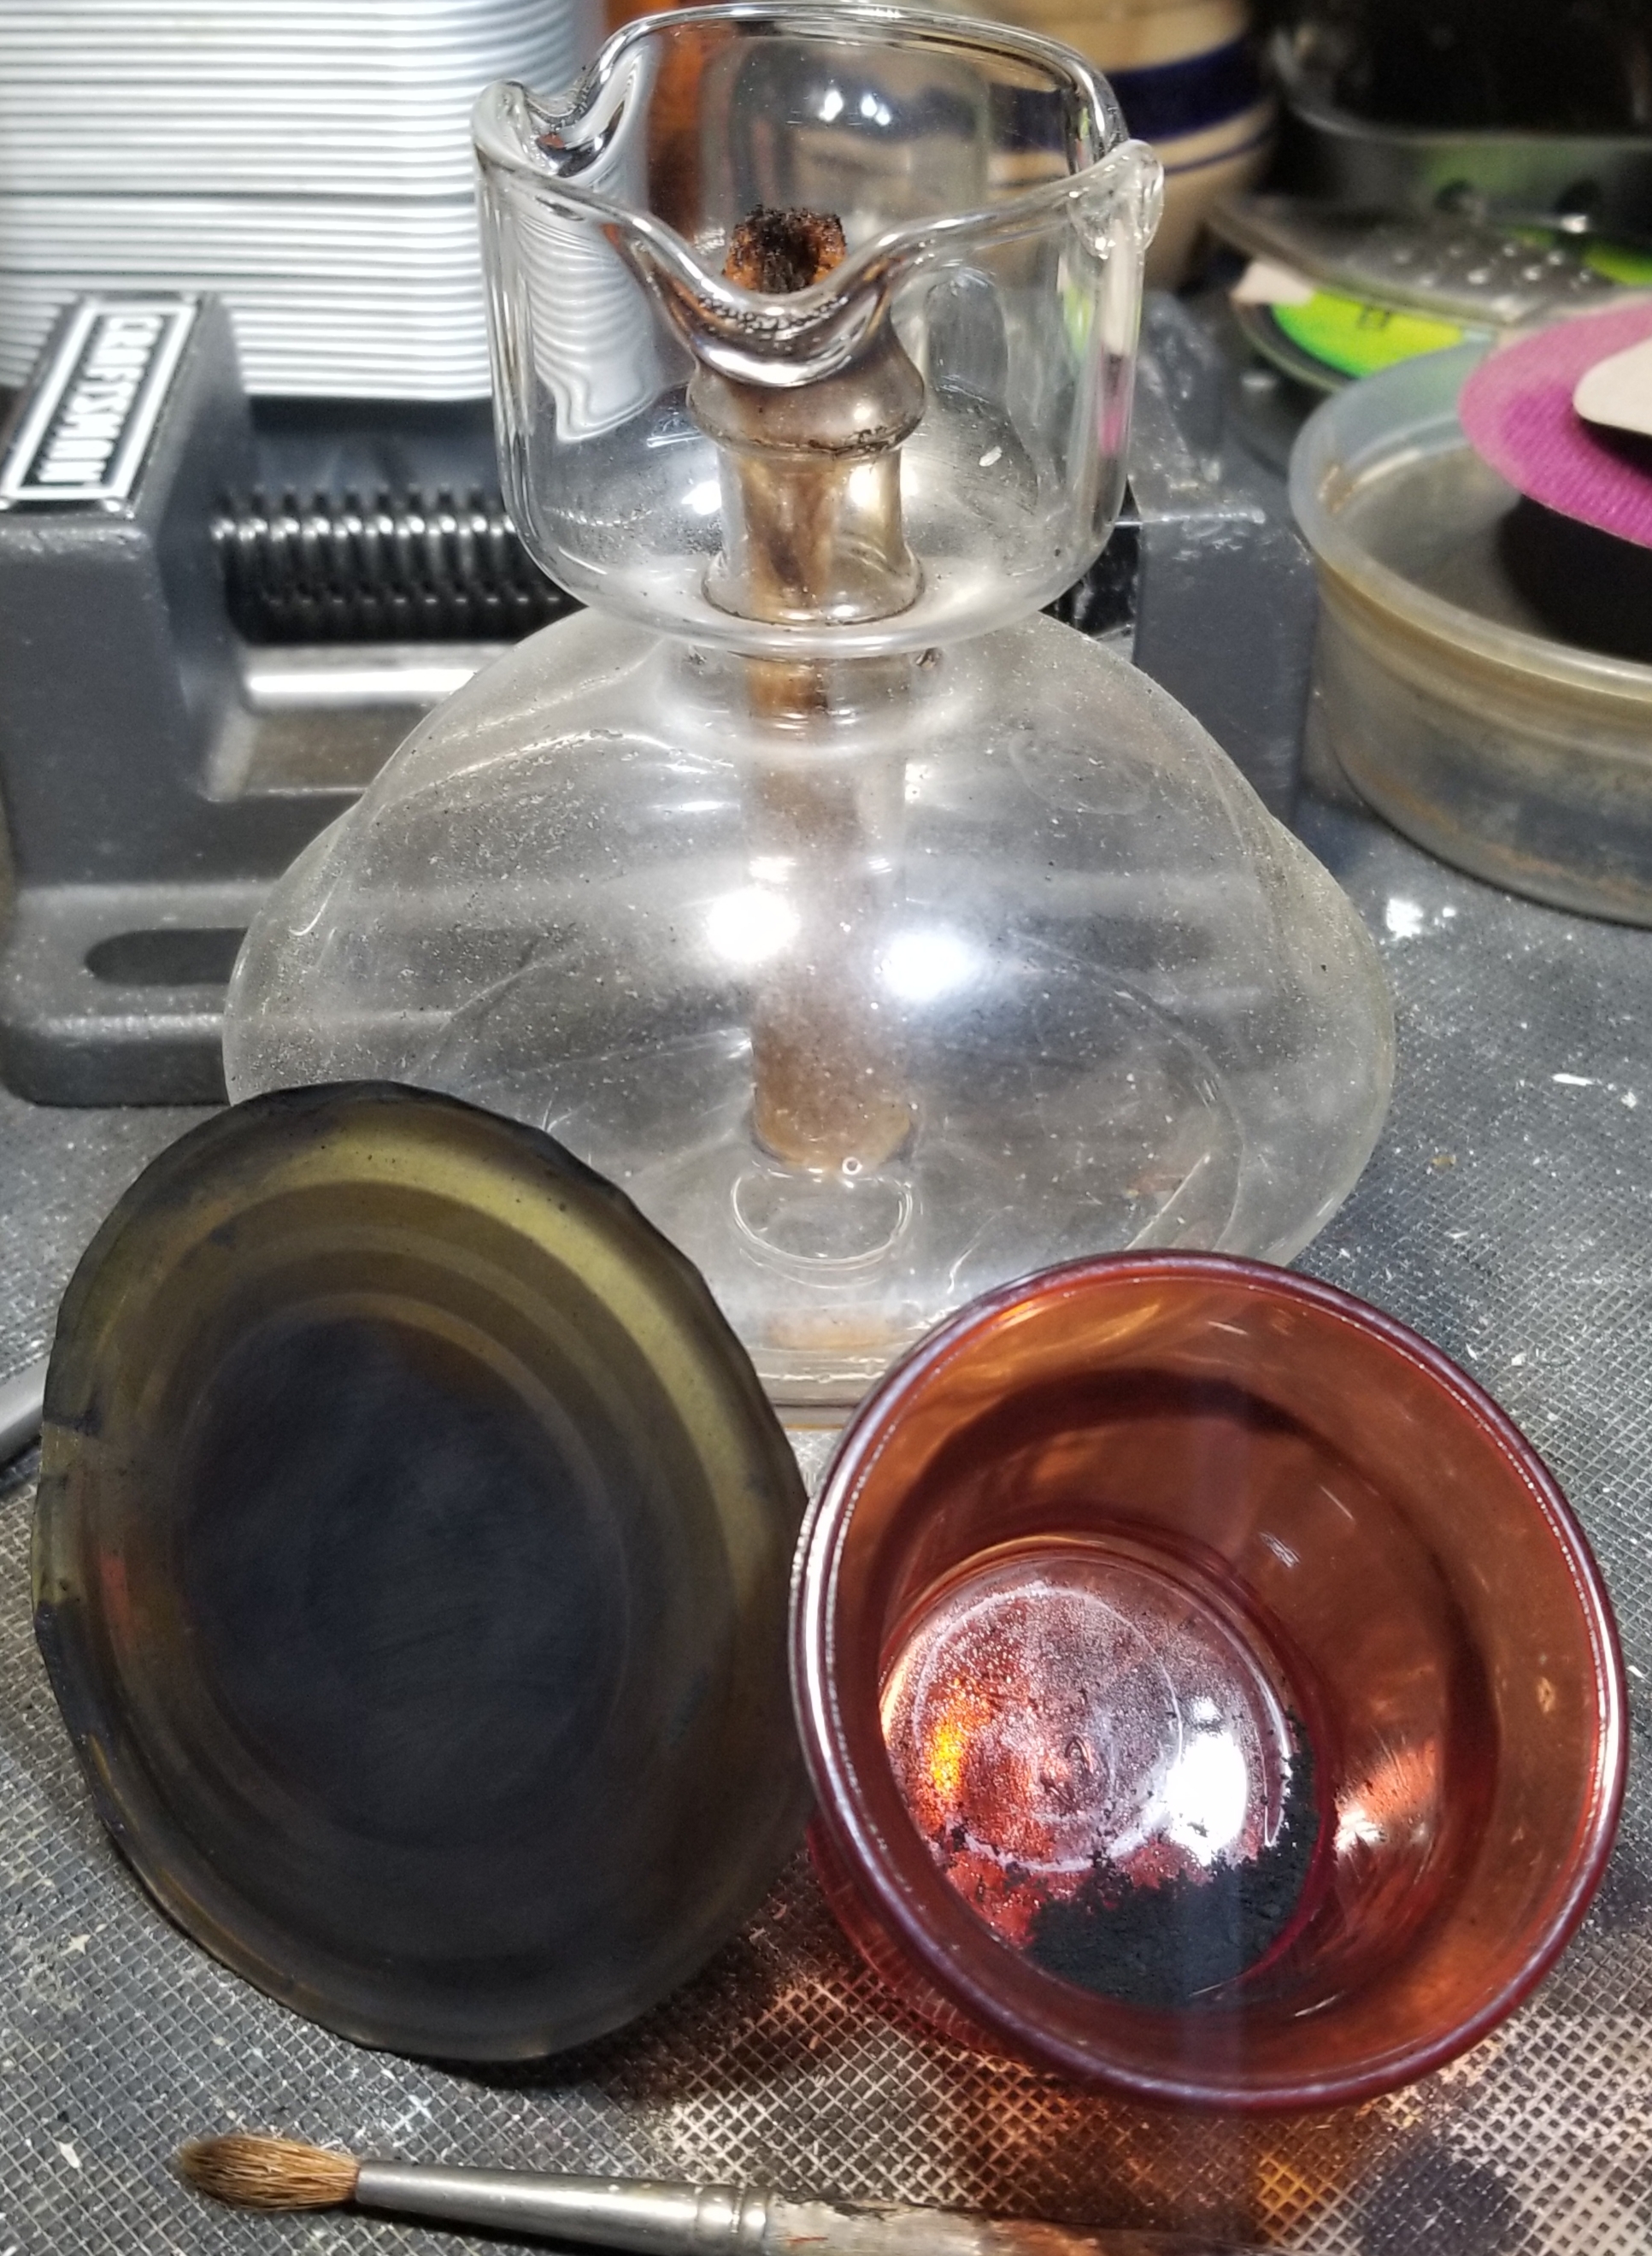
I use JBWeld steel to replace the missing plate. Shapes, sands and files beautifully when fully cured. Unfortunately it cures gray so I blacken it with lampblack.
Here's my lampblack(carbon) capture device!
Lampblack mixed with the hardener which is white, waiting for the black "steel",
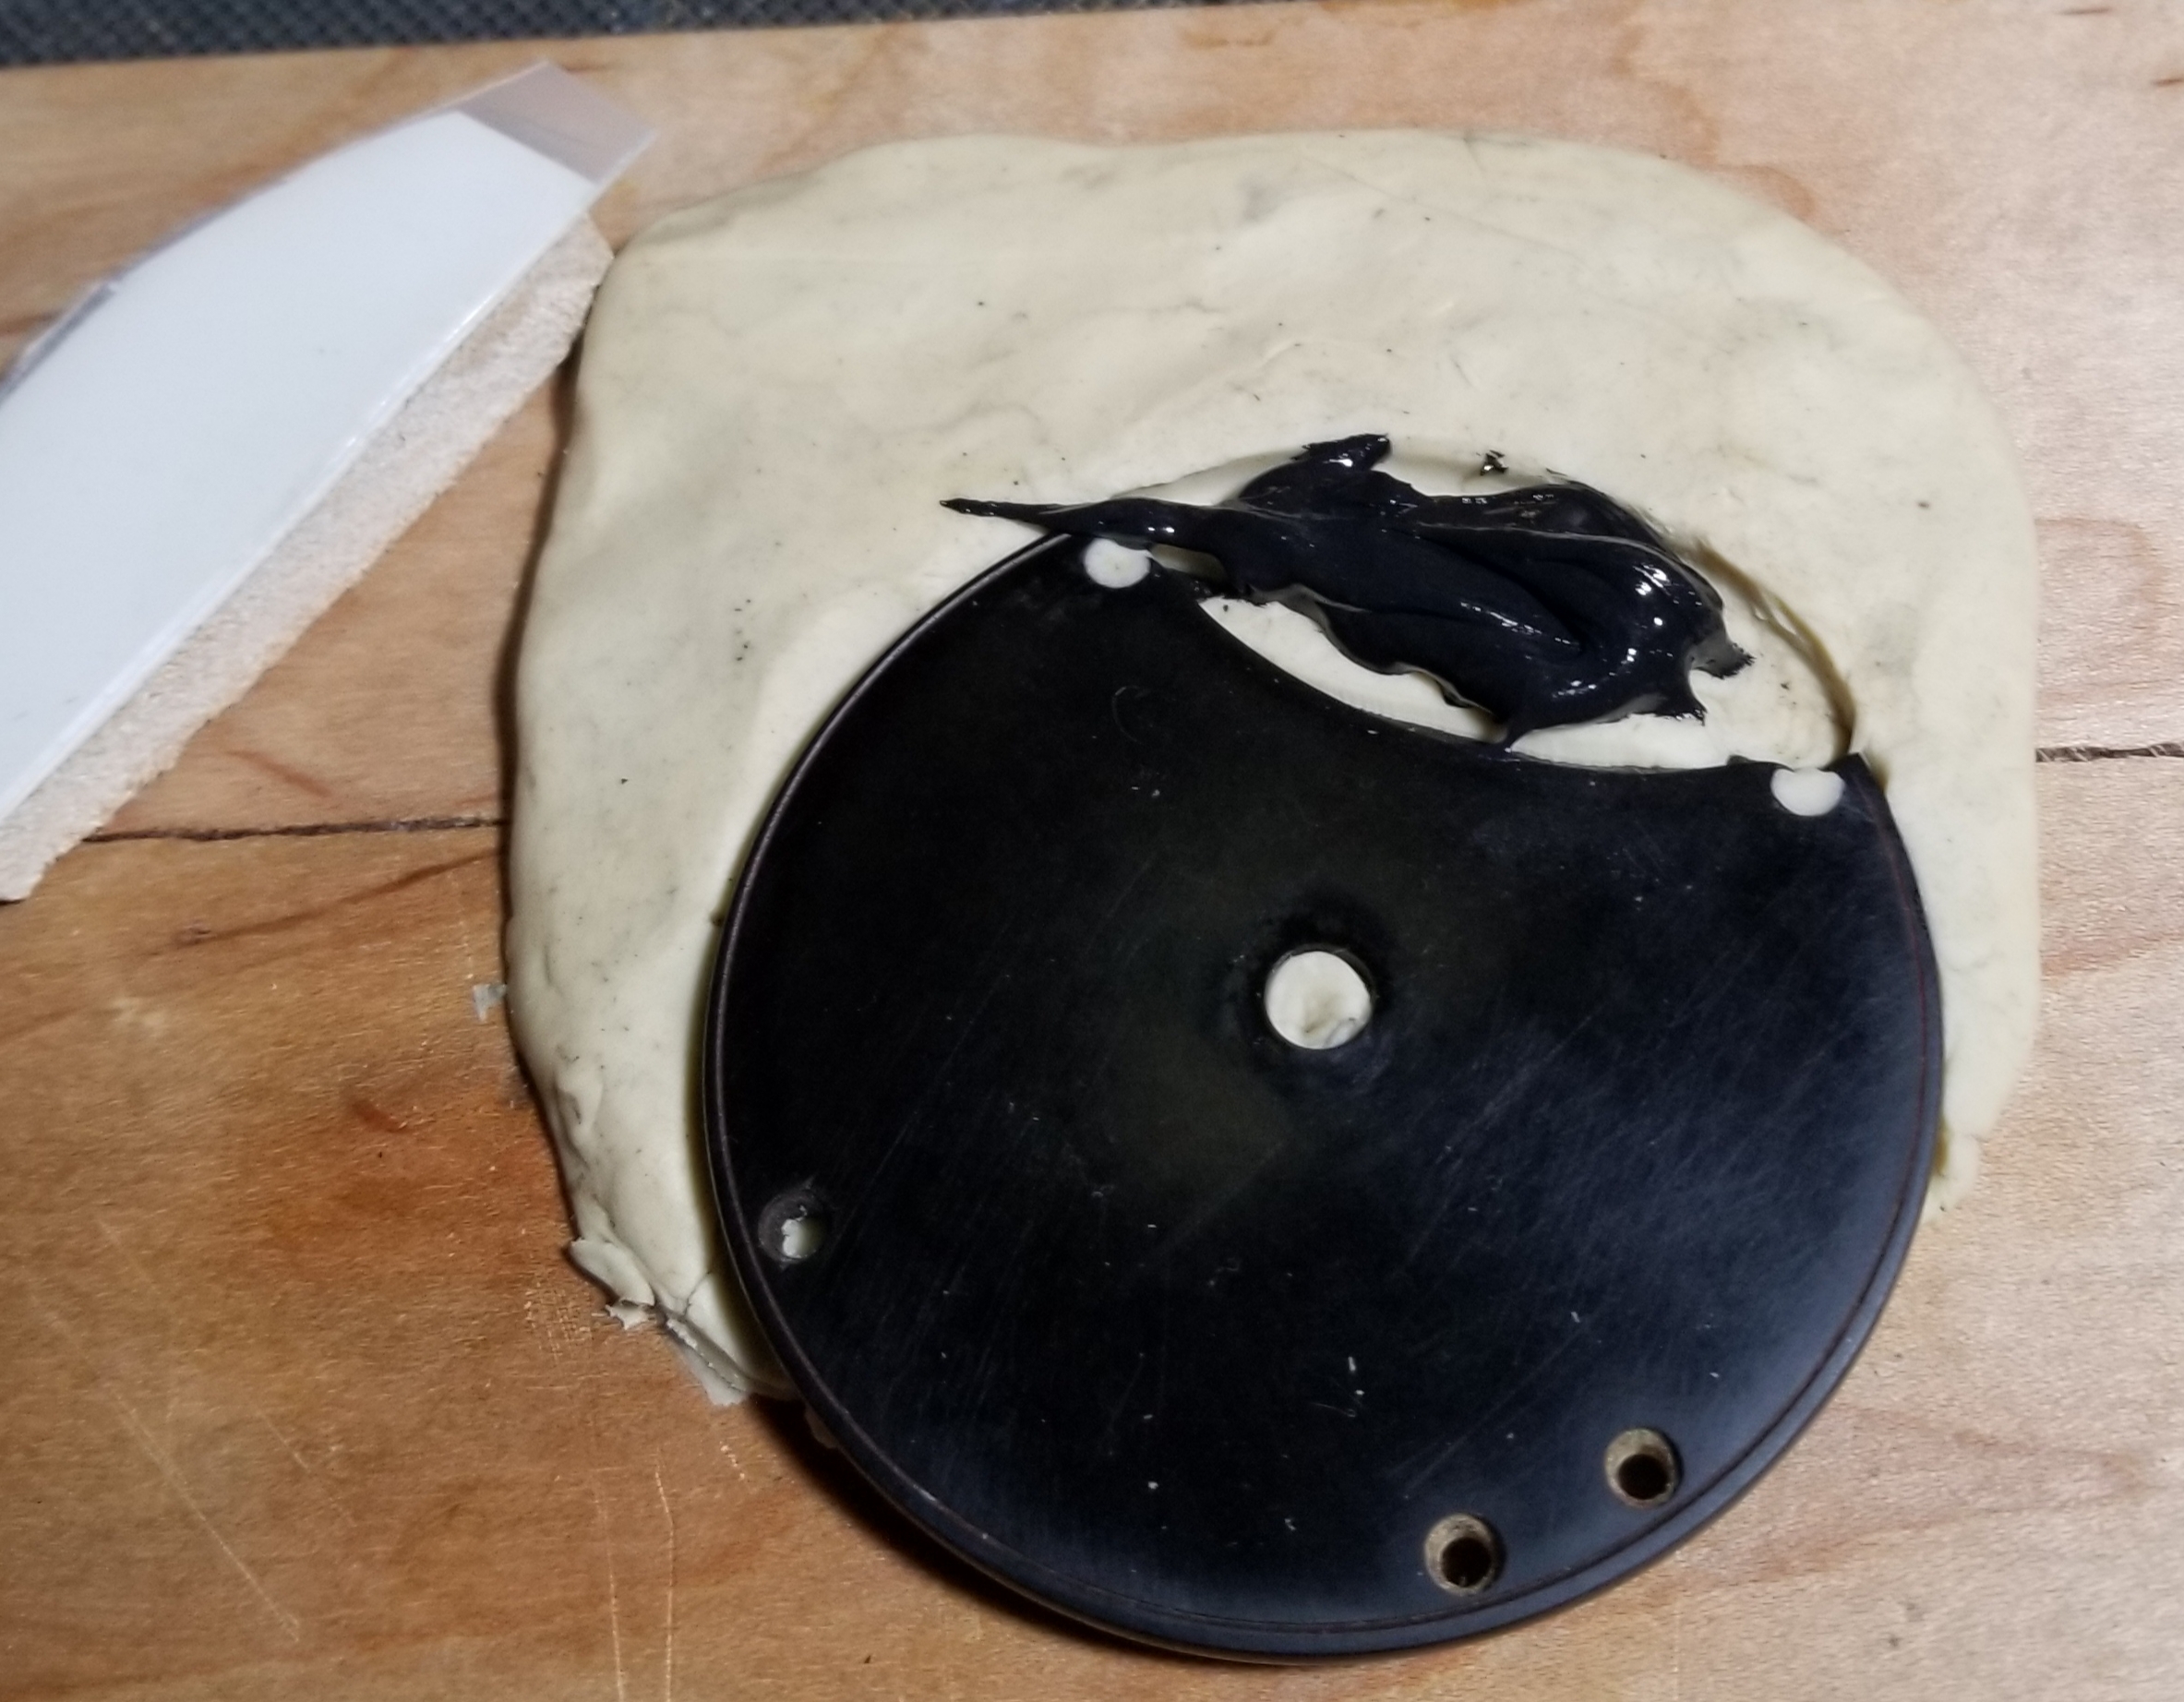
The start of the "pour", more like the "slather",
The "Wilson Technique",
Finally, the "smush", followed by the Wait".
Thanks guys!
I'll wait another 24 for a good hard cure then start the hard part, carefully filing, sanding and shaping. Then back to the JBW to fill any holes/screw-ups. I haven't quite figured how to insize the line just yet so open to suggestions.
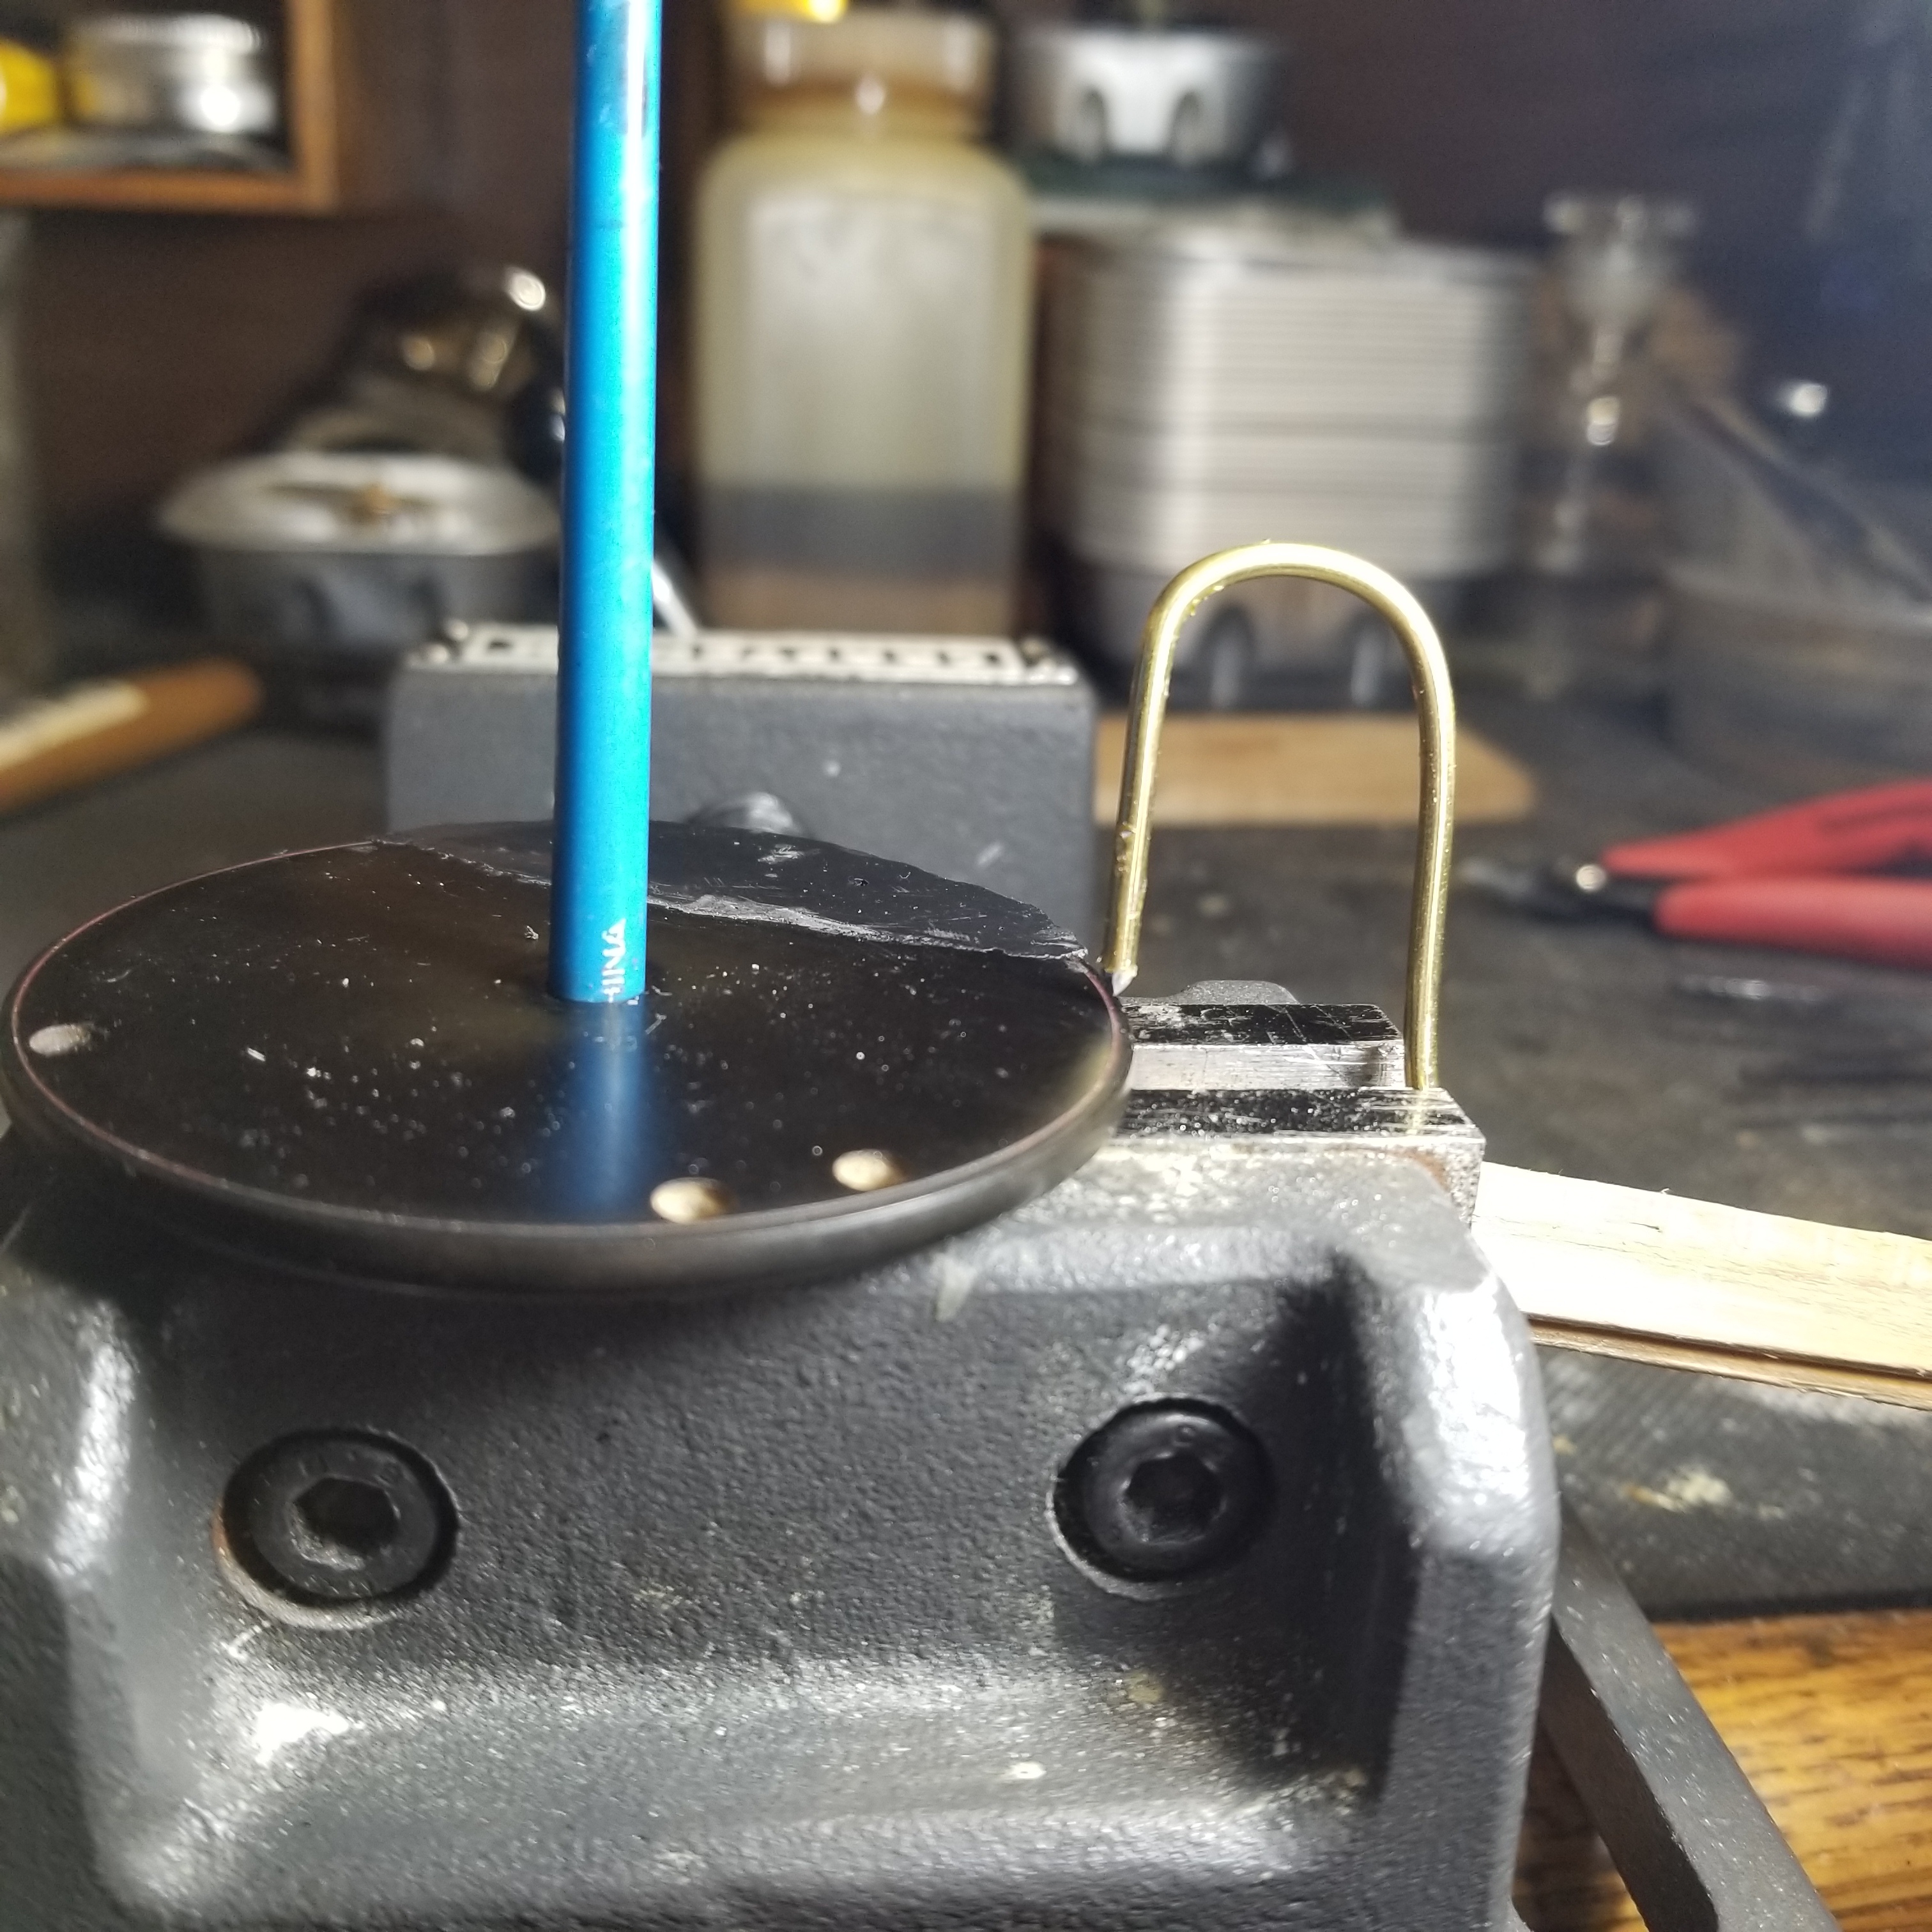
Alas, no lathe or anything approaching same. I Rubed up a sorta' jig to cut the line. It worked more or less, but will be revisited in future for a "cleaner" cut.
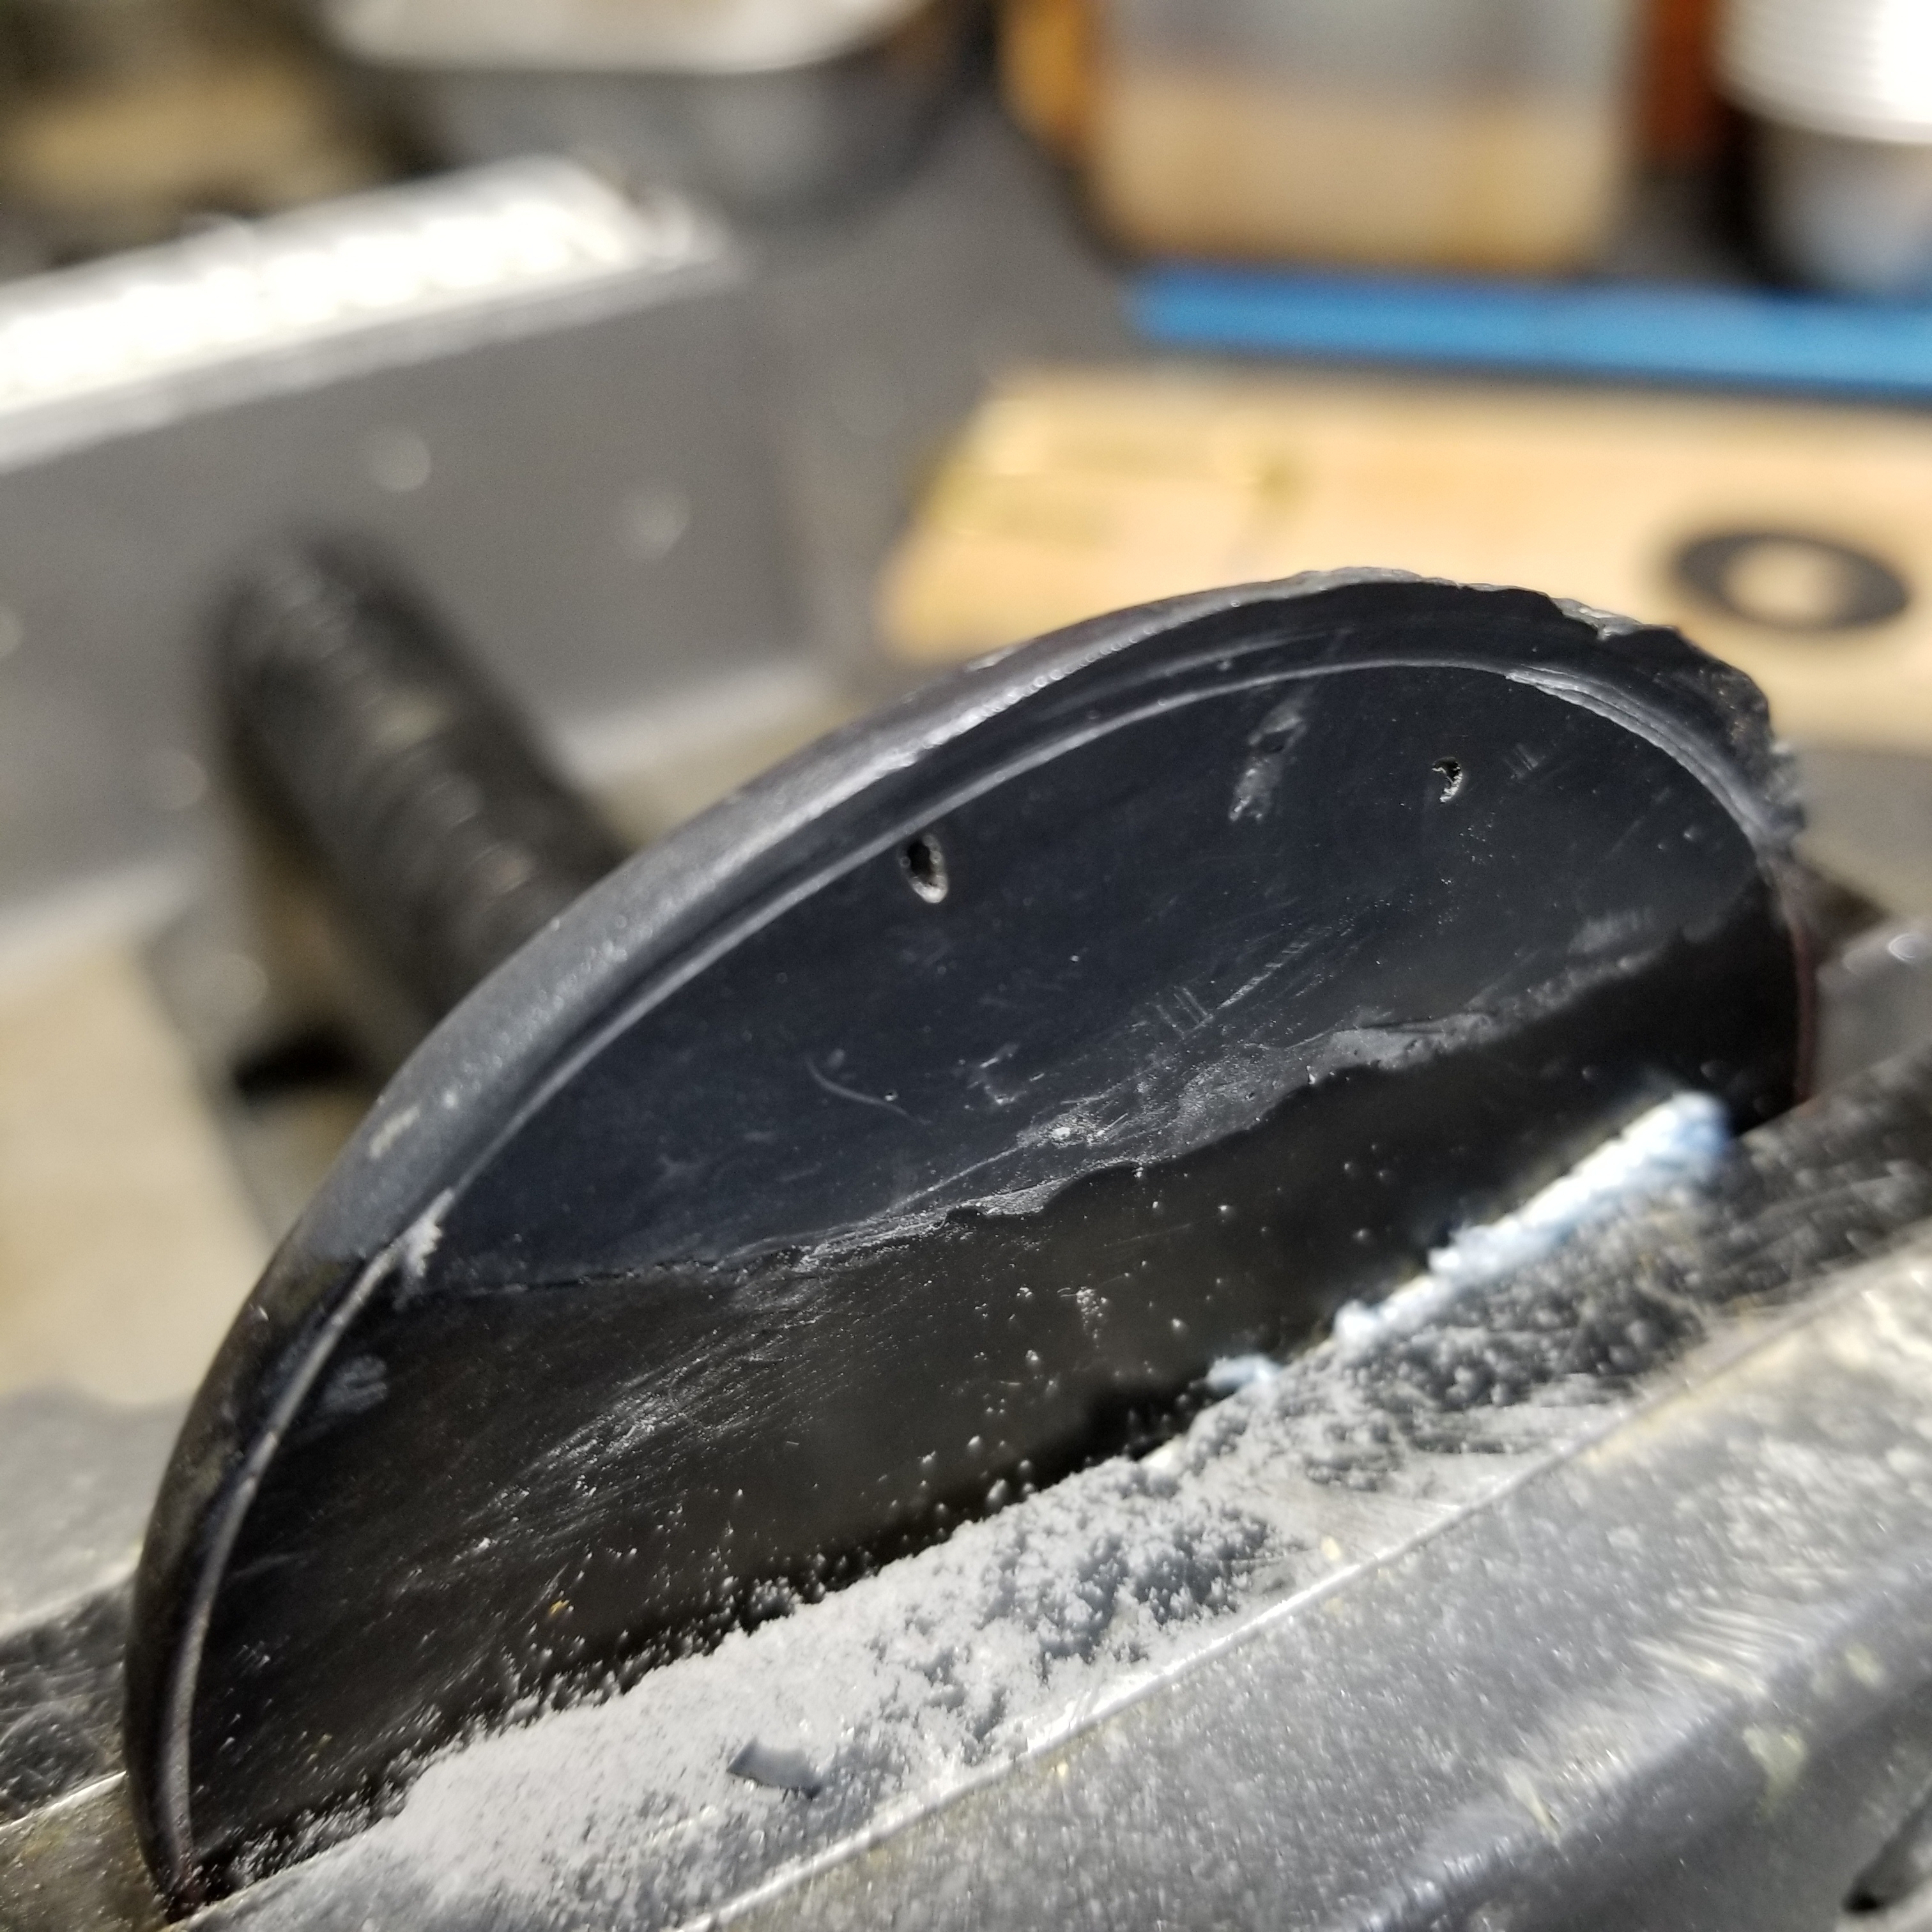
Rim roughly shaped and the replaced portion of the face of the plate has been gone over with 600 wet. Lost the line but the sanding revealed a subsurface bubble. Time to clean up the molded back side, form up and cast what's needed.
Steve, i really like that mold idea… likely much better than making a dam with painter’s tape, as i described in the book. I would suggest that using a hard rubber dust mixed in two-part epoxy would work great this way…. No “schmush” necessary, as it is fluid enough to sink down and fill any voids. You just need to add excess to endure no lake in the middle. After it hardens, i remove excess with a sharp razor blade, then flatten using a heavy duty emery board. You can darken with Potion #9 ( i generally add a drop or two in the epoxy/dust mix). You can then sand with finer grits, strengthening and evening out with the dust you create mixed with gel super glue ( keep moving!). Polish to taste.
John
ORCA member since 1999 Honorary Life Member
Specializing in saltwater reels...and fly reels...and oh, yeah, kentucky style reels.....and those tiny little RP reels.....oh, heck...i collect fishing reels!...and fly rods....and lures
Thanks John. The JBW/lampblack combo seems a bit too viscous and is hard to work with.
And as this is my first try with the lampblack, I'm not sure if it will darken with finer sanding and polish. It looks ok wet and I've got some Potion #9 if push comes to shove.
A "stiffer" molding clay would be good as well.
It's all experimental to me.
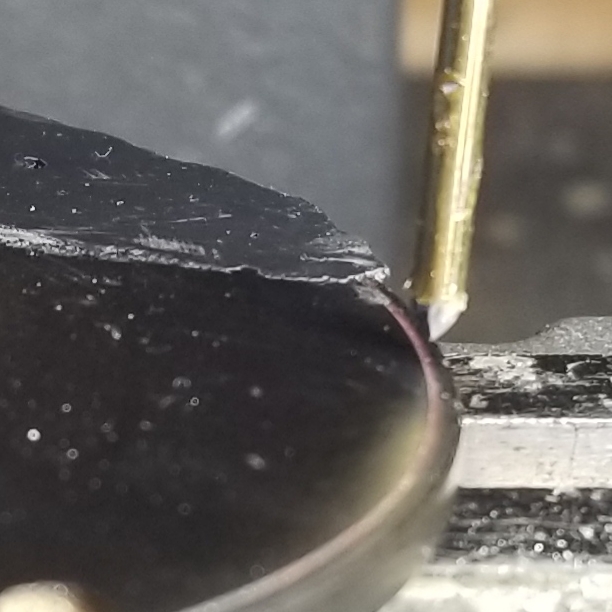
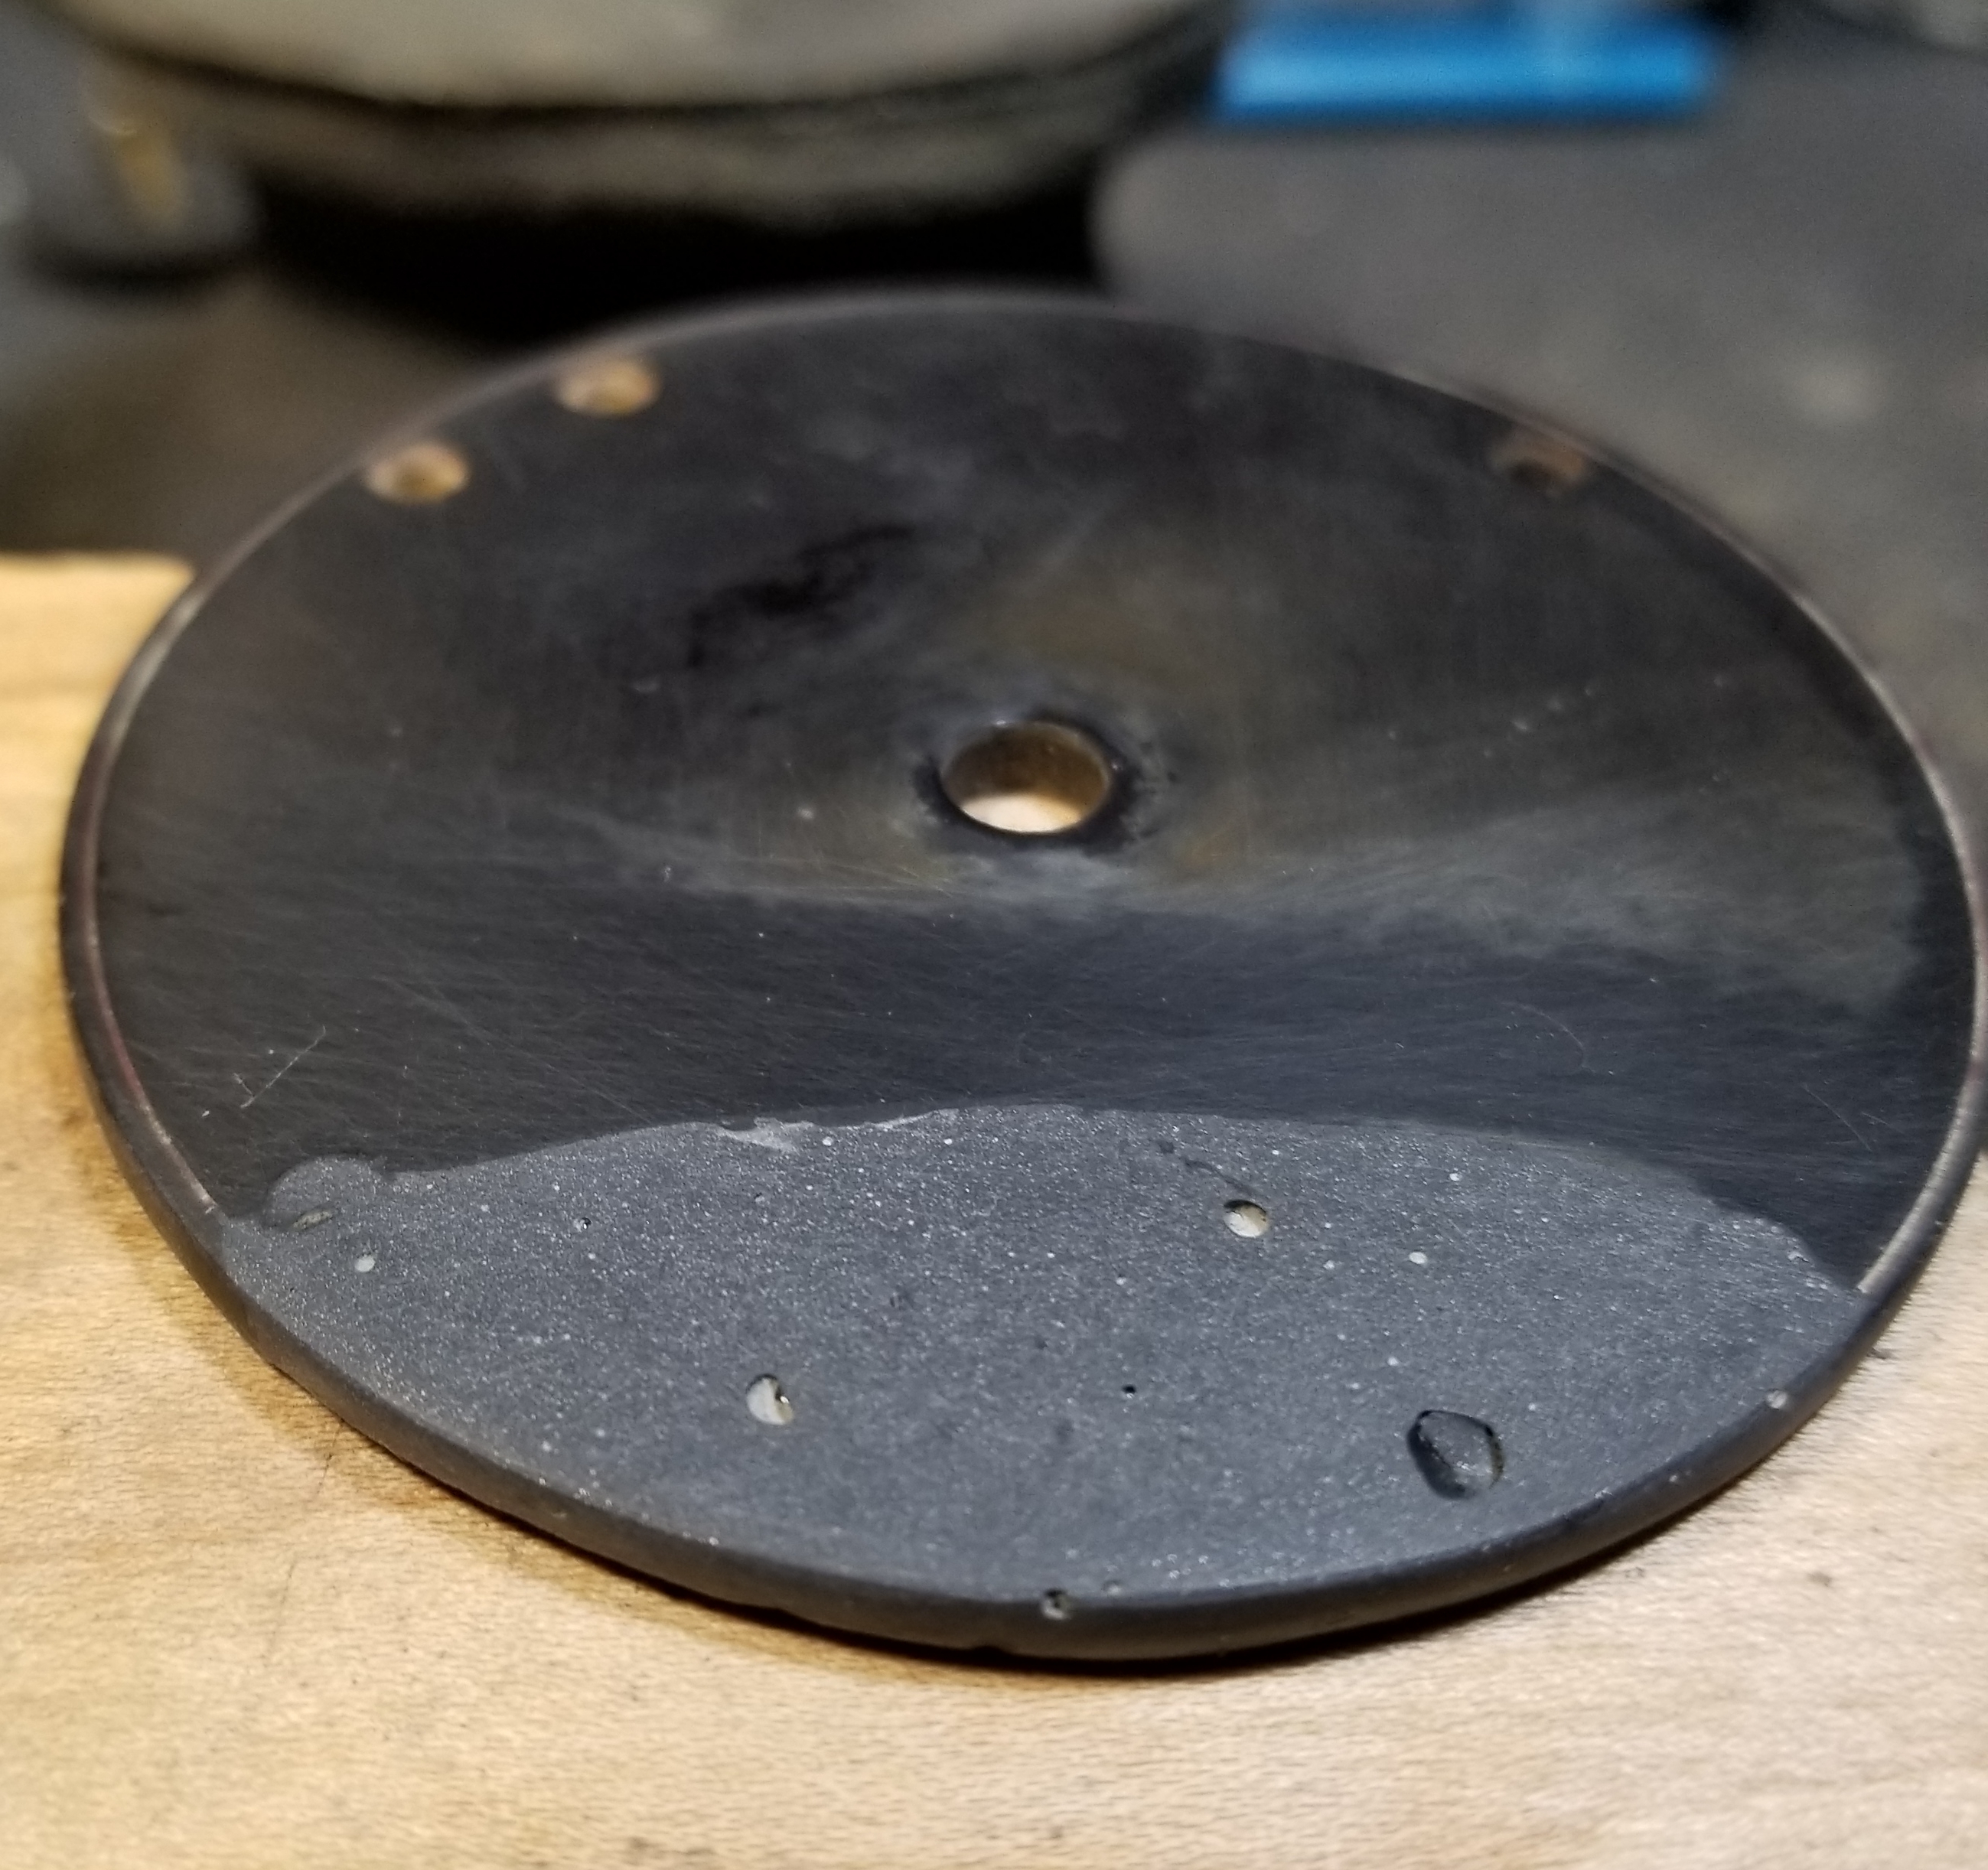
So, in doc'ing this resto I've taken my time doing so and as a result have noticed some things about the JBW not considered before. It "skins" when it cures and is nice and black.The moment it's touched with file, wet paper, no more nice black. How is this possible????
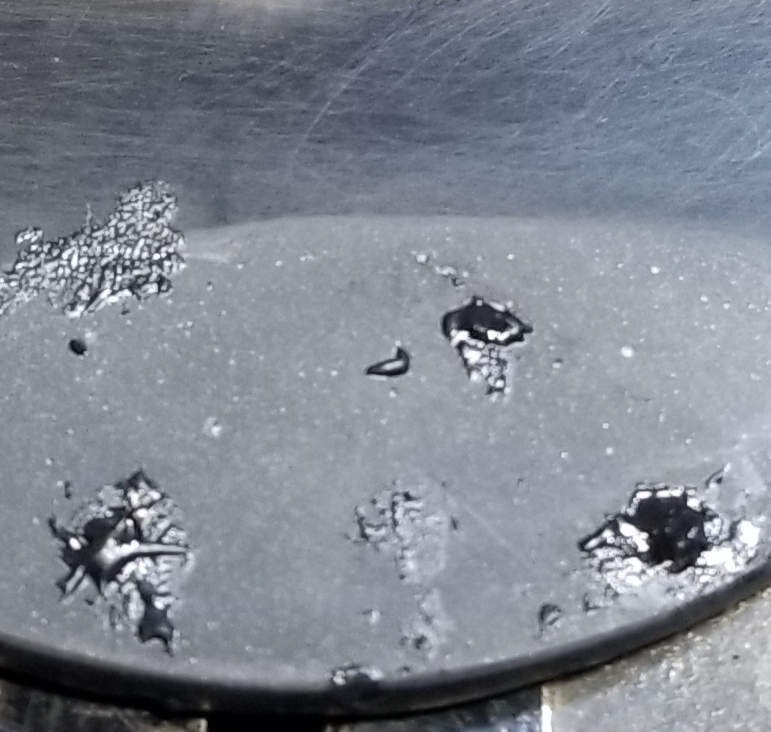
I took a real close look and discovered the sanded surface of the JBW was totally pitted...totally!!
The result of using the lamp black or something about the JBW or two part epoxies in general?
"Tiny Bubbles"
I would guess that its pouring process may be similar that of poured concrete in that it may need to vibrated to eliminate air pockets & bubbles. Evidently there's not enough lamp black throughout the mixture to make it black when filed or sanded.
Love those Open Face Spinning Reels!(Especially ABU & ABU/Zebco)
Good point.
I'm thinking maybe the JBW "kicks off" to quickly to allow all the tiny bubbles to surface. A much slower setting resin would prob work better.
All formed up and ready for the last slather!
Time to make more lamp black.